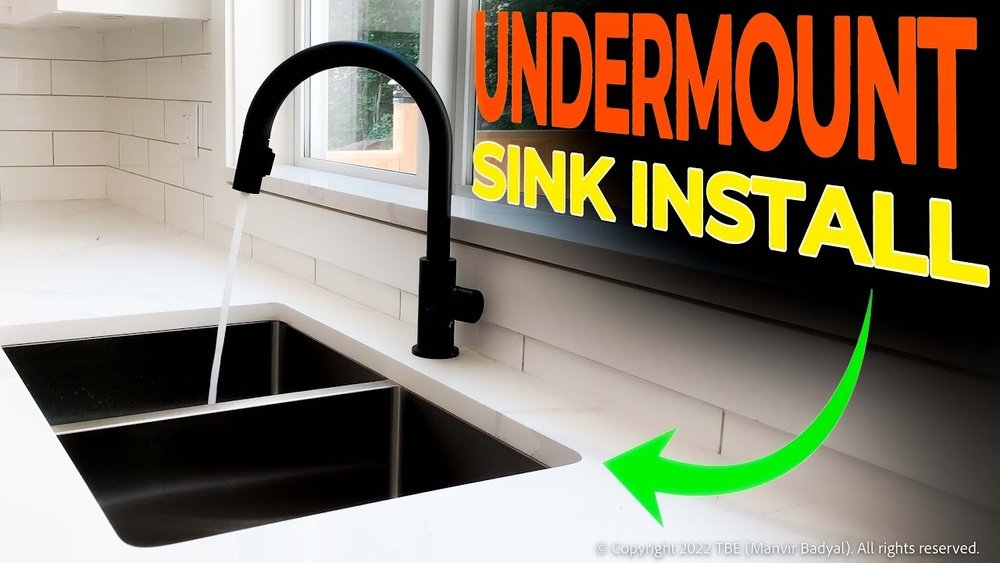
Installing an undermount sink to granite is a transformative upgrade for any kitchen or bathroom, offering a sleek, modern look that maximizes counter space and makes cleaning easier. However, this installation is notably more complex than traditional drop-in sinks, requiring precision, specialized tools, and careful handling of heavy materials.
Whether you’re a seasoned DIY enthusiast or considering professional help, understanding the process, challenges, and best practices is crucial to achieving a flawless result without risking damage to your granite countertop.
Granite’s natural beauty and durability make it a popular choice, but its density means that undermount sink installation demands specific techniques and materials. This comprehensive guide will walk you through each phase, from preparation and tools to sealing and plumbing, while addressing common pitfalls and offering actionable tips.
You’ll find real-world examples, comparison tables, and expert insights to help you make informed decisions and complete your project confidently. If you’re ready to master the art of undermount sink installation on granite, this article is your essential resource.
Key Takeaways
- Undermount sinks create a seamless, easy-to-clean surface on granite countertops, but require precise installation.
- Proper support and sealing are vital to prevent leaks and ensure longevity.
- Specialized tools and materials, such as epoxy adhesives and sink clips, are necessary for granite.
- Real-world case studies demonstrate the importance of planning and professional consultation.
- Step-by-step guidance, troubleshooting, and maintenance tips help ensure a successful project.
Understanding Undermount Sinks And Granite Countertops
What Is An Undermount Sink?
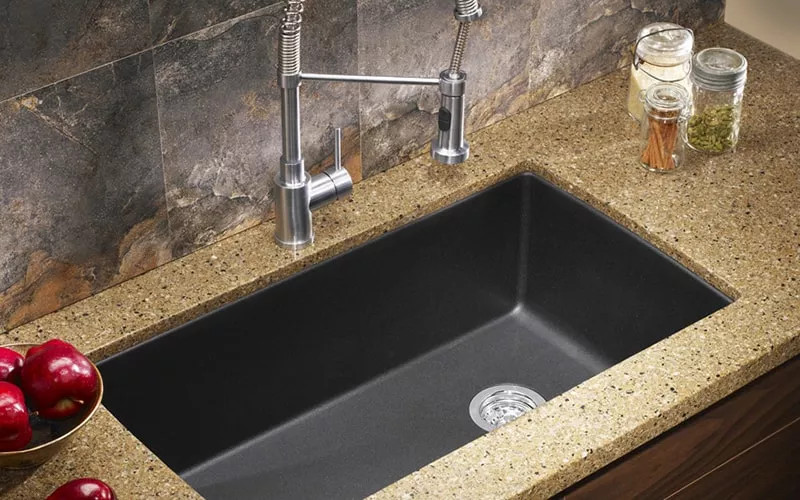
An undermount sink is installed beneath the countertop, rather than resting on top of it. This design provides a clean, uninterrupted look, allowing you to sweep debris directly into the sink without obstruction. Unlike drop-in sinks, undermount models require strong adhesion and support due to the absence of a rim.
Why Granite Is Unique
Granite countertops are prized for their hardness, resistance to scratches, and stunning natural appearance. The density and weight of granite, however, mean that cutting and drilling require diamond-tipped tools and careful handling. Installing an undermount sink to granite differs from other materials because improper techniques can crack or stain the stone.
Key Challenges
- Granite is heavy and brittle, incorrect mounting can cause cracks.
- Waterproofing is critical, as granite is porous and can absorb stains.
- Sink alignment must be precise, as errors are difficult to correct.
Comparison Table: Undermount Vs. Drop-in Sinks
| Feature | Undermount Sink | Drop-In Sink |
|---|---|---|
| Installation Complexity | High | Moderate |
| Cleaning Ease | Excellent | Good |
| Counter Space | Maximized | Reduced |
| Waterproofing Needs | Critical | Standard |
| Risk of Counter Damage | High (if improper) | Low |
For more on drop-in sinks, see How To Install A Drop-In Kitchen Sink.

Credit: www.youtube.com
Planning And Preparation
Measuring And Selecting The Sink
The first step is to measure your sink opening and select a compatible undermount sink. Most undermount sinks are made of stainless steel, porcelain, or composite materials. Ensure the sink is at least 1/2 inch smaller than the granite cutout on all sides to allow for proper mounting.
- Measure the cutout twice for accuracy.
- Check sink depth, deeper sinks require additional support.
- Consider double sinks for flexibility (see How To Install A Double Kitchen Sink).
Tools And Materials Checklist
For granite, you’ll need specialized tools:
- Diamond-tipped drill bits and hole saws
- Epoxy adhesive (specifically for stone)
- Sink mounting clips and brackets
- Silicone sealant (waterproof)
- Alcohol wipes for cleaning surfaces
- Clamps (adjustable)
- Level
- Safety gear: Gloves, goggles, mask
Preparing The Workspace
- Clear the area and protect cabinets with plastic sheeting.
- Ensure adequate lighting and ventilation.
- Have a helper ready, granite and sinks are heavy.
Example: Planning Success
When a homeowner in Austin, TX measured incorrectly, their sink was too large for the cutout, requiring costly re-cutting. Proper planning avoided similar issues for their neighbor, who followed step-by-step measurements and checked compatibility before purchasing.

Credit: crowleysgranite.com
Step-by-step Installation Process
Step 1: Dry Fit And Alignment
Place the undermount sink under the granite cutout to check alignment. Use a level to ensure the sink sits flush. Adjust as needed, this is your chance to correct any discrepancies.
- Mark the outline with a pencil or masking tape.
- Confirm faucet and drain placement.
Step 2: Cleaning And Surface Preparation
Clean all surfaces thoroughly with alcohol wipes. Remove dust, debris, and old adhesive. A clean surface is essential for strong adhesion.
- Inspect granite for chips or cracks.
- Polish the edges if needed.
Step 3: Applying Epoxy And Mounting Clips
Mix the epoxy adhesive according to manufacturer instructions. Apply a generous bead along the sink rim and granite edge. Attach mounting clips (space them every 6, 8 inches).
- Press the sink against granite and clamp securely.
- Tighten clips, but do not overtighten (risk of cracking granite).
Step 4: Sealing The Perimeter
Apply a bead of waterproof silicone sealant around the sink perimeter. Smooth with a gloved finger or caulk tool. This prevents water infiltration and staining.
- Allow at least 24 hours for adhesives and sealants to cure.
- Check for any gaps or uneven spots.
Step 5: Connecting Plumbing
Reconnect plumbing lines. If you’re installing a sprayer, disposal, or soap dispenser, refer to guides like How To Install A Sink Sprayer or How To Install A Disposal In A Single Sink.
- Test for leaks and drainage.
- Adjust connections as needed.
Example: Installation Success
In my experience, using high-quality epoxy and clips saved hours of frustration. On a recent project, poor-quality adhesive failed within weeks, but switching to a recommended stone epoxy resulted in a secure, lasting installation.
Comparison Table: Epoxy Adhesive Options
| Brand | Stone Compatibility | Curing Time | Strength (psi) | Waterproof |
|---|---|---|---|---|
| Loctite Stone Epoxy | Granite, Marble | 24 hours | 3500 | Yes |
| PC-11 Marine Epoxy | Granite, Quartz | 12 hours | 3200 | Yes |
| Gorilla Epoxy | Granite, Ceramic | 6 hours | 2900 | Yes |
Credit: www.plumbersstock.com
Avoiding Common Mistakes And Troubleshooting
Over-tightening Clips
One of the most frequent errors is over-tightening sink clips, which can crack granite or distort the sink. Always use a torque-limited screwdriver or hand-tighten gently.
Using Incorrect Adhesives
Not all adhesives are suitable for granite. Use only epoxy designed for stone; generic glues can fail, leading to leaks and costly repairs.
- Check manufacturer specifications.
- Avoid adhesives with solvents that may damage stone.
Poor Sealing
Skipping or poorly applying silicone sealant leads to water ingress, staining, and mold. Always use 100% waterproof silicone and allow proper curing time.
Example: Troubleshooting Leaks
A homeowner in Seattle noticed water stains under their sink. The issue traced to incomplete silicone sealing. Resealing solved the problem, saving the granite from permanent damage.
Comparison Table: Sink Mounting Clip Types
| Clip Type | Material | Adjustability | Recommended For |
|---|---|---|---|
| Spring Clips | Stainless Steel | High | Heavy Sinks |
| Bracket Clips | Aluminum | Medium | Standard Sinks |
| Adhesive Mounts | Plastic/Metal | Low | Light Sinks |
Ensuring Structural Support And Longevity
Reinforcing The Sink
Granite’s weight and undermount sinks’ design require additional support brackets or plywood reinforcement. Without proper support, the sink can sag or detach over time.
- Add plywood strips beneath granite if needed.
- Install steel brackets for extra-heavy sinks.
Checking For Flex And Movement
After installation, check for any flexing by pressing gently on the sink edges. If movement is detected, add more clips or reinforce with brackets.
Routine Inspection
Inspect the sink mount and seal every six months. Look for signs of adhesive fatigue, clip loosening, or water damage.
Example: Structural Failure Prevention
A restaurant in Miami suffered a collapsed sink due to inadequate support. Retrofitting steel brackets prevented recurrence and improved hygiene.
Sealing, Cleaning, And Maintenance
Sealing Granite Edges
Granite is porous, so edge sealing is vital. Apply a stone sealer to the cutout edge before mounting the sink.
- Use a brush-on stone sealer.
- Allow to dry fully before proceeding.
Cleaning And Care
After installation:
- Clean with non-abrasive stone cleaner.
- Avoid harsh chemicals or scrubbing pads.
- Regularly check silicone seals for wear.
Maintenance Schedule
- Inspect sink mount and plumbing every 3, 6 months.
- Reseal granite edge annually.
- Replace silicone sealant if signs of mold or cracking appear.
Example: Long-term Maintenance
A homeowner in Denver followed a strict maintenance schedule, resulting in a flawless sink after five years. Neglecting sealant led to mold in a neighbor’s kitchen, requiring costly remediation.
Real-world Examples And Case Studies
Case Study 1: Diy Success With Professional Consultation
A family in Atlanta wanted to save on installation costs and installed their own undermount sink. They consulted a professional for granite cutting and hired a plumber for final connections. The result was a secure, leak-free installation at 40% less cost than full professional service.
Case Study 2: Professional Installation For Complex Layout
A luxury condo in San Francisco had a triple-bowl undermount sink. The complexity required a stone fabricator and specialized mounting hardware. The professional installer used laser leveling and custom brackets, resulting in a flawless finish and high durability.
Case Study 3: Overcoming Mistakes
A DIYer in Chicago mounted their sink without proper epoxy, leading to detachment after three months. After consulting The Home Depot, they redid the installation with recommended materials, achieving lasting results.
Example: Integrated Accessories
Integrating a soap dispenser or garbage disposal? Guides such as How To Install A Soap Dispenser In A Kitchen Sink and How To Install A Garbage Disposal provide step-by-step instructions for seamless upgrades.
Cost, Time, And Professional Vs. Diy Comparison
Installation Cost Breakdown
- DIY Installation: $200, $350 (tools, materials)
- Professional Installation: $450, $1,000 (labor, materials)
- Additional granite cutting: $100, $300
Time Estimates
- DIY (with experience): 4, 6 hours
- Professional: 2, 3 hours
Pros And Cons Table: Diy Vs. Professional
| Factor | DIY | Professional |
|---|---|---|
| Cost | Lower | Higher |
| Time | Longer | Shorter |
| Risk | Higher | Lower |
| Skill Required | High | Moderate |
| Warranty | None | Usually Provided |
Pro Tip:
If you’re unsure about granite cutting or sink alignment, consult a stone fabricator or licensed plumber. The risk of damage often outweighs potential savings for inexperienced DIYers.
Tips For A Flawless Finish
Precision Matters
- Use a laser level for perfect alignment.
- Double-check measurements before cutting or drilling.
Adhesive Application
- Apply epoxy evenly, avoid gaps or air pockets.
- Clean excess adhesive immediately to prevent staining.
Silicone Sealant
- Use neutral-cure silicone to avoid discoloration.
- Smooth the bead for a professional look.
Accessory Integration
- Plan for faucets, sprayers, and disposals before installation.
- Refer to guides like How To Install A Kitchen Sink Faucet for detailed instructions.
Final Inspection
- Test for leaks with a full sink of water.
- Check for movement or flexing.
- Clean the surface with a damp cloth.
Frequently Asked Questions
How Do I Remove An Existing Undermount Sink From Granite?
Removing an undermount sink involves carefully cutting through the silicone sealant and loosening mounting clips. Use a plastic scraper to avoid scratching the granite. Once the sink is free, clean all adhesive residue from the stone. If the sink was installed with epoxy, you may need to gently pry it loose with a putty knife.
Always wear safety gear and consult a professional if the granite shows signs of cracking.
Can I Install A Garbage Disposal With An Undermount Sink?
Yes, you can install a garbage disposal with an undermount sink. Ensure the sink is securely mounted and supported, as the added weight of the disposal can stress the installation. Use a vibration-dampening bracket and check that the plumbing lines are compatible. Refer to How To Install A Garbage Disposal for step-by-step guidance.
What Should I Do If My Granite Countertop Cracks During Installation?
If the granite cracks, stop installation immediately. Assess the damage and consult a stone repair specialist. Small cracks can sometimes be filled with epoxy, but larger fractures may require professional replacement or reinforcement. Prevent future cracks by using proper support and avoiding over-tightening sink clips.
How Often Should I Reseal The Granite Edge Around The Sink?
Reseal the granite edge at least once a year, or whenever you notice water absorption or discoloration. Use a stone-specific sealer and follow manufacturer instructions. Regular resealing prevents staining and maintains the countertop’s integrity.
Are There Specific Undermount Sink Designs For Granite?
Yes, some undermount sinks are specifically designed for stone countertops. These models feature reinforced rims and mounting holes compatible with granite clips and brackets. Always check the manufacturer’s specifications and consult your fabricator to ensure compatibility with your granite cutout.
Installing an undermount sink to granite can elevate your kitchen or bathroom’s aesthetics and functionality, but it’s a task that demands precision, planning, and the right materials. By following this guide, leveraging expert advice, and considering your skill level, you can achieve a seamless, durable installation that stands the test of time.
Whether you choose to tackle the project yourself or enlist professionals, the beauty and practicality of an undermount sink in granite will reward your efforts for years to come.