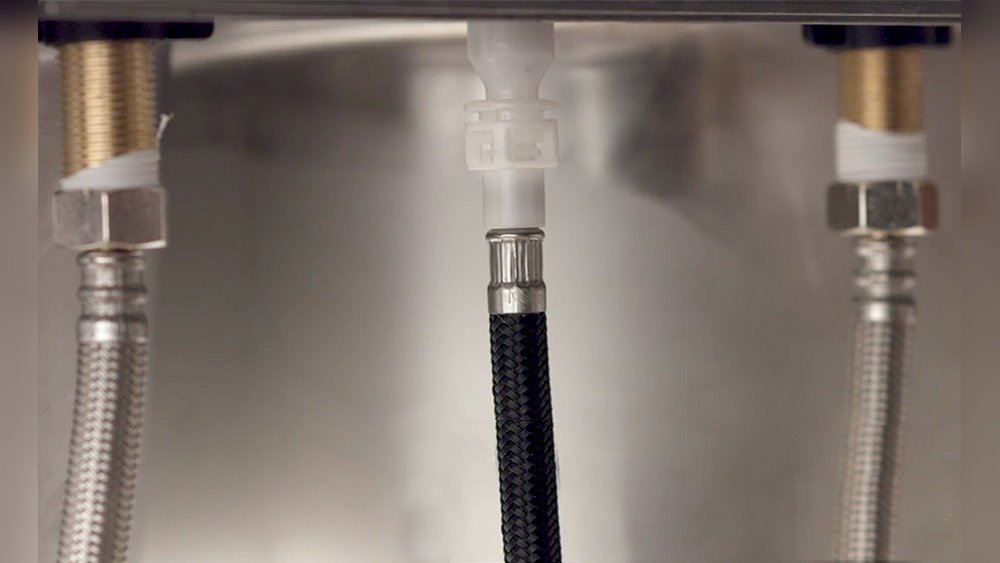
A sink sprayer can dramatically enhance your kitchen’s functionality, providing added convenience for rinsing dishes, cleaning vegetables, and maintaining overall sink hygiene. Whether you’re upgrading an old sprayer or adding one for the first time, the installation process is a practical DIY project that can save you significant plumbing costs.
Understanding the correct steps, essential tools, and troubleshooting techniques is crucial for a hassle-free experience.
Many homeowners are surprised to learn that installing a sink sprayer doesn’t require professional plumbing skills. With the right guidance, even a novice can achieve professional-looking results. This comprehensive guide walks you through every critical aspect, planning, selecting the right sprayer, handling installation, and ensuring long-term performance. You’ll also find real-world examples, actionable tips, and expert troubleshooting insights to ensure your kitchen upgrade is both efficient and lasting.
Key Takeaways
- Installing a sink sprayer typically takes 1, 2 hours and requires only basic plumbing tools.
- The most common types are side sprayers and pull-down faucet sprayers, choose one compatible with your sink and faucet.
- Proper preparation, including shutting off water and checking for leaks post-installation, is essential to avoid water damage.
- Real-world DIY experiences highlight the importance of reading manufacturer instructions and using thread seal tape.
- Troubleshooting common issues like leaks or weak spray can often be managed without professional help.
- Regular maintenance extends your sprayer’s lifespan and optimizes kitchen hygiene.
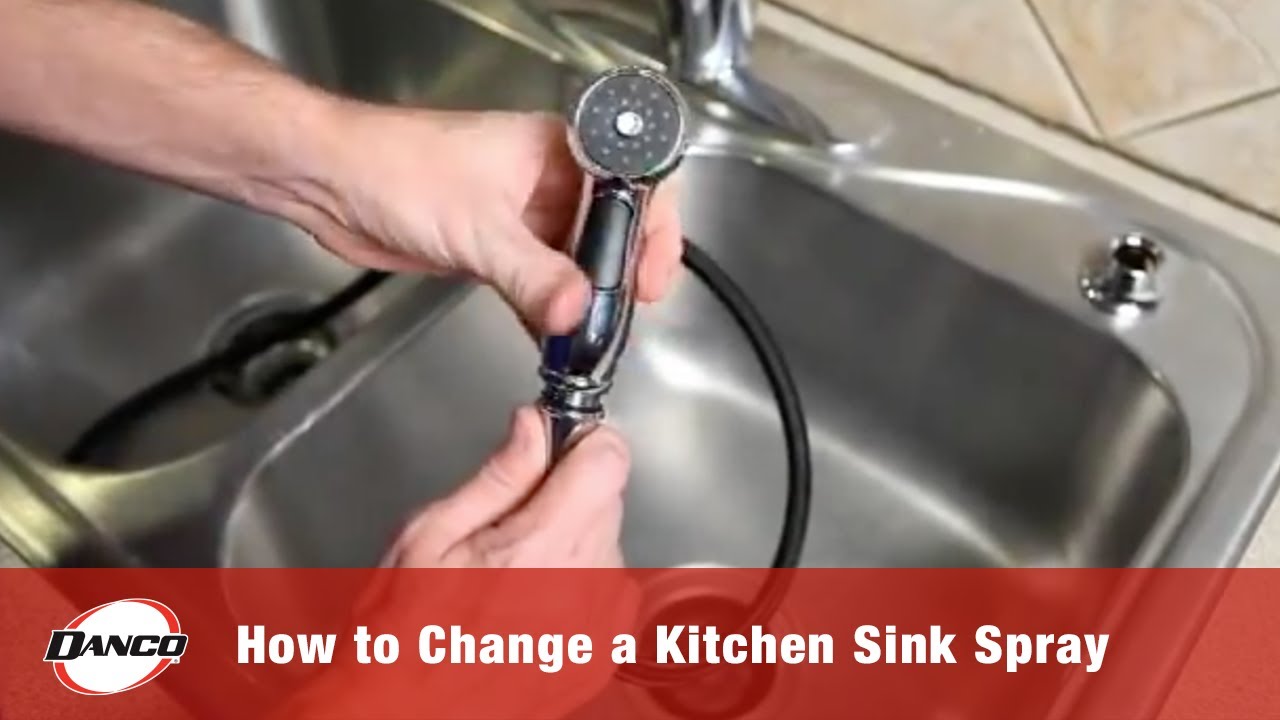
Credit: www.youtube.com
Understanding Sink Sprayers: Types And Benefits
A sink sprayer isn’t just a kitchen luxury, it’s a practical addition that improves both cleaning power and flexibility. Let’s examine the main varieties and what they offer.
Types Of Sink Sprayers
There are two primary categories of kitchen sink sprayers:
- Side Sprayers
- Installed in a separate hole beside your main faucet.
- Connected via a dedicated hose to the faucet diverter.
- Ideal for sinks with available side holes or when replacing an old sprayer.
- Pull-Down/Pull-Out Faucet Sprayers
- Integrated into the faucet head itself.
- Sprayer pulls out or down from the faucet spout.
- Perfect for modern kitchens with single-hole sinks.
- Universal Add-On Sprayers
- Attach directly to most standard faucets.
- Useful for renters or temporary installations.
Comparison Table: Side Sprayer Vs. Pull-down Sprayer
| Feature | Side Sprayer | Pull-Down Sprayer |
|---|---|---|
| Installation Difficulty | Moderate | Moderate to Difficult |
| Requires Extra Sink Hole | Yes | No |
| Replacement Frequency | Every 5-7 years | Every 7-10 years |
| Flexibility | High | Very High |
| Popular Brands | Moen, Delta | Kohler, Grohe |
Benefits Of Installing A Sink Sprayer
- Efficient Cleaning: Directs pressurized water to hard-to-reach spots.
- Time-Saving: Speeds up rinsing pots, pans, and produce.
- Reduces Water Waste: Targeted spraying uses less water than filling the basin.
- Improves Hygiene: Makes cleaning the sink itself much easier.
Real-world Example: Family Upgrade
A family in Chicago reported a 30% reduction in time spent washing dishes after switching to a pull-down sprayer, highlighting the everyday impact of this simple upgrade.
Credit: www.homedepot.com
Planning Your Sink Sprayer Installation
Proper planning ensures a smooth installation and avoids common pitfalls. This section covers everything from measuring your sink to selecting the right tools.
Assessing Your Sink And Faucet Compatibility
Before purchasing a sprayer, check:
- Available Sink Holes: Most side sprayers require a separate mounting hole (often covered by a plug).
- Faucet Model: Ensure your faucet has a diverter port or is compatible with a sprayer add-on.
- Water Lines: Inspect for corrosion or leaks that may complicate installation.
Gathering Tools And Materials
You’ll need:
- Adjustable wrench
- Basin wrench
- Plumber’s tape (Teflon tape)
- Bucket or towel
- Sink sprayer kit (with hose, head, and diverter)
- Screwdriver
- Flashlight
Pro Tip: Assemble all tools in advance to avoid mid-project delays.
Choosing The Right Sink Sprayer
Research product reviews and specifications. Consider:
- Length of hose (typically 48, 60 inches)
- Material (metal vs. reinforced plastic)
- Spray settings (single vs. multi-mode)
- Brand reliability (look for warranties)
For in-depth consumer ratings, see Consumer Reports.
Example: Measuring For Fit
When I installed my own side sprayer, I discovered the pre-drilled hole was too small, requiring a step drill bit for adjustment. Always measure your sink’s available hole diameter before purchasing a kit.
Credit: www.homedepot.com
Step-by-step Guide: Installing A Side Sink Sprayer
Side sprayers are the most common DIY project. This section offers a detailed, sequential guide.
Preparing Your Workspace
- Clear the Area: Remove items from under the sink.
- Protect Surfaces: Place a towel or bucket to catch drips.
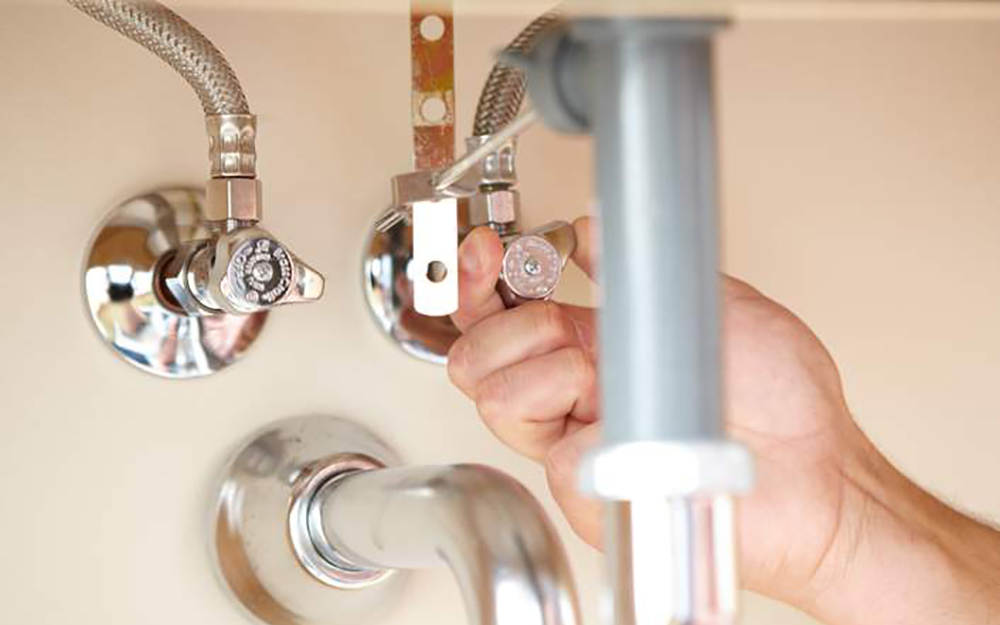
- Turn Off Water Supply: Shut off both hot and cold supply valves.
- Relieve Pressure: Open the faucet to drain any remaining water.
Removing The Old Sprayer (if Applicable)
- Unscrew the old sprayer head.
- Use a basin wrench to loosen the mounting nut under the sink.
- Disconnect the hose from the diverter port.
- Clean the mounting hole to remove debris.
Installing The New Sprayer
- Insert Sprayer Base
- Feed the hose through the sink hole.
- Seat the sprayer base firmly, ensuring the gasket is in place to prevent leaks.
- Secure Under the Sink
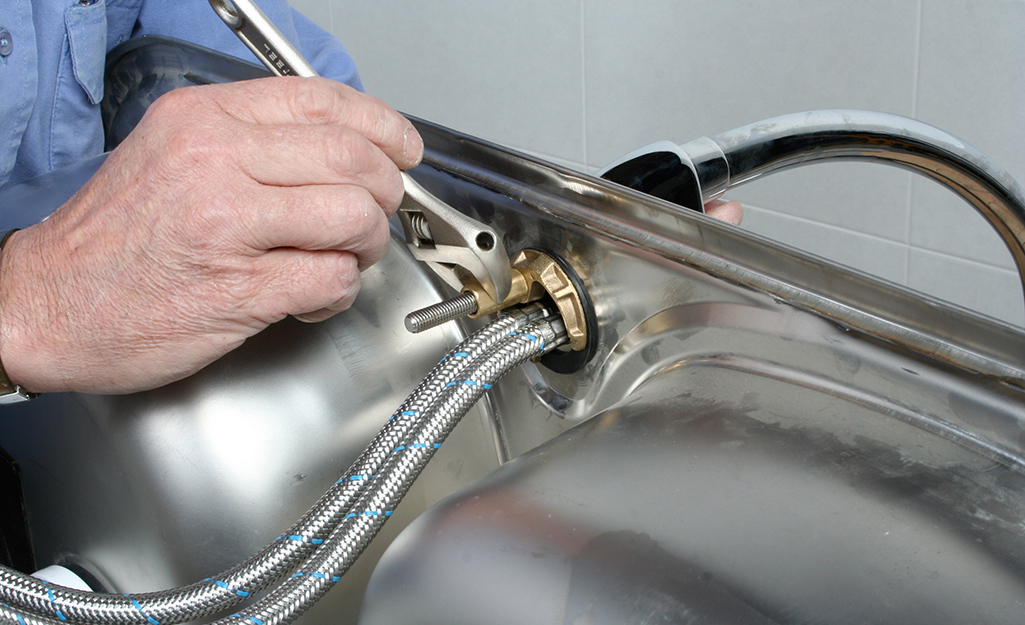
- From below, attach the mounting nut to the threaded base of the sprayer.
- Tighten by hand, then use an adjustable wrench for a snug fit, avoid overtightening.
- Connect the Hose
- Attach the hose to the diverter port on your faucet (usually marked or color-coded).
- Wrap the threads with plumber’s tape for a watertight seal.
- Hand-tighten, then finish with a wrench.
- Install the Sprayer Head
- Screw the sprayer head onto the hose.
- Test for smooth trigger movement.
Testing For Leaks And Functionality
- Turn on the water supply slowly.
- Check all connections for drips.
- Test the sprayer trigger and hose retraction.
- Inspect under the sink for leaks during operation.
If you notice leaks, tighten connections or reapply thread seal tape as needed.
Example: Diy Success
A recent DIYer shared on a popular home improvement forum that their first attempt led to a small leak, which was fixed by removing and re-taping the hose threads, highlighting the importance of proper sealing.
Installing A Pull-down Faucet Sprayer
Pull-down sprayers require a slightly different approach. Here’s how to proceed.
Removing The Old Faucet (if Necessary)
- Turn off water and disconnect supply lines.
- Loosen and remove mounting nuts.
- Extract the old faucet and clean the deck area.
Mounting The New Faucet With Integrated Sprayer
- Insert Faucet Assembly
- Position the faucet over the sink hole.
- Feed the supply lines and sprayer hose through the hole.
- Secure from Below
- Attach the mounting hardware as per manufacturer instructions.
- Tighten with a basin wrench.
- Connect Water Supply and Sprayer Hose
- Attach hot and cold supply lines.
- Connect the sprayer hose, ensuring a smooth path for pull-out action.
- Use plumber’s tape as recommended.
- Install Counterweight
- Attach the counterweight to the sprayer hose under the sink.
- This ensures smooth retraction after use.
Testing And Adjustments
- Turn water supply back on.
- Test both faucet and sprayer functions.
- Adjust the counterweight if the hose doesn’t retract fully.
Example: Pull-down Upgrade
A homeowner in Seattle reported switching to a pull-down sprayer and noticing a significant improvement in ease of cleaning large pots, especially in a deep, single-bowl sink.
Troubleshooting Common Sink Sprayer Problems
Even with careful installation, issues can arise. Here’s how to address typical problems.
Low Water Pressure
- Clogged Sprayer Head: Remove and soak in vinegar to dissolve mineral buildup.
- Kinked Hose: Inspect hose routing under the sink and adjust as needed.
- Diverter Malfunction: Replace the faucet diverter if water flow remains weak.
Persistent Leaks
- Loose Connections: Retighten hose and sprayer head fittings.
- Worn Gaskets: Replace rubber washers or O-rings.
- Cracked Hoses: Swap out the hose if you notice visible damage.
Sprayer Won’t Retract
- Counterweight Misplacement: Reposition the weight closer to the base of the hose.
- Obstructed Path: Clear any cleaning supplies or obstacles under the sink.
Example: Quick Leak Fix
In my experience, a persistent drip from the sprayer base was solved by swapping a compressed washer with a new one, demonstrating the value of keeping extra washers on hand.
Comparison Table: Troubleshooting Solutions
| Problem | Possible Cause | Solution |
|---|---|---|
| Low Pressure | Clogged head or diverter | Clean or replace affected part |
| Leaking Sprayer | Loose connection or bad washer | Tighten or replace washer |
| Doesn’t Retract | Counterweight issue | Adjust or reposition weight |
| Spray Pattern Issues | Mineral build-up | Descale with vinegar |
Maintenance And Best Practices For Longevity
Regular care ensures your sink sprayer remains reliable and efficient for years.
Routine Cleaning
- Sprayer Head: Wipe weekly with a vinegar-dampened cloth to prevent mineral deposits.
- Hose: Check for kinks or cracks every few months.
- Diverter Valve: Operate the sprayer at least weekly to keep the valve functioning.
Preventing Common Problems
- Don’t yank the hose, use gentle, steady pulls.
- Store heavy cleaning products away from the sprayer hose path.
- Inspect and replace washers annually or if leaks develop.
Water Quality Considerations
Hard water increases mineral buildup, consider installing a small under-sink filter if you live in a hard water area.
Pro Tip: Use Food-grade Lubricant
A small dab of food-grade silicone grease on O-rings and washers during installation or maintenance can prevent premature wear and reduce leaks.
When To Replace Your Sprayer
If your sprayer develops persistent leaks, weak spray, or visible cracks, replacement is often more cost-effective than repeated repairs.
Cost Analysis: Diy Vs. Professional Installation
Is it worth hiring a plumber, or should you tackle the installation yourself? Let’s break down the costs.
Diy Installation
- Average Kit Cost: $25, $75 (side sprayer or pull-down kit)
- Tools: Most households already own the basics; specialty tools may add $10, $20.
- Time Investment: 1, 2 hours
Professional Installation
- Labor Cost: $100, $200 (varies by region and complexity)
- Materials: Same as DIY
- Warranty: Some plumbers offer installation warranties
Comparison Table: Diy Vs. Professional
| Factor | DIY | Professional |
|---|---|---|
| Average Cost | $25, $95 | $125, $275 |
| Time Required | 1, 2 hours | 30, 60 mins |
| Skill Level | Beginner to Intermediate | Professional |
| Warranty | Manufacturer only | Install & Manufacturer |
Example: Diy Savings
A homeowner in Austin installed a new sprayer for $50 in materials and two hours of work, compared to a $175 professional quote, saving $125.
Safety Considerations And Environmental Impact
Proper safety and sustainability practices can make your installation both safe and eco-friendly.
Safety Tips
- Always shut off the water supply before starting.
- Wear gloves to protect hands from sharp edges under the sink.
- Use a flashlight to avoid working in poor visibility.
Environmental Benefits
- Sprayers typically reduce overall water use by delivering targeted cleaning.
- Modern models offer water-saving spray settings to further cut consumption.
Disposing Of Old Parts
- Recycle metal parts where possible.
- Dispose of old hoses and plastic components according to local regulations.
Lead-free Certification
Choose a sprayer certified to meet NSF/ANSI 372 standards for lead-free plumbing to ensure safe kitchen water.
For more safety information, reference the EPA’s lead in drinking water guide.
Integrating Your New Sprayer With Other Kitchen Upgrades
A new sprayer can be part of a broader kitchen sink improvement plan.
Pairing With Sink Drain Upgrades
If you’re also addressing drainage issues, check out:
- How To Fix A Backed Up Kitchen Sink
- How To Clear A Clogged Kitchen Sink Drain
- How To Open A Clogged Kitchen Sink Drain
These guides help optimize your entire sink setup for maximum performance.
Compatible Accessories
- Soap Dispensers: Many sinks with extra holes can accommodate both a sprayer and soap pump.
- Water Filters: Under-sink filters can connect alongside sprayer hoses if space allows.
- Pull-Down Faucets: When installing a pull-down sprayer, coordinate with faucet finish and style for a cohesive look.
Example: Full Sink Remodel
A homeowner in Denver combined a new side sprayer installation with a stainless steel sink, soap dispenser, and upgraded drain, all in one afternoon, improving both appearance and functionality.
Pro Tip: Plan For Future Upgrades
Leave enough space and access under the sink for future installations or repairs. Document hose routing and connections with photos for easy reference.
Frequently Asked Questions
What If My Sink Doesn’t Have An Extra Hole For A Side Sprayer?
If your sink lacks an extra hole, you have two main options: use a pull-down faucet sprayer (which doesn’t require a separate hole) or purchase a universal add-on sprayer that attaches directly to your faucet’s aerator. Drilling an additional hole is possible in stainless steel sinks but should only be done with proper tools and safety precautions.
Can I Install A Sink Sprayer On Any Kitchen Faucet?
Not all faucets are compatible. Your faucet must have a diverter port to support a side sprayer. Many modern single-handle faucets include this feature, but older or budget models may not. For those, a pull-down sprayer or universal add-on may be better suited.
Always check your faucet’s specifications before purchasing a sprayer kit.
How Do I Prevent Cross-threading During Installation?
To avoid cross-threading, always start threading hose and head connections by hand, ensuring they spin freely before tightening with tools. If you feel resistance immediately, back off and realign. Cross-threaded connections can lead to leaks and permanent damage, so take your time during this step.
Is It Safe To Use Plumber’s Tape On All Connections?
Plumber’s (Teflon) tape is safe and recommended for threaded metal-to-metal connections but usually isn’t necessary, or advisable, on plastic fittings with rubber washers. Always follow the manufacturer’s instructions; applying tape where not recommended can cause leaks or fitting damage.
How Often Should I Replace My Sink Sprayer?
With regular maintenance, quality sink sprayers last 5, 10 years. Replace your sprayer if you notice persistent leaks, weak spray, or visible wear and tear. Using filtered water and periodically cleaning mineral deposits can extend the lifespan of your sprayer.
A well-installed sink sprayer can transform your kitchen routine, making everyday tasks faster, cleaner, and more efficient. Whether you choose a side sprayer or a pull-down model, following this step-by-step guide ensures a successful DIY project. With proper planning, attention to detail, and regular maintenance, your new sprayer will deliver years of reliable service, adding both convenience and value to your home. For related guidance on maintaining a healthy kitchen, explore resources like How To Fix Kitchen Sink Not Draining and How To Clear A Clogged Garbage Disposal.
Investing time in a careful installation and routine upkeep will reward you with a trouble-free kitchen sink sprayer that meets your family’s daily needs.