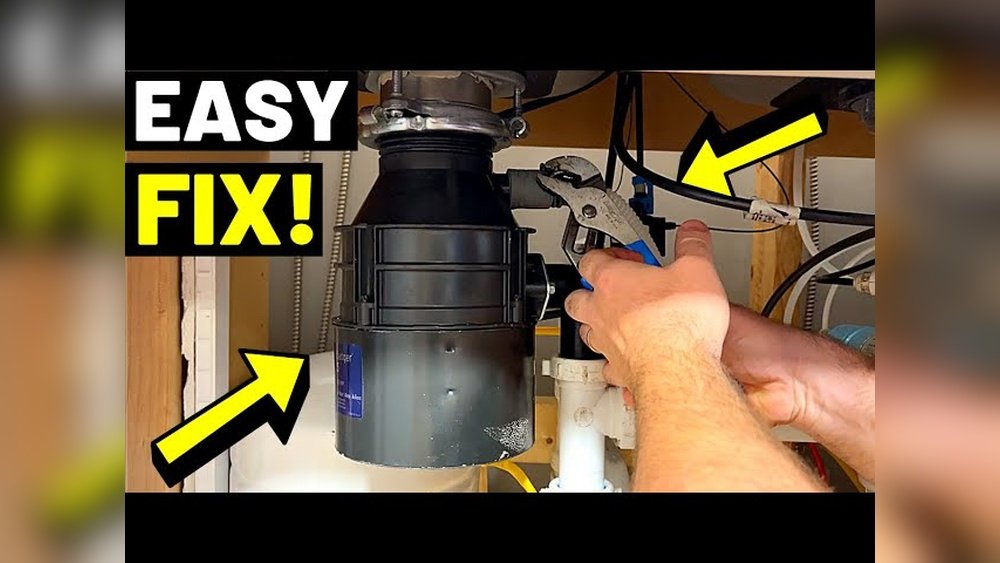
A malfunctioning garbage disposal can turn a smoothly running kitchen into a source of frustration. When your sink starts to fill with water, emits strange noises, or refuses to grind food waste, it’s not just an inconvenience, it can lead to bigger plumbing issues if left unaddressed. Fortunately, most garbage disposal problems have straightforward solutions that you can handle yourself without calling a plumber. Understanding how to fix a garbage disposal in your sink empowers you to tackle issues efficiently, save money, and maintain a hygienic kitchen environment.
With over half of American homes equipped with a garbage disposal, knowing how to troubleshoot and repair one is an essential home maintenance skill. This guide will walk you through diagnosing common disposal issues, step-by-step repair instructions, and when to seek professional help.
Whether you’re dealing with a jam, leak, or electrical fault, you’ll find practical advice, real-world examples, and expert insights to restore your disposal’s performance and prolong its life.
Key Takeaways
- Most garbage disposal problems can be fixed with basic tools and safety steps.
- Common issues include jams, clogs, leaks, and electrical failures.
- Regular maintenance and proper use prevent most breakdowns.
- A disposal that hums but doesn’t grind is likely jammed; a silent unit may have electrical issues.
- Always disconnect power before inspecting or repairing your unit.
- Some problems require a professional, especially persistent leaks or electrical faults.

Credit: www.wikihow.life
Understanding How Garbage Disposals Work
A solid grasp of how a garbage disposal operates helps you troubleshoot more effectively. Disposals are designed to shred food waste into small particles that can pass through plumbing without causing clogs.
Basic Components Of A Garbage Disposal
- Motor: Powers the grinding process.
- Flywheel and impellers: Spin to break down food waste.
- Grind ring: A stationary ring with sharp edges that pulverizes scraps.
- Reset button: Trips to prevent overheating or overloading.
- Splash guard: Prevents debris from flying out.
- Drain outlet: Channels ground waste into the plumbing.
Understanding these parts is key to identifying the source of a problem. For example, a stuck flywheel might cause humming, while leaks could come from the drain outlet or unit body.
How It Handles Food Waste
When you turn on your garbage disposal, the motor spins the flywheel and impellers at high speed. Food scraps are forced against the grind ring, breaking into fine particles. Water flushes the waste down the drain.
Pro Tip: Always run cold water during and after using the disposal. This helps solidify any grease, making it easier for the unit to grind and flush it out.
Common Causes Of Malfunctions
- Foreign objects (utensils, bones) jamming the grinding chamber
- Grease and fibrous foods clogging the pipes
- Electrical overloads tripping the reset button
- Worn-out seals or gaskets causing leaks
Knowing these causes helps you prevent issues and informs your troubleshooting steps.
Diagnosing Common Garbage Disposal Problems
Before grabbing your tools, accurately identify the issue. Here’s a systematic approach to diagnosis.
Disposal Won’t Turn On (no Sound)
If the unit is silent when you flip the switch:
- Check power: Ensure the disposal is plugged in.
- Reset button: Press the reset button (usually on the bottom of the unit).
- Circuit breaker: Inspect your home’s breaker panel for a tripped switch.
This is often an electrical issue, not a mechanical jam.
Disposal Hums But Doesn’t Grind
A humming noise means the motor is getting power but the flywheel is stuck.
- Likely caused by a jam (utensil, bone, or tough food).
- Continued operation in this state can burn out the motor.
Disposal Drains Slowly Or Backs Up
If water pools in the sink after use:
- The drain or disposal is likely clogged with food debris or grease.
- Could also indicate a deeper plumbing blockage.
Disposal Leaks
Leaks can originate from different points:
- Sink flange: Where the unit meets the sink.
- Dishwasher inlet: Where the dishwasher hose connects.
- Drain pipe connection: Where waste exits the unit.
- Body of the disposal: Indicates a crack or seal failure.
Unusual Noises
Grinding, rattling, or screeching sounds may indicate:
- Hard objects in the grinding chamber.
- Broken or loose impellers.
Example: One homeowner found a broken glass shard causing persistent rattling, removal restored quiet operation.
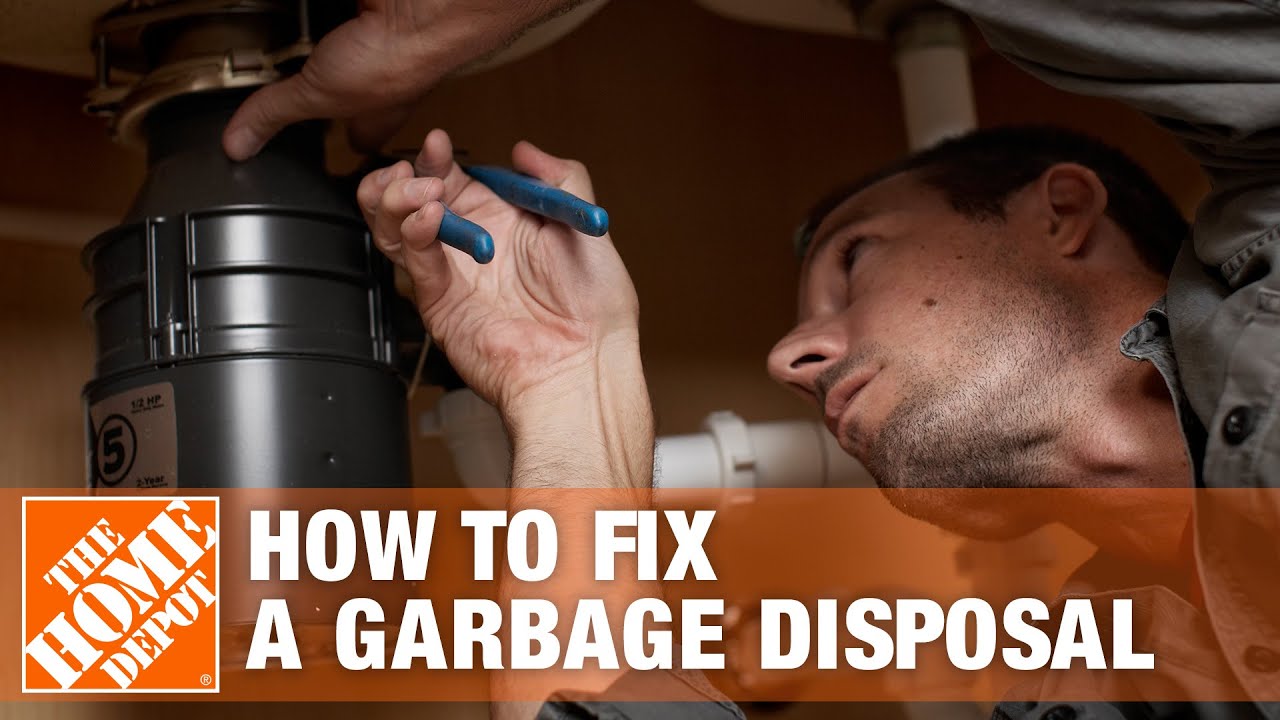
Credit: www.youtube.com
Step-by-step Repairs For The Most Common Issues
Armed with a diagnosis, follow these targeted repair instructions. Always disconnect power before working on the disposal.
Fixing A Jammed Garbage Disposal
- Unplug the unit or switch off the circuit breaker.
- Insert a hex (Allen) wrench into the socket on the bottom of the disposal.
- Turn the wrench back and forth to free the flywheel.
- Remove the wrench and check inside with tongs or pliers for foreign objects.
- Restore power and test.
Warning: Never use your fingers to retrieve objects from inside the disposal.
Example: In my experience, a small metal bottle cap once jammed my unit. The hex wrench quickly freed the flywheel, and I retrieved the cap with pliers.
Resetting An Overloaded Disposal
- Locate the reset button (red or black, on the bottom).
- Press firmly until you hear a click.
- Wait 10 minutes if the button won’t stay in (the motor may be hot).
- Restore power and try again.
This often resolves issues after a jam or power surge.
Clearing A Clogged Drain
- Use a plunger on the sink if water is standing.
- If plunging fails, disconnect the drain trap (P-trap) and remove debris.
- A plumber’s snake can clear deeper clogs.
Refer to How To Fix A Backed Up Kitchen Sink for advanced drain clearing techniques.
Fixing Leaks
Leak At Sink Flange
- Tighten the mounting bolts under the sink.
- Apply plumber’s putty around the flange if needed.
Leak At Dishwasher Inlet
- Check and tighten the hose clamp.
- Replace the hose if cracked.
Leak At Disposal Body
- If water drips from the unit itself, replacement is usually necessary.
Eliminating Odors
- Grind ice cubes and citrus peels to clean the chamber.
- Pour baking soda and vinegar, followed by hot water.
Pro Tip: Odors often signal trapped organic debris, clean the splash guard and grind chamber regularly.
:max_bytes(150000):strip_icc()/leaking-garbage-disposal-2718868-hero-4da643e1102d4368b91a18864ef5778c.jpg)
Credit: www.thespruce.com
Essential Tools And Safety Precautions
Proper tools and safety measures are critical for a successful, injury-free repair.
Tools You’ll Need
- Hex (Allen) wrench (usually 1/4-inch)
- Screwdriver (Phillips and flathead)
- Pliers or tongs
- Bucket (for catching water from P-trap)
- Plumber’s putty
- Flashlight
- Plunger
Safety First
- Disconnect power: Always unplug the disposal or turn off the breaker.
- No hands inside: Never put your hand into the disposal.
- Eye protection: Wear safety glasses when working under the sink.
- Water damage prevention: Place a towel or bucket under the sink.
Warning: If you suspect an electrical fault (sparks, burning smell), do not attempt repair, call a licensed electrician.
Disposal Repair Vs. Replacement: When To Upgrade
Sometimes, fixing an old or severely damaged unit is not cost-effective. Here’s a comparison to help you decide:
| Repair | Replacement |
|---|---|
| Minor jams or clogs | Cracked housing/body |
| Loose connections | Persistent leaks |
| Resetting overload | Motor failure |
| Odor elimination | Unit older than 8-10 years |
| Cost: $0, $30 (DIY parts) | Cost: $100, $400 (new unit + install) |
If your disposal is over a decade old, replacement often provides better performance and efficiency. For step-by-step replacement, see How To Install A Garbage Disposal.
Preventative Maintenance And Best Practices
Regular maintenance keeps your disposal running smoothly and extends its life.
What Not To Put In Your Disposal
- Grease, oil, or fat: Causes clogs and odors.
- Fibrous foods: Celery, corn husks, onion skins can wrap around impellers.
- Hard objects: Bones, fruit pits, shells.
- Expandable foods: Rice and pasta can swell and clog drains.
- Non-food items: Glass, metal, plastic.
Smart Usage Habits
- Run cold water during and for 15 seconds after use.
- Feed waste gradually; avoid overloading.
- Clean monthly with ice, citrus, and baking soda.
Routine Inspections
- Check for leaks under the sink monthly.
- Tighten loose connections and mounting bolts.
- Test the reset button if you experience frequent shutdowns.
Example: A family who adopted a monthly cleaning routine (ice cubes and vinegar) saw a dramatic reduction in clogs and odors.
Case Studies And Real-world Examples
Examining real scenarios highlights practical solutions.
Case Study 1: The Mystery Jam
A homeowner in Seattle noticed their disposal humming but not grinding. Upon unplugging the unit and using a hex wrench, they freed the flywheel and discovered a small bone had wedged itself against the grind ring. After removal, the disposal functioned perfectly.
Case Study 2: Persistent Leak At Drain Outlet
A resident in Dallas reported water pooling under the sink. Inspection revealed a loose drain pipe connection. Tightening the slip nut and adding plumber’s tape solved the issue, saving a costly plumber visit.
Case Study 3: Clogged Drain Despite Working Disposal
In a Chicago condo, the disposal ran but the sink backed up. After plunging failed, the P-trap was removed, revealing a mass of potato peels. Clearing the trap restored drainage. The owner now avoids starchy foods in the disposal.
Troubleshooting Advanced Issues
Some problems are less common but require specific solutions or professional help.
Electrical Problems
- Unit trips circuit breaker repeatedly: There may be a short circuit or faulty wiring.
- Reset button won’t stay in: Motor may be burned out or overloaded.
Call a licensed electrician if you’re uncomfortable diagnosing electrical faults.
Grinding Chamber Corrosion
Older units may develop rust or corrosion, leading to leaks and poor grinding.
Solution: Replacement is the only fix, see How To Install A New Kitchen Sink if upgrading the entire sink setup.
Persistent Odors
If cleaning and citrus peels don’t eliminate odor, the splash guard may be trapping debris. Remove and clean or replace the guard.
Unusual Vibrations Or Shaking
This often means the disposal is not mounted securely.
- Check mounting ring and bolts.
- Tighten as needed.
Pro Tip: If vibrations persist, check for missing mounting hardware or consult the manufacturer’s instructions.
Comparing Popular Garbage Disposal Models
Choosing the right disposal can prevent future repairs. Here’s a comparison of key features:
| Model | Motor Power | Noise Level | Warranty | Price Range |
|---|---|---|---|---|
| InSinkErator Evolution Excel | 1 HP | Very Quiet | 10 Years | $300, $400 |
| Waste King L-8000 | 1 HP | Moderate | Lifetime | $150, $200 |
| Moen GX Series | 3/4 HP | Quiet | 5 Years | $120, $180 |
For a complete guide to installation, visit How To Install A Disposal In A Single Sink.
Environmental Impact And Proper Disposal Of Old Units
Disposing of an old garbage disposal responsibly is important for the environment.
- Metal recycling: Most units are primarily metal and can be recycled at a scrap yard.
- E-waste programs: Some municipalities offer appliance recycling.
- Donation: If your disposal still works, donate it to a local charity or Habitat for Humanity.
For more on environmental best practices, see the EPA’s guidelines on appliance recycling at EPA.gov.
Frequently Asked Questions
What Should I Do If My Garbage Disposal Makes A High-pitched Squeal?
A high-pitched squeal often indicates worn bearings or a failing motor. This noise is different from the typical grinding sound. Turn off the unit immediately to prevent further damage. If the noise persists after checking for jams, replacement of the disposal is usually necessary.
Consult your unit’s warranty, some manufacturers offer coverage for motor failures.
Can I Use Chemical Drain Cleaners In My Garbage Disposal?
It’s not recommended to use chemical drain cleaners in a garbage disposal. The harsh chemicals can damage the rubber and metal components, leading to leaks or premature failure. Instead, use natural methods such as baking soda and vinegar, or physically remove clogs by disconnecting the P-trap.
How Do I Clean The Splash Guard On My Disposal?
The splash guard (the rubber flaps at the sink opening) can collect food particles and bacteria, causing odors. To clean it, turn off power to the disposal, then remove the splash guard if possible. Scrub with a brush and warm, soapy water.
For non-removable guards, scrub both sides thoroughly while keeping the area dry.
Is It Safe To Install A Garbage Disposal Myself?
Homeowners with basic plumbing and electrical skills can usually install a garbage disposal safely by following manufacturer instructions. However, if your installation involves new electrical wiring or changes to your plumbing, it’s best to consult a professional. Always turn off water and power before starting.
For guidance, refer to How To Install Kitchen Sink Plumbing.
How Can I Improve The Lifespan Of My Garbage Disposal?
To prolong your disposal’s life:
- Run cold water during and after use.
- Avoid grinding hard or fibrous materials.
- Clean regularly with ice and citrus.
- Do not overload the unit.
- Schedule annual inspections for leaks or wear.
Many disposals last 8, 15 years with proper care. Upgrading to a higher-end model may provide longer warranties and more durable parts.
A well-maintained garbage disposal keeps your kitchen running smoothly and protects your plumbing from costly clogs. By following the steps in this guide, most homeowners can troubleshoot and fix common disposal issues confidently and safely. Whether you’re clearing a jam, eliminating odors, or considering an upgrade, remember to prioritize safety and maintenance.
For advanced repairs or persistent problems, don’t hesitate to consult a professional, protecting both your investment and your peace of mind.