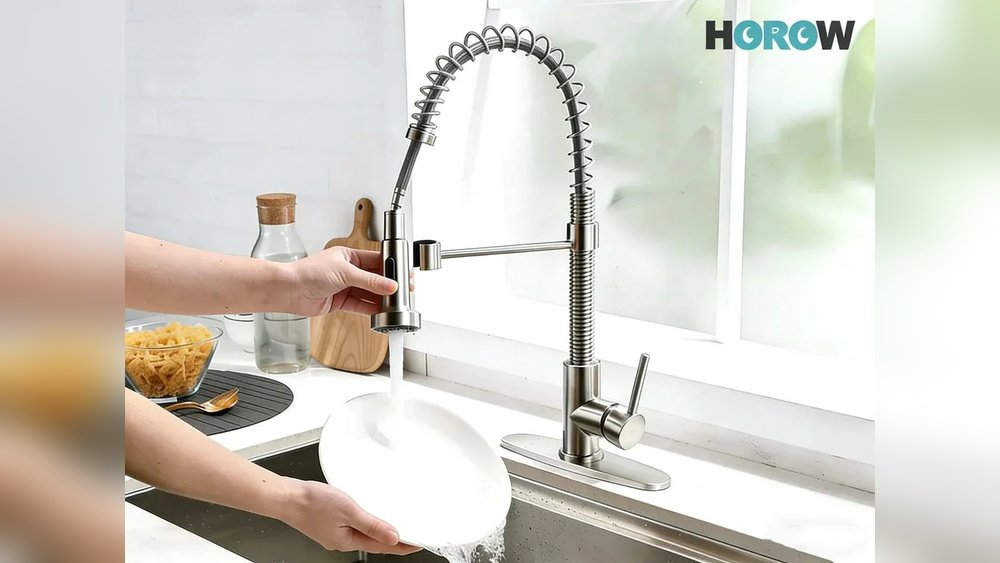
A leaky kitchen sink faucet is more than a minor annoyance, it can waste water, increase your utility bills, and even lead to structural damage in your kitchen if left unchecked. According to the U.S. Environmental Protection Agency (EPA), a faucet leaking at the rate of one drip per second can waste over 3,000 gallons of water per year (EPA). Addressing leaks promptly not only saves resources but also prevents larger, more expensive repairs down the road.
Whether you’re a homeowner, renter, or property manager, knowing how to fix a leaky kitchen sink faucet is an essential skill. The process can seem intimidating, especially with the variety of faucet types and mechanisms on the market. However, with the right tools, guidance, and step-by-step instructions, even those with limited plumbing experience can tackle this repair confidently. This article provides a comprehensive, expert-driven guide to identifying, troubleshooting, and fixing kitchen faucet leaks, complete with practical examples, comparison tables, and actionable tips.
Key Takeaways
- Leaky faucets often result from worn washers, O-rings, or cartridge issues, which are simple to replace.
- Identifying your faucet type is crucial before attempting any repair.
- Regular maintenance can extend the life of your faucet and prevent future leaks.
- Using the proper tools and following safety precautions ensures a successful fix.
- Learning to fix a faucet yourself can save significant costs compared to hiring a plumber.
- For complex leaks or persistent issues, consulting a professional is recommended.

Credit: www.youtube.com
Understanding Kitchen Faucet Leaks
The first step in fixing a leaky kitchen sink faucet is understanding the underlying causes. Faucet leaks often originate from specific components that wear out over time due to daily use and water quality. Identifying where and why the leak occurs allows you to select the appropriate repair method and tools.
Common Causes Of Faucet Leaks
- Worn-out washers or seals: Most leaks are caused by washers or seals that have deteriorated, especially in compression faucets.
- Damaged O-rings: O-rings create a watertight seal around the faucet stem. When they dry out or crack, leaks can occur.
- Faulty cartridge or valve: Cartridge and ceramic disc faucets rely on internal mechanisms that may need replacement.
- Corroded or loose parts: Mineral buildup and corrosion can compromise metal components, leading to leaks.
- Improper installation: Incorrectly installed faucets or components may cause persistent leaks.
Types Of Kitchen Faucets
Understanding your faucet type is vital for effective repair. The four main types are:
- Compression Faucet: Uses washers; the most common cause of leaks is washer wear.
- Ball Faucet: Single-handle, uses balls, springs, and seals.
- Cartridge Faucet: Single or double handle; leaks often stem from cartridge failure.
- Ceramic Disc Faucet: Uses ceramic discs; leaks usually occur due to worn seals.
| Faucet Type | Main Leak Cause | Ease of Repair | Parts Needed |
|---|---|---|---|
| Compression | Washer wear | Easy | Washers, O-rings |
| Ball | Seal failure | Moderate | Ball, seals, springs |
| Cartridge | Cartridge failure | Easy to Moderate | Cartridge, O-rings |
| Ceramic Disc | Seal wear | Moderate | Seals, O-rings |
Identifying The Leak Location
Leaks can appear in several spots:
- Spout: Dripping even when turned off.
- Base: Water pooling around the faucet.
- Handle: Water seeping from the handle when operating.
Example: A homeowner noticed water pooling beneath their sink after every use. Upon inspection, the leak was traced to a worn O-ring at the base of a cartridge faucet, which was quickly replaced.

Credit: www.youtube.com
Tools And Materials Required
Before starting repairs, assemble the necessary tools and materials. Having the correct equipment increases efficiency and reduces the risk of damage.
Essential Tools
- Adjustable wrench: For loosening and tightening nuts.
- Screwdrivers (flathead and Phillips): To remove handles and faceplates.
- Needle-nose pliers: For gripping small parts.
- Allen wrench (hex key): Often required for handle removal.
- Plumber’s grease: For lubricating new parts.
- Replacement parts: Washers, O-rings, cartridges, or seals specific to your faucet.
Optional Tools
- Basin wrench: Helpful for hard-to-reach nuts under the sink.
- Flashlight: For improved visibility under the sink.
- Teflon tape: To ensure leak-free connections.
Safety Equipment
- Gloves: Protect hands from sharp edges and hot water.
- Bucket or towel: To catch water and protect cabinetry.
- Eye protection: Prevents debris from entering eyes.
Example: In my experience, using a basin wrench made removing the mounting nut beneath a tight sink significantly easier, preventing accidental damage to water supply lines.

Credit: www.familyhandyman.com
Step-by-step Guide To Fixing A Leaky Kitchen Sink Faucet
Follow these detailed steps to repair your faucet efficiently and safely. Each step is tailored to address typical leaks found in residential kitchen faucets.
Step 1: Shut Off Water Supply
- Locate the shut-off valves under the sink; turn them clockwise to close.
- If valves are stuck or absent, shut off the main water supply for the house.
- Open the faucet to drain remaining water and relieve pressure.
Pro Tip: Place a bucket under the faucet to catch any residual water.
Step 2: Identify Faucet Type And Leak Location
- Examine the faucet’s structure and handle mechanism.
- Refer to manufacturer documentation or model numbers for precise identification.
- Observe where the leak occurs: Spout, base, or handle.
Step 3: Disassemble The Faucet
- Remove decorative caps or covers using a flathead screwdriver.
- Use the appropriate tool (Allen wrench, screwdriver) to unscrew the handle.
- Carefully lift off the handle and set aside.
Warning: Keep all screws and small parts in a container to avoid losing them.
Step 4: Inspect And Replace Faulty Parts
Compression Faucet
- Remove the packing nut and stem.
- Examine washers and O-rings for wear; replace as needed.
- Apply plumber’s grease to new parts.
Ball Faucet
- Disassemble ball assembly and remove seals and springs.
- Replace worn seals and springs.
- Reassemble, ensuring the ball is seated properly.
Cartridge Faucet
- Remove the cartridge by pulling straight out.
- Inspect O-rings and cartridge for damage.
- Replace with manufacturer-recommended parts.
Ceramic Disc Faucet
- Lift out the ceramic disc cartridge.
- Clean debris from inside the faucet body.
- Replace any worn seals or O-rings.
Step 5: Reassemble And Test
- Carefully reassemble all components in reverse order.
- Turn water supply back on gradually.
- Test faucet for leaks by running water and observing all joints.
Example: After replacing a worn cartridge in a single-handle faucet, a renter found the leak resolved and the water flow improved.
Step 6: Clean Up And Maintain
- Wipe down the area and dispose of old parts.
- Record the repair date and parts replaced for future reference.
- Check for leaks periodically to ensure lasting results.
Real-world Examples And Case Studies
Learning from real situations can illuminate common challenges and solutions. Here are three cases illustrating the practical aspects of faucet repair.
Case Study 1: Dripping Compression Faucet
A homeowner in Ohio reported a persistent drip from their kitchen faucet. After shutting off the water and disassembling the faucet, they discovered a cracked washer. Replacing the washer and lubricating the stem eliminated the leak. The repair took less than an hour and cost under $5.
Case Study 2: Leaking Cartridge Faucet Handle
A landlord in Texas noticed water seeping from the handle of a tenant’s faucet. The cartridge was worn, causing internal leaks. By replacing the cartridge with a compatible model and using plumber’s grease on O-rings, the issue was resolved, saving a $150 plumber call.
Case Study 3: Ball Faucet With Hidden Base Leak
A property manager found water pooling under the sink cabinet. The leak originated from a degraded seal in a ball faucet. Using a basin wrench to access tight spaces, the manager replaced the seal and springs, stopping the leak and preventing cabinet damage.
Comparing Diy Vs Professional Faucet Repair
Deciding whether to fix a faucet yourself or hire a professional depends on several factors, including cost, time, and complexity. The table below compares key aspects.
| Criteria | DIY Repair | Professional Service |
|---|---|---|
| Cost | $5-$30 for parts | $100-$300 per repair |
| Time | 30-60 minutes | Scheduled, 30-120 minutes |
| Skill Level | Basic to moderate | Expert |
| Warranty | No formal warranty | Work guaranteed |
| Risk | Potential for mistakes | Low risk |
Example: A tenant fixed their leaky faucet for under $10, while their neighbor paid over $120 for a plumber. Both repairs were successful, but the DIY approach offered savings and a sense of accomplishment.
Preventative Maintenance And Troubleshooting Tips
Routine maintenance can significantly extend the life of your kitchen faucet and prevent leaks. Here’s how to keep your faucet in top condition.
Regular Cleaning And Inspection
- Clean faucet spouts and aerators monthly to remove mineral buildup.
- Inspect O-rings and washers every six months for signs of wear.
- Tighten loose handles and bases as needed.
Water Quality Impact
- Hard water can accelerate wear on faucet components.
- Use water softeners or install faucet filters to reduce mineral deposits.
Early Warning Signs
- Reduced water flow may indicate clogging or internal wear.
- Handle stiffness or squeaking signals the need for lubrication.
Troubleshooting Common Issues
- If leaks persist after part replacement, check for improper seating or damaged threads.
- Consult manufacturer manuals for model-specific instructions.
Pro Tip: Record the faucet model number and part specifications for quick access during future repairs.
Selecting Quality Replacement Parts
Using high-quality replacement parts ensures the longevity of your repair and reduces the likelihood of recurring leaks.
Oem Vs Aftermarket Parts
- OEM (Original Equipment Manufacturer): Guaranteed compatibility and reliability.
- Aftermarket: Often less expensive but may lack precise fit or durability.
| Part Type | Price Range | Durability | Availability |
|---|---|---|---|
| OEM | $10-$25 | High | Brand stores, authorized dealers |
| Aftermarket | $5-$15 | Varies | Hardware stores, online |
Where To Buy Replacement Parts
- Local hardware stores: Immediate access and expert advice.
- Online retailers: Wider selection, reviews, and competitive pricing.
- Manufacturer websites: Ensure correct specifications and compatibility.
Example: Purchasing OEM cartridges from the manufacturer’s website resolved compatibility issues encountered with cheaper aftermarket versions.
When To Call A Professional Plumber
While most faucet leaks are straightforward, certain situations warrant professional expertise. Recognize when DIY repair may not be the best option.
Signs You Need A Plumber
- Persistent leaks after multiple repairs.
- Significant corrosion or damage to faucet body.
- Difficulty accessing or removing parts due to age or installation issues.
- Water damage beneath sink or in cabinetry.
Expected Costs And Services
- Faucet repair: $100-$300, depending on complexity.
- Faucet replacement: $150-$350, including parts and labor.
Choosing A Qualified Plumber
- Look for licensed and insured professionals.
- Read reviews and ask for references.
- Request a written estimate before work begins.
Example: A homeowner faced repeated leaks due to a corroded faucet body. Hiring a professional ensured proper installation and prevented further water damage.
For those interested in upgrading or replacing their kitchen faucet entirely, refer to guides such as How To Install A Kitchen Sink Faucet and How To Install A Drop-In Kitchen Sink for detailed installation steps.
Frequently Asked Questions
How Do I Know Which Replacement Parts I Need For My Faucet?
First, identify your faucet’s brand and model by checking for markings or consulting the manufacturer’s documentation. Many faucets have unique cartridges, washers, or seals. Take the old part to your local hardware store for comparison, or search online using the model number.
Some manufacturers offer part diagrams on their websites.
Is It Safe To Use Generic Parts Instead Of Oem Replacements?
Generic or aftermarket parts can be safe if they match the specifications of your faucet. However, OEM parts are designed for precise compatibility and durability. If using generics, ensure the measurements and materials are suitable for your faucet to avoid premature failure.
What Should I Do If The Shut-off Valves Under My Sink Are Stuck?
If shut-off valves are difficult to turn or seized, avoid forcing them, as this may cause leaks or damage. Try lubricating the valve stem with penetrating oil. If the valve remains stuck, shut off the main water supply and consider replacing the faulty valve to prevent future issues.
Are There Eco-friendly Options For Repairing Or Upgrading A Kitchen Faucet?
Yes, many manufacturers offer WaterSense-certified faucets, which use up to 30% less water without sacrificing performance (EPA WaterSense). When repairing, choose durable parts made from recyclable materials. Upgrading to a touchless faucet can also reduce unnecessary water waste.
Can A Leaky Faucet Cause Mold Or Structural Damage In My Kitchen?
A persistent leak can lead to water accumulation under the sink, creating an environment for mold growth and wood rot. Over time, this may compromise cabinetry and flooring. Regular inspection and prompt repair are crucial to preventing such issues. If you notice musty odors or discoloration, address the leak and consult a remediation specialist.
Taking the time to fix a leaky kitchen sink faucet saves water, money, and headaches. Armed with the right tools, knowledge, and a step-by-step guide, most homeowners can resolve common leaks with confidence. Routine maintenance and quality replacement parts ensure your faucet remains reliable for years to come. If you encounter persistent or complex leaks, don’t hesitate to consult a licensed plumber for expert assistance. For additional guidance on related kitchen plumbing projects, explore resources such as How To Install Kitchen Sink Plumbing and How To Fix A Backed Up Kitchen Sink for comprehensive solutions.