A broken sink disposal is more than a minor inconvenience, it can halt your kitchen workflow, lead to unpleasant odors, and even result in plumbing issues if left unresolved. Whether your disposal is jammed, humming but not spinning, leaking, or simply dead, understanding how to fix these problems can save you time, money, and frustration.
With millions of disposals installed in American homes, troubleshooting and repair skills are increasingly valuable for homeowners and renters alike.
This comprehensive guide draws on real-world examples, expert recommendations, and practical troubleshooting steps. Whether you’re a seasoned DIYer or just starting out, you’ll gain actionable insights to restore your sink disposal to optimal working condition. From diagnosing the most common issues to performing step-by-step repairs and knowing when to call a professional, you’ll find everything you need in one place.
Let’s get your kitchen running smoothly again.
Key Takeaways
- Common disposal issues include jams, leaks, electrical failures, and unpleasant odors.
- Safety precautions are critical before any repair, always disconnect power first.
- Most repairs are DIY-friendly, but complex or recurring problems may require professional help.
- Preventive maintenance is essential for avoiding future breakdowns.
- Replacement vs. repair decisions depend on age, cost, and severity of the issue.
- Real-world examples illustrate troubleshooting and repair techniques that work.

Credit: www.krullplumbing.com
Understanding Sink Disposal Basics
A sink disposal, often called a garbage disposal, is a motorized device installed under your kitchen sink. It grinds up food waste for easier drainage, reducing clogs and enhancing kitchen hygiene. Before tackling repairs, it’s crucial to understand how disposals work and the typical issues that arise.
Components And Operation
The main components of a sink disposal include:
- Motor: Powers the grinding mechanism.
- Grinding chamber: Contains impellers and blades that break down food waste.
- Reset button: Resets the unit after overloads.
- Drain connection: Allows ground waste to flow into plumbing.
- Splash guard: Prevents debris from escaping.
When you switch on the disposal, the motor spins the impellers, grinding food into small particles that flow through the drain. If any component fails, the disposal may stop working or operate inefficiently.
Typical Problems
Most broken sink disposals fall into one of these categories:
- Jammed or stuck blades
- Electrical failure (won’t turn on)
- Leaks
- Unpleasant odors
- Excessive noise
According to a 2026 survey by Consumer Reports, blade jams are the most common issue, followed by leaks and electrical failures.
Warning Signs
Watch for these signs of trouble:
- Humming noise without grinding
- Water leaking from the unit or plumbing connections
- No power when switched on
- Slow drainage
- Persistent odors after cleaning
Understanding these basics sets the stage for effective troubleshooting and repair.
Safety Precautions And Preparation
Repairing a sink disposal carries risks, especially due to its electrical and mechanical components. Proper preparation ensures safety and increases repair success.
Disconnect Power
Always disconnect the disposal from power before starting any repair. This typically involves:
- Unplugging the unit if it’s connected to an outlet
- Turning off the circuit breaker for hardwired models
Warning: Never put hands into the disposal while it’s powered.
Gather Tools And Materials
You’ll need these tools for most repairs:
- Screwdriver set
- Allen wrench (usually 1/4-inch)
- Pliers
- Flashlight
- Bucket or towels for catching water
- Replacement parts (if needed)
Review Manufacturer’s Instructions
Consult your disposal’s manual for model-specific guidance. Many brands offer troubleshooting guides, refer to them for safety and repair steps.
Protect Surrounding Area
Lay towels or plastic sheeting under the sink to catch leaks and debris. Remove items from the cabinet for easy access.
Credit: www.youtube.com
Diagnosing Sink Disposal Issues
Effective repair starts with accurate diagnosis. Here’s how to systematically identify the problem with your broken sink disposal.
Identifying Jammed Blades
If the disposal hums but doesn’t grind, the blades are likely jammed. Causes include:
- Foreign objects (utensils, glass, bones)
- Fibrous foods (celery, corn husks)
- Accumulated debris
To confirm:
- Turn off power.
- Use a flashlight to inspect the chamber.
- Attempt to rotate the blades with an Allen wrench in the bottom port.
Electrical Failure
If the disposal is silent:
- Check for a tripped circuit breaker.
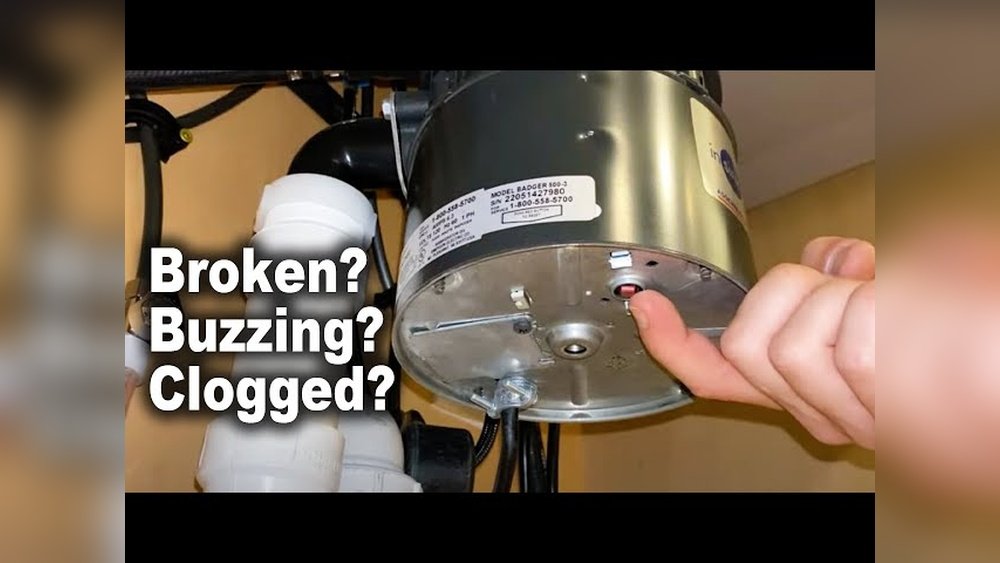
- Press the reset button (usually red) underneath the unit.
- Inspect the power cord and outlet.
Pro Tip: If resetting doesn’t work, test the outlet with another device.
Leak Detection
Leaks can come from:
- The sink flange
- The disposal body
- Plumbing connections
Examine each area for moisture. Tighten connections or replace gaskets as needed.
Odor Problems
Persistent odors often signal trapped food or bacterial buildup. Inspect the grinding chamber, splash guard, and drainpipe.
Noise And Vibration
Unusual noise may indicate:
- Loose mounting hardware
- Misaligned internal parts
- Foreign objects
Check for rattling and tighten bolts if needed.
Credit: www.youtube.com
Step-by-step Repair Solutions
Once you’ve diagnosed the issue, follow these specific repair procedures.
Fixing A Jammed Disposal
- Turn off power and unplug the unit.
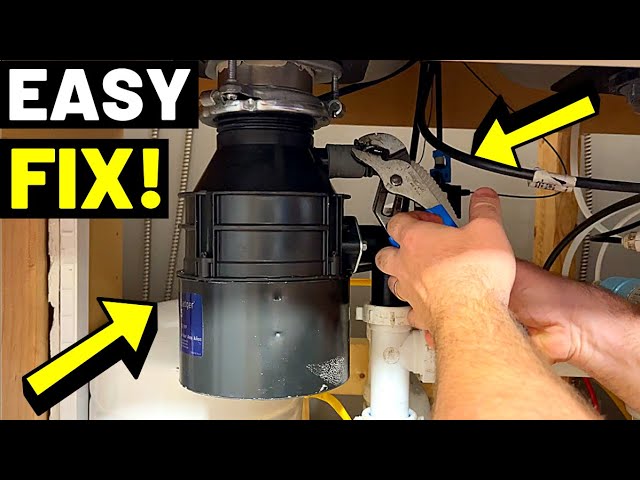
- Insert an Allen wrench into the underside port; twist back and forth to loosen blades.
- If no port exists, use pliers to gently remove visible debris from the chamber.
- Restore power and test operation.
Example: In my experience, jammed blades caused by small utensils can usually be freed with an Allen wrench. After removing the blockage, the disposal resumed normal function.
Restoring Electrical Power
- Press the reset button firmly.
- Check the circuit breaker and reset if tripped.
- Inspect the power cord for damage; replace if necessary.
- If still dead, test the wall switch and outlet.
Repairing Leaks
| Leak Location | Possible Cause | Repair Steps |
|---|---|---|
| Sink Flange | Loose mounting, worn seal | Tighten flange, replace plumber’s putty |
| Disposal Body | Cracked housing | Replace disposal unit |
| Drain Connection | Loose screws, faulty gasket | Tighten screws, replace gasket |
Eliminating Odors
- Flush disposal with hot water and baking soda.
- Grind citrus peels for fresh scent.
- Clean splash guard with a brush.
Reducing Noise
- Tighten mounting bolts.
- Remove foreign objects.
- Check for loose internal parts.
When To Replace Instead Of Repair
Compare the cost and condition before deciding:
| Issue | Repair Cost | Replacement Cost | Recommended Action |
|---|---|---|---|
| Jammed blades | $0-$20 | $100-$300 | Repair |
| Electrical failure | $20-$50 | $100-$300 | Repair if minor |
| Cracked body | N/A | $100-$300 | Replace |
| Recurring leaks | $10-$40 | $100-$300 | Replace if persistent |
Real-world Examples And Case Studies
Learning from real scenarios can help you avoid common mistakes and make informed decisions.
Example 1: Jammed Disposal Due To Glass
A homeowner dropped a glass into the disposal, causing a jam. After disconnecting power, they used pliers to extract the glass fragments and reset the unit. The disposal worked perfectly afterward.
Example 2: Leaking Disposal At Sink Flange
A rental property experienced water leaks at the sink flange. The repair involved removing the disposal, cleaning old plumber’s putty, applying new putty, and re-tightening the flange. Leak was resolved without replacing the unit.
Example 3: Dead Disposal With Faulty Switch
A family’s disposal stopped working after a power surge. Resetting didn’t help. Testing revealed a faulty wall switch. Replacing the switch restored functionality.
Example 4: Odor Issue Resolved With Citrus Peels
Persistent odors were eliminated by grinding lemon peels and rinsing with baking soda solution. The homeowner also cleaned the splash guard to remove trapped debris.
Preventive Maintenance Tips
Keeping your sink disposal in top shape prevents breakdowns and extends its lifespan.
Regular Cleaning
- Run cold water before and after each use.
- Clean splash guard weekly.
- Grind small ice cubes to sharpen blades.
Avoid Problem Foods
Do not grind:
- Fibrous vegetables (celery, artichokes)
- Large bones
- Grease or fat
- Coffee grounds
Monthly Maintenance
- Flush with baking soda and vinegar.
- Inspect for leaks or loose connections.
- Test reset button and power supply.
Professional Inspection
For older disposals or recurring issues, schedule an annual inspection by a plumber.
When To Call A Professional
Some repairs are best left to experts, especially if they involve complex electrical or plumbing work.
Electrical Issues
If the disposal is hardwired and you’re unfamiliar with electrical systems, hire a licensed electrician.
Major Leaks
Cracked disposal bodies or severe leaks require professional replacement.
Persistent Jams
If jams occur frequently, a plumber can inspect for underlying plumbing issues.
Installation And Replacement
For step-by-step installation guides, see:
Professional help ensures safety and compliance with local codes.
Replacement Considerations And Product Comparison
If repair isn’t feasible, choosing a new disposal requires careful comparison.
Key Factors
- Motor size: Larger motors handle tougher waste.
- Noise rating: Quieter models enhance kitchen comfort.
- Warranty: Longer warranties indicate quality.
Product Comparison Table
| Model | Motor Size | Noise Level | Warranty | Price Range |
|---|---|---|---|---|
| InSinkErator Badger 5 | 1/2 HP | Moderate | 2 years | $80-$120 |
| Waste King L-8000 | 1 HP | Low | Lifetime | $120-$150 |
| Moen GX50C | 1/2 HP | Low | 5 years | $100-$140 |
For more detailed installation instructions, see:
Environmental And Regulatory Considerations
Disposal units contribute to food waste management, but improper use can strain municipal systems and harm the environment.
Local Regulations
Many cities restrict certain food waste types in disposals. Check local guidelines before installation or repair. For regulatory information, consult Wikipedia.
Responsible Usage
- Limit disposal use to appropriate food waste.
- Compost vegetable scraps instead of grinding.
- Avoid chemicals that damage plumbing or contaminate water.
Advanced Troubleshooting For Persistent Issues
Some disposal problems require more advanced diagnostics.
Motor Replacement
If the motor is burned out, replacement is often more cost-effective than repair. Symptoms include:
- No sound or movement when switched on
- Burning smell
- Frequent tripping of circuit breaker
Plumbing Blockages
If water backs up in the sink, the issue may lie in the drain pipes rather than the disposal. Use a plumber’s snake or consult How To Fix A Backed Up Kitchen Sink for guidance.
Upgrading Components
Older disposals may lack modern safety and efficiency features. Upgrading to a new model improves performance and reduces breakdowns.
Example: Upgrading To A Quieter Disposal
A homeowner replaced a noisy, aging unit with a modern, sound-insulated model. The upgrade resulted in quieter operation and fewer jams.
Frequently Asked Questions
What Causes A Sink Disposal To Jam Most Frequently?
Jams are commonly caused by hard objects (bones, utensils), fibrous foods (corn husks, celery), or accumulated debris. Using cold water and avoiding problem items reduces risk. For persistent jams, blade sharpness may decline, requiring maintenance or replacement.
How Can I Fix A Disposal That Hums But Doesn’t Spin?
A humming sound indicates jammed blades or a stuck motor. Turn off power, use an Allen wrench to manually rotate the blades, and remove any visible debris. If the motor remains stuck, internal components may be damaged and require professional repair.
Is It Safe To Use Chemical Cleaners In My Disposal?
Most chemical drain cleaners are not recommended for sink disposals, as they can corrode internal parts and damage plumbing. Instead, use baking soda, vinegar, or citrus peels for cleaning. Consult manufacturer guidelines for approved products.
What Should I Do If My Disposal Leaks From The Bottom?
Leaks from the bottom usually indicate a cracked housing, which cannot be repaired. The only safe solution is to replace the unit entirely. If the leak is at a connection point, tightening or replacing gaskets may resolve the issue.
How Do I Know If My Disposal Needs To Be Replaced Instead Of Repaired?
If your disposal is over 10 years old, has frequent jams, leaks, or electrical failures, or if repairs exceed half the cost of a new unit, replacement is recommended. Newer models offer improved efficiency and safety.
A broken sink disposal doesn’t have to derail your kitchen routine. By following the diagnostic and repair steps outlined here, you can restore function, prevent future issues, and make informed decisions about repair versus replacement. For installations, upgrades, or complex repairs, always consult a licensed professional or refer to trusted guides like Consumer Reports. With the right approach, your kitchen will stay efficient and hygienic for years to come.