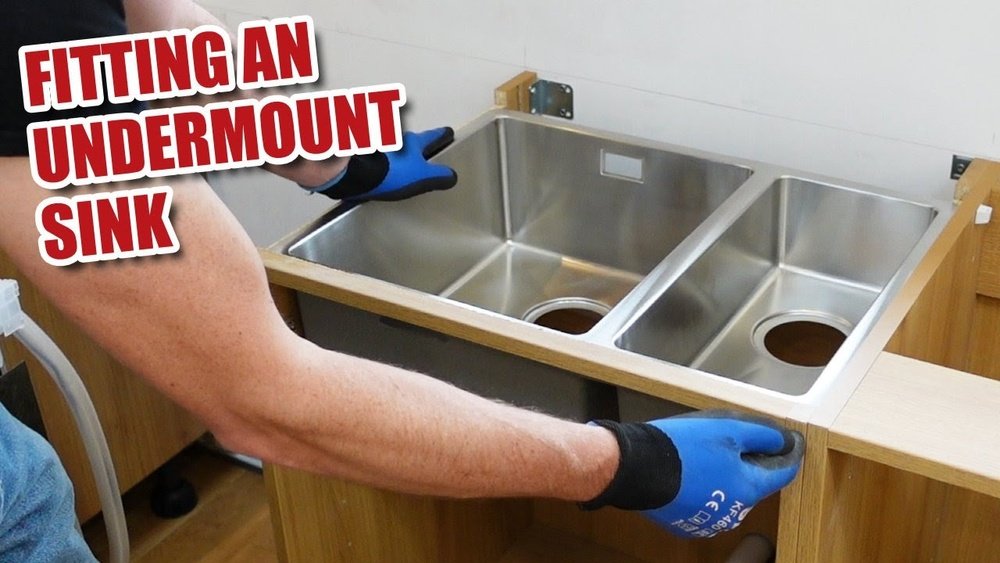
Renovating a kitchen or bathroom often comes down to the details that define both function and style. One of the most striking upgrades is the installation of an undermount sink, a sleek, modern fixture that sits beneath the countertop, offering seamless lines, easier cleaning, and increased workspace. As homeowners and contractors alike pursue this upgrade, knowing exactly how to fit an undermount sink is essential for maximizing its benefits and avoiding costly mistakes.
The process is more nuanced than installing drop-in sinks; undermount sinks require precision, the right materials, and a clear understanding of your countertop’s structure. Whether you’re prepping for a DIY installation or collaborating with a professional, understanding each step, from choosing materials to securing the sink and sealing joints, ensures a durable, leak-free, and visually appealing result.
This guide delivers a comprehensive walkthrough, rich with actionable advice, expert insights, real-world examples, and comparison tables to support your decisions.
Key Takeaways
- Undermount sinks provide a modern look and improve countertop hygiene by eliminating rims.
- Successful installation hinges on proper countertop support, accurate measuring, and secure mounting.
- Material compatibility is crucial; undermount sinks work best with solid surface counters like granite, quartz, or marble.
- The installation process demands careful sealing to prevent water damage and mold growth.
- Real-world examples and comparison tables highlight common challenges and solutions.
- DIYers should be comfortable with tools and follow safety guidelines, while complex projects may require professional help.
Credit: concretecountertopinstitute.com
Understanding Undermount Sinks
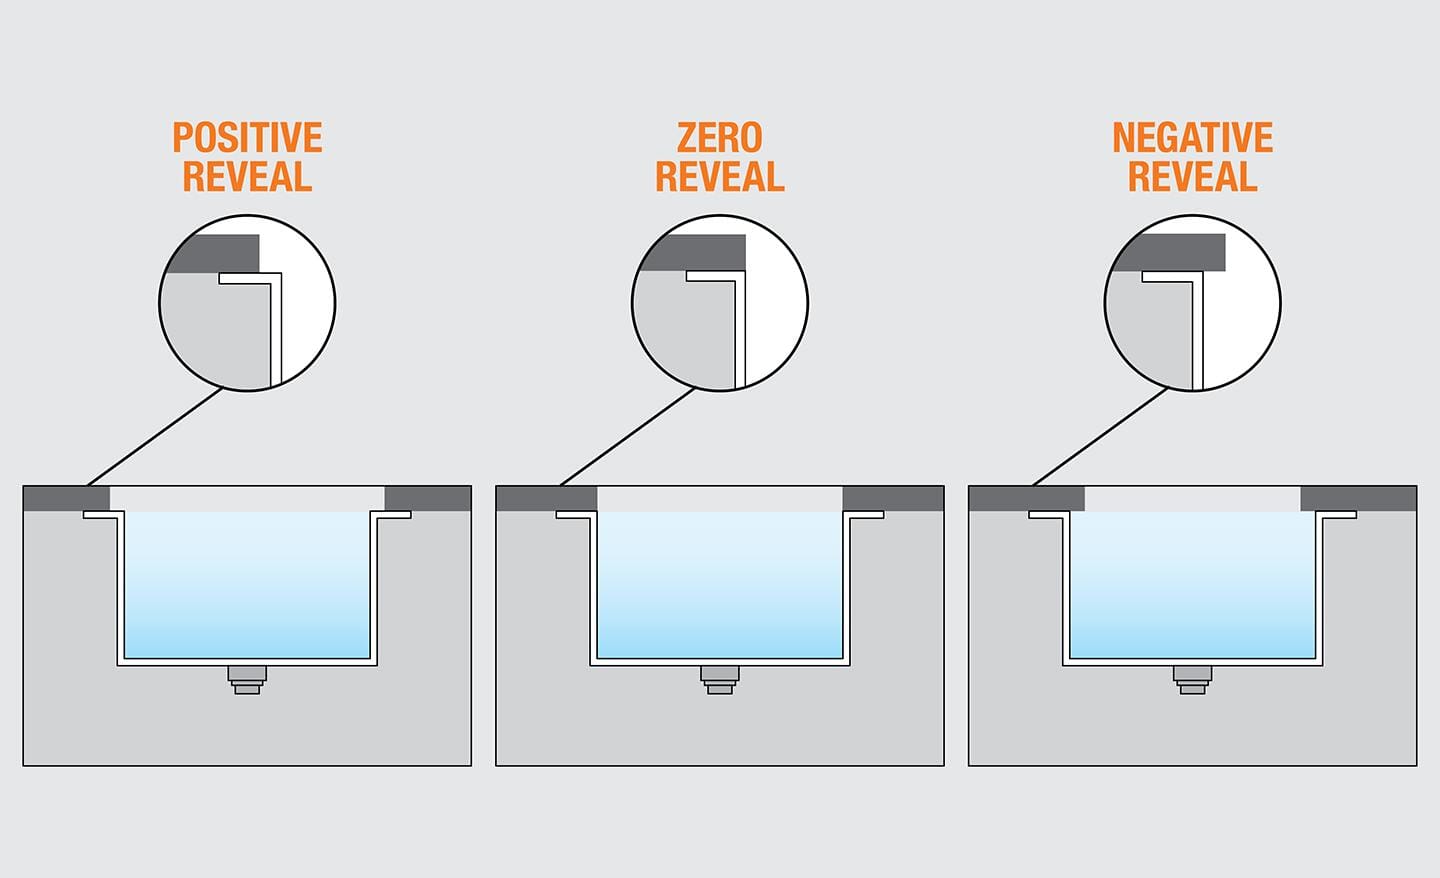
Undermount sinks are designed to be installed beneath the countertop, creating a flush, uninterrupted surface. Unlike drop-in sinks, these models require precise alignment and strong adhesive bonds to maintain both aesthetics and function.
What Is An Undermount Sink?
An undermount sink is a sink mounted below the countertop, rather than sitting on top. The rim is completely hidden, allowing you to wipe debris directly into the sink without obstruction. This design is favored for its clean look and ease of maintenance.
Benefits Of Undermount Sinks
- Streamlined appearance: No visible rim means countertops look sleek and modern.
- Easy cleaning: Crumbs and spills can be wiped straight into the sink.
- Maximized workspace: Counter edges are fully usable, offering more room for tasks.
Material Compatibility
Undermount sinks are best suited for solid surface countertops such as granite, quartz, or marble. Laminate and tile surfaces generally lack the structural integrity or finish required for secure installation.
| Countertop Material | Compatibility | Notes |
|---|---|---|
| Granite | Excellent | Strong, holds hardware securely |
| Quartz | Excellent | Non-porous, easy to clean |
| Marble | Good | Requires careful sealing |
| Laminate | Poor | Edge is not waterproof, may deteriorate |
| Tile | Poor | Grout lines complicate sealing |
Real-world Example: Material Selection
A homeowner in Seattle chose a quartz countertop for their undermount sink. After consulting with their installer, they learned that quartz’s non-porous nature made it ideal for preventing water damage and mold growth. This decision resulted in a seamless, hygienic kitchen workspace.
Planning The Installation
Before diving into the installation, thorough planning is essential. The process involves assessing your countertop, measuring carefully, and selecting the right sink and mounting hardware.
Measuring And Template Creation
Accurate measurements ensure the sink aligns perfectly with the cutout. Most manufacturers provide a template; if not, you can trace the sink onto cardboard to create your own.
- Measure the sink bowl and rim dimensions.
- Mark the cutout on the countertop, ensuring clearance for plumbing and accessories.
Checking Countertop Support
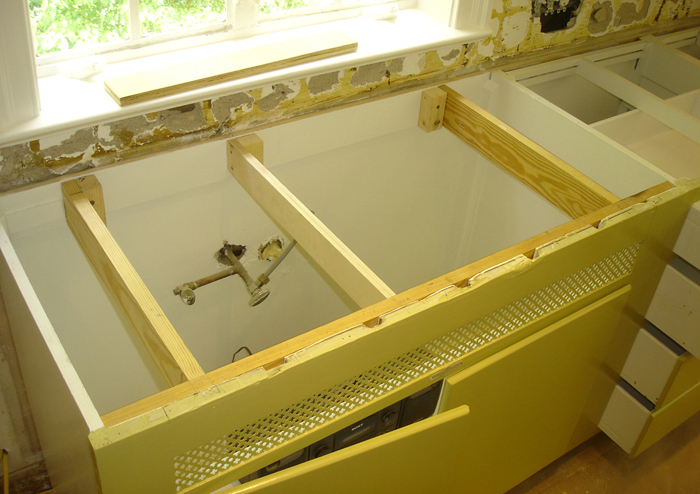
Solid surface countertops must be thick enough to support the sink’s weight. Most undermount sinks require countertops at least 1 inch thick, especially for larger or heavier models.
- Inspect the underside for cracks or weaknesses.
- Reinforce with plywood or metal brackets if needed.
Choosing The Right Sink And Hardware
Select a sink that fits your cabinet width and depth. Consider the following:
- Single vs double bowl: Single bowls are easier to fit; double bowls require more support.
- Mounting hardware: Stainless steel clips, epoxy, and silicone sealant are standard.
| Sink Type | Installation Complexity | Hardware Needed |
|---|---|---|
| Single Bowl | Low | Clips, epoxy, silicone |
| Double Bowl | Medium | Additional brackets, more sealant |
| Farmhouse | High | Custom supports, heavy-duty brackets |
Pro Tip:
Always double-check measurements with the actual sink before cutting. Templates may vary slightly, and mistakes can be costly.
Credit: concretecountertopinstitute.com
Removing The Old Sink And Preparing The Area
Removing the existing sink and prepping the countertop are critical steps for a successful undermount installation.
Disconnecting Plumbing And Accessories
Turn off water supply and disconnect plumbing lines. Remove any sink sprayer, garbage disposal, or soap dispenser.
- Use adjustable wrenches for supply lines.
- Set aside hardware for reinstallation.
If you need guidance on removing accessories, check out How To Install A Sink Sprayer for relevant tips.
Removing The Old Sink
For drop-in sinks:
- Cut through caulk with a utility knife.
- Lift the sink gently from the countertop.
For undermount sinks:
- Remove clips or brackets.
- Carefully detach the sink from the adhesive.
Cleaning And Inspecting The Countertop Cutout
- Scrape away old adhesive and caulk.
- Inspect for chips or cracks; repair with epoxy if necessary.
Example: Prepping For Installation
A DIY installer in Austin removed a drop-in sink and discovered minor water damage on the countertop edge. They used wood filler and waterproof sealant to restore the surface before proceeding, a crucial step that prevented future leaks.
Credit: www.homedepot.com
Cutting And Finishing The Countertop
If your countertop does not already have a sink cutout, you’ll need to create one. Precise cutting and finishing are necessary for both aesthetics and durability.
Marking And Cutting The Sink Opening
- Place the template on the countertop and secure it with tape.
- Use a pencil to trace the outline.
- Drill pilot holes at each corner.
- Cut along the outline with a jigsaw or circular saw, using a diamond blade for stone surfaces.
Smoothing And Polishing Edges
- Sand edges with progressively finer grits (60, 120, 220).
- For stone, use a wet polisher to achieve a smooth finish.
Sealing Exposed Edges
Apply a waterproof sealant to all exposed edges. This prevents water infiltration, which can weaken the countertop or lead to mold.
- Use silicone sealant for stone and solid surfaces.
- Avoid using standard wood sealants on laminate.
Warning:
Improper cutting or sealing can lead to costly repairs. If unsure, consult a countertop professional or visit The Natural Stone Institute for expert advice.
Installing The Undermount Sink
With the countertop prepped, it’s time to fit the undermount sink. This step requires careful alignment, secure mounting, and thorough sealing.
Positioning The Sink
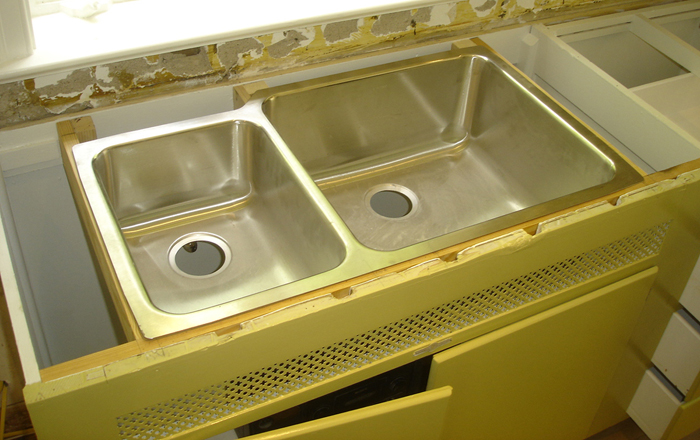
- Place the sink upside down on the countertop, aligning with the cutout.
- Mark the positions for mounting clips or brackets.
- Ensure the sink is centered and square.
Applying Adhesive And Sealant
- Apply a bead of silicone sealant around the sink rim.
- Attach mounting clips or brackets to secure the sink.
- Tighten gently, over-tightening can crack stone countertops.
Securing The Sink
- Allow adhesive to cure for at least 24 hours.
- Check for movement; adjust clips if necessary.
Connecting Plumbing And Accessories
- Reconnect supply lines, drain basket, and any accessories.
- Install a new faucet if desired, see How To Install A Kitchen Sink Faucet for detailed instructions.
- Test for leaks and proper drainage.
Example: Professional Vs Diy Install
A contractor in Denver installed a double bowl undermount sink using epoxy and heavy-duty brackets. In my experience, DIY installations often lack the specialized tools for perfect alignment, but patience and careful measurement can yield excellent results.
| Installation Method | Tools Required | Average Time | Quality Outcome |
|---|---|---|---|
| Professional | Epoxy, mounting clips, wet polisher | 3-5 hours | High |
| DIY | Silicone, basic tools, sandpaper | 5-8 hours | Variable |
Sealing And Final Touches
Once the sink is installed, sealing and finishing ensure longevity and performance.
Caulking The Joint
Apply a bead of silicone caulk where the sink meets the countertop. This prevents water seepage and mold.
- Smooth with a caulk tool or finger.
- Wipe away excess with a damp cloth.
Cleaning Up
- Remove tape, dust, and debris.
- Polish the countertop and sink for a finished look.
Inspecting The Installation
- Check for gaps or uneven edges.
- Test water flow and drainage.
- Confirm all accessories function properly.
Example: Avoiding Common Mistakes
A homeowner in Miami forgot to let the adhesive cure before reconnecting plumbing, resulting in a leak. Patience is key, always allow full curing time before use.
Troubleshooting And Maintenance
Even with careful installation, issues can arise. Knowing how to address problems and maintain your undermount sink extends its life and preserves your investment.
Common Installation Issues
- Leaks: Usually due to insufficient caulking or loose clips.
- Uneven alignment: Caused by inaccurate measurements or unlevel countertops.
- Sink movement: Indicates failed adhesive or bracket loosening.
Solutions And Repairs
- Reseal joints with fresh silicone.
- Tighten or replace mounting hardware.
- Level the sink using shims or additional support.
Maintenance Tips
- Clean regularly with non-abrasive cleaners.
- Inspect caulking annually for signs of wear.
- Avoid dropping heavy objects in the sink to prevent cracks.
Pro Tip:
Periodic inspections can catch small issues before they become major repairs. Refer to How To Install Kitchen Sink Plumbing for advanced troubleshooting and maintenance advice.
Real-world Case Studies
Examining real-world installations can illuminate common challenges and best practices.
Case Study 1: Diy Installation On Granite
A homeowner in Portland installed an undermount sink on a granite countertop. They used a manufacturer-provided template, diamond blade saw, and stainless steel mounting clips. After curing the adhesive for 24 hours, the result was a seamless, leak-free installation.
Case Study 2: Professional Install On Marble
A kitchen remodel in New York involved a professional team fitting an undermount sink to a marble countertop. The team reinforced the marble with plywood supports, polished the cut edges, and sealed joints with high-grade silicone. The project took five hours, with no post-installation issues.
Case Study 3: Repairing A Leaky Sink
A DIYer in Chicago noticed water pooling under their sink after installation. On inspection, they found gaps in the caulk. Resealing the joint and tightening brackets resolved the issue, highlighting the importance of thorough finishing.
Comparing Undermount Vs Drop-in Sinks
Choosing between undermount and drop-in sinks impacts installation complexity, aesthetics, and long-term maintenance.
| Feature | Undermount Sink | Drop-In Sink |
|---|---|---|
| Installation Difficulty | Medium-High | Low |
| Countertop Compatibility | Solid surfaces only | All materials |
| Cleaning Ease | Excellent | Good |
| Appearance | Sleek, modern | Traditional |
| Repair Accessibility | Moderate | Easy |
For more on drop-in sinks, see How To Install A Drop-In Kitchen Sink.
Frequently Asked Questions
How Do I Know If My Countertop Can Support An Undermount Sink?
Solid surface countertops like granite, quartz, or marble are best. Check for thickness (at least 1 inch) and structural integrity. If your countertop is laminate or tile, consult a professional before proceeding.
What Type Of Adhesive Is Best For Undermount Sink Installation?
Use high-quality silicone sealant for waterproofing and epoxy for additional strength. Stainless steel clips or brackets are recommended for solid surfaces. Avoid standard caulk, as it lacks durability.
Can I Install An Undermount Sink On My Own, Or Should I Hire A Professional?
DIY installation is feasible for those comfortable with tools and precise measurements. However, if your countertop is stone or requires significant cutting, hiring a professional is safer and ensures longevity.
How Long Does The Adhesive Need To Cure Before Use?
Allow at least 24 hours for silicone and epoxy adhesives to cure fully. Using the sink before curing can cause leaks and weaken the bond.
What Maintenance Is Required For Undermount Sinks?
Regular cleaning with non-abrasive cleaners, periodic inspection of caulk and brackets, and avoiding harsh chemicals will keep your undermount sink in top shape. Annual resealing of joints is recommended for solid surfaces.
Installing an undermount sink is a transformative upgrade for any kitchen or bathroom, blending style with utility. With careful planning, precise measurements, and proper materials, you can achieve a seamless, durable, and beautiful installation. Whether you choose to DIY or enlist a professional, the steps outlined here equip you to make informed decisions, anticipate challenges, and enjoy the lasting benefits of your new undermount sink.