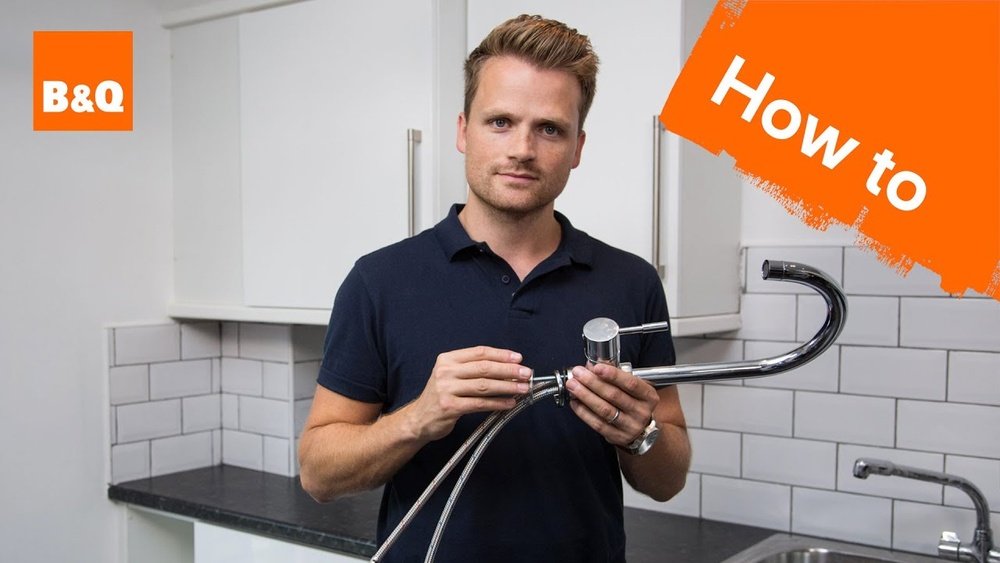
Upgrading your kitchen or bathroom often starts with small changes, and few improvements are as impactful and cost-effective as installing a new sink tap. Whether you’re chasing a modern look, aiming to improve water efficiency, or simply replacing a leaky old faucet, learning how to install a sink tap empowers you to take control of your home’s plumbing with confidence.
Despite what many believe, this is a project that most DIYers can handle with the right preparation and tools, saving both time and money on professional labor.
From my own experience, the satisfaction of turning on a newly installed tap, knowing you did it yourself, is hard to beat. Yet, the process does require careful planning, precise execution, and an understanding of the specific challenges your home setup might present.
This comprehensive guide breaks down every step, highlights common pitfalls, and provides real-world examples to ensure your sink tap installation is seamless, safe, and successful.
Key Takeaways
- Sink tap installation is a manageable DIY project for most homeowners with basic tools and preparation.
- Choosing the right tap type and ensuring compatibility with your sink is critical for a smooth installation.
- Proper sealing, careful tightening, and thorough testing prevent leaks and long-term issues.
- Preparation, such as shutting off water and clearing workspace, dramatically reduces installation time and frustration.
- Step-by-step guidance, real-world examples, and troubleshooting tips help you overcome common obstacles.

Credit: www.airtasker.com
Understanding Sink Taps: Types, Features, And Compatibility
Selecting the right sink tap is the foundation of a successful installation. The variety available can be overwhelming, but by focusing on a few key aspects, you can narrow down your choices and ensure compatibility with your sink and plumbing.
Types Of Sink Taps
Sink taps come in several designs, each with unique features and installation requirements:
- Single-hole taps: Require just one hole in the sink or countertop; popular for their minimalist design.
- Centerset taps: Combine spout and handles on a single base unit; fit sinks with three holes spaced 4 inches apart.
- Widespread taps: Feature separate hot and cold handles; require three holes with an 8-inch (or more) spread.
- Wall-mounted taps: Attach to the wall above the sink; ideal for vessel sinks or modern aesthetics, but require specific plumbing.
Key Features To Consider
- Material: Brass, stainless steel, and zinc are common. Brass offers superior durability and corrosion resistance.
- Finish: Chrome, brushed nickel, matte black, and others should match your kitchen or bathroom style.
- Water efficiency: Look for taps with WaterSense certification to save water without sacrificing performance.
- Spout height and reach: Ensure the spout fits comfortably over your sink to avoid splashing.
Compatibility Checklist
Before you buy, confirm:
- Number of mounting holes in your sink or countertop.
- Hole spacing (4-inch, 8-inch, etc. ).
- Supply line connections (standard sizes are 3/8-inch or 1/2-inch).
- Clearance for handles and spout movement.
| Tap Type | Number of Holes Needed | Common Use | Main Advantage |
|---|---|---|---|
| Single-hole | 1 | Modern kitchens, bathrooms | Easy installation, sleek look |
| Centerset | 3 (4-inch spread) | Standard sinks | Compact, all-in-one base |
| Widespread | 3 (8-inch+ spread) | Luxury sinks | Flexible placement, upscale style |
| Wall-mounted | Depends on wall plumbing | Vessel sinks, modern designs | Easy cleaning, unique appearance |
Example: Choosing The Right Tap For A Drop-in Kitchen Sink
Suppose you’re upgrading a drop-in kitchen sink with three holes at a 4-inch spread. A centerset tap matches perfectly, offering straightforward installation and a unified look. For detailed guidance on sink compatibility, see how to install a drop-in kitchen sink.
Preparing For Installation: Tools, Materials, And Workspace Setup
A smooth sink tap installation starts with thorough preparation. Gathering the right tools and materials, and preparing your workspace, will save you time, frustration, and potential leaks.
Essential Tools And Materials
- Adjustable wrench or basin wrench (for tight spaces)
- Screwdriver (Phillips and flathead)
- Plumber’s putty or silicone sealant
- Teflon tape (PTFE tape) for threaded connections
- Bucket or towels (to catch water drips)
- New supply lines (if old lines are worn)
- Flashlight for visibility under the sink
- Cleaning materials (cloth, mild cleaner)
- Safety gloves and goggles
Workspace Preparation Steps
- Clear under-sink area: Remove stored items for better access.
- Protect surfaces: Lay towels or mats to prevent scratches or water damage.
- Shut off water supply: Locate the hot and cold shutoff valves and turn them clockwise until fully closed. If valves are stuck or missing, shut off the main water supply.
- Relieve pressure: Open the tap to drain residual water from lines.
Pro Tip:
If your shutoff valves are old or corroded, consider replacing them during this project. New valves are inexpensive and add peace of mind.
Safety Considerations
- Use safety gloves to protect hands from sharp edges under the sink.
- Keep a flashlight handy to avoid working in poorly lit spaces.
- If you’re unsure about water shutoff or supply line conditions, consult a licensed plumber.
Example: Unexpected Valve Failure
A homeowner in Portland, OR, began a tap replacement only to discover the under-sink shutoff valves were frozen from years of mineral buildup. By replacing the valves first, they prevented future leaks and made subsequent plumbing work much easier.
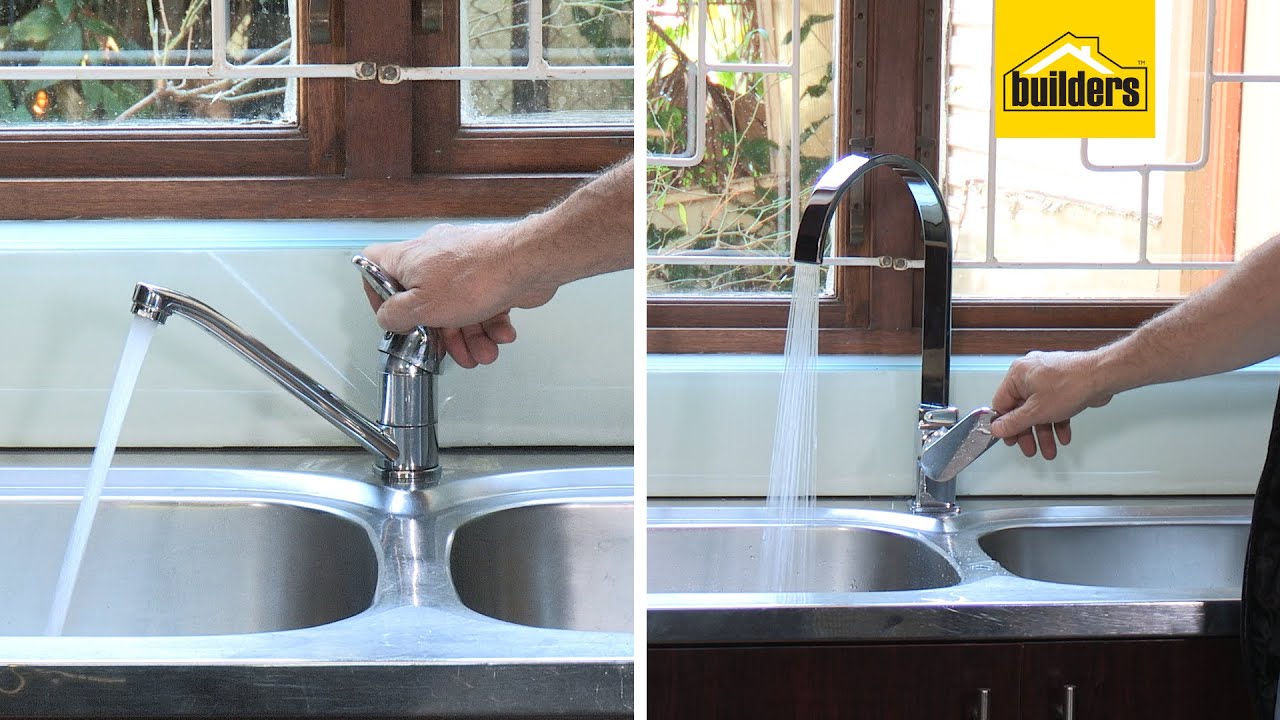
Credit: www.youtube.com
Removing The Old Sink Tap: Step-by-step Guide
Taking out the existing tap is often the most challenging part of the project, especially in older homes. Proper technique prevents damage to your sink, countertop, and plumbing.
Step 1: Disconnect Water Supply Lines
- Place a bucket under the connections to catch drips.
- Use an adjustable wrench to loosen the nuts connecting the supply lines to the tap.
- Gently pull the lines away and let any water drain.
Step 2: Remove Mounting Hardware
- Locate the mounting nuts or clips securing the tap to the sink underside.
- Use a basin wrench for hard-to-reach places.
- Unscrew and set aside the hardware; keep it in case your new tap uses similar fittings.
Step 3: Detach And Remove The Tap
- Carefully lift the old tap from above the sink.
- Scrape away any old plumber’s putty or sealant from the sink surface using a plastic scraper.
- Clean the area thoroughly to ensure a proper seal for the new tap.
Step 4: Inspect And Prepare For The New Tap
- Check for rust, corrosion, or cracks in the sink or countertop.
- Wipe surfaces dry before proceeding.
Example: Removing A Stubborn, Corroded Tap
In my experience, dealing with a corroded mounting nut required soaking the hardware in penetrating oil and using a basin wrench with extra leverage. Patience and gentle rocking motions eventually loosened the nut without damaging the sink.
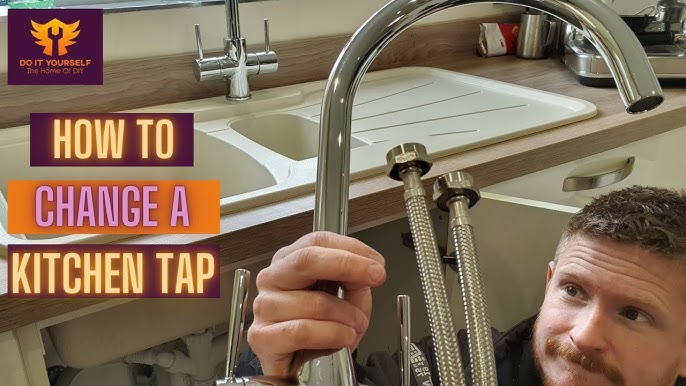
Credit: www.youtube.com
Installing The New Sink Tap: A Detailed Walkthrough
With the old tap removed, you’re ready for the most rewarding phase, installing your new tap. Following each step carefully ensures a leak-free, professional result.
Step 1: Assemble The Tap (if Necessary)
- Some taps come pre-assembled; others require you to attach handles or spout.
- Follow the manufacturer’s instructions closely for any assembly steps.
Step 2: Apply Plumber’s Putty Or Sealant
- Roll a thin rope of plumber’s putty and apply it around the base of the tap where it meets the sink (unless the manufacturer recommends silicone or a gasket).
- This creates a watertight seal and prevents leaks beneath the tap.
Step 3: Insert The Tap Into Mounting Holes
- Lower the tap through the sink or countertop holes.
- Ensure correct alignment, especially for multi-hole or widespread models.
Step 4: Secure The Tap From Below
- From under the sink, attach the mounting nuts or brackets provided.
- Tighten by hand first, then use a wrench for a snug (not over-tight) fit.
- Wipe away any excess putty squeezed out from the base.
Step 5: Connect Water Supply Lines
- Attach the hot and cold supply lines to the corresponding inlets on the tap.
- Wrap Teflon tape around threaded connections for a better seal.
- Use an adjustable wrench to secure connections, avoid overtightening to prevent damage.
Step 6: Reconnect And Test
- Open the shutoff valves slowly.
- Check for leaks at all connections.
- Run water through the tap for a few minutes to clear debris and check flow.
Step 7: Final Inspection And Cleanup
- Inspect for drips or moisture under the sink.
- Tighten connections as needed.
- Clean the tap and surrounding area.
| Installation Step | Tools Needed | Common Mistake | Estimated Time |
|---|---|---|---|
| Remove old tap | Basin wrench, bucket | Forgetting to shut off water | 30 minutes |
| Install new tap | Adjustable wrench, putty | Overtightening connections | 30-45 minutes |
| Connect supply lines | Wrench, Teflon tape | Cross-threading nuts | 10-15 minutes |
| Test and inspect | None | Skipping leak test | 10 minutes |
Example: Installing A Pull-down Kitchen Tap
A homeowner in Austin, TX, installed a pull-down tap with a flexible spout for easier dishwashing. By following each manufacturer’s step, they achieved a flawless installation in under an hour, without a single leak.
Troubleshooting Common Problems And Ensuring A Leak-free Result
Even with careful installation, issues can occur. Knowing how to identify and correct them ensures your new tap performs perfectly from day one.
Leaks At The Base Or Connections
- Base leaks: Check that the putty or gasket is evenly applied and that the mounting nuts are tight.
- Supply line leaks: Remove and reapply Teflon tape, then retighten. Avoid overtightening, which can crack fittings.
Low Water Pressure
- Remove the aerator from the tap spout and flush out debris.
- Check that supply valves are fully open.
- Inspect supply lines for kinks or blockages.
Handle Or Spout Issues
- If handles are stiff, check for misalignment during assembly.
- Spout not swiveling smoothly? Ensure O-rings are lubricated and properly seated.
Pro Tip:
If persistent leaks or pressure problems occur, double-check that you’ve matched supply lines correctly (hot to hot, cold to cold) and that washers are seated properly.
Example: Diagnosing A Persistent Drip
A user in San Diego reported a slow drip after installation. Upon closer inspection, a small piece of old putty was lodged in the tap base, preventing a proper seal. Removing the debris and resealing solved the issue instantly.
Advanced Installations: Special Tap Types And Configurations
Some projects involve more complex tap types or unique sink configurations. These may require additional steps or specialized skills.
Wall-mounted Taps
- Plumbing must be inside the wall and positioned precisely.
- Use a stud finder to avoid drilling into framing.
- Ensure adequate bracing behind the wall for secure mounting.
Filtered Water Taps
- Require an under-sink water filter unit.
- Connect the tap to the filter’s output line, typically using a compression fitting.
- Test for leaks at both the filter and tap connections.
Pull-out Or Touchless Taps
- Pull-out taps have a weight on the hose to help retract the spout.
- Touchless taps require battery installation and sensor calibration.
- Ensure wiring or battery packs are protected from moisture.
| Special Tap Type | Extra Installation Step | Difficulty Level | Best For |
|---|---|---|---|
| Wall-mounted | In-wall plumbing setup | Advanced | Modern, vessel sinks |
| Filtered water | Under-sink filter connection | Intermediate | Health-conscious users |
| Touchless | Sensor wiring/battery | Intermediate | Hands-free convenience |
| Pull-out | Hose weight installation | Beginner | Flexible kitchen use |
Example: Upgrading To A Touchless Tap
A Chicago family installed a touchless kitchen tap, connecting it to a GFCI-protected outlet under the sink. After calibrating the sensor, they enjoyed hands-free operation, reducing cross-contamination during food prep.
Maintenance Tips And Longevity: Keeping Your New Tap In Top Shape
A well-installed tap can last for years, but regular maintenance is crucial for peak performance and durability.
Routine Cleaning
- Wipe tap surfaces with a damp cloth and mild cleaner.
- Avoid abrasive pads or cleaners that can scratch the finish.
- Clean aerators every few months to remove mineral deposits.
Preventing Leaks And Drips
- Check under-sink connections every six months for signs of moisture.
- Tighten loose nuts gently, never force threads.
- Replace worn-out washers or supply lines as soon as issues appear.
Extending Tap Life
- Install a water softener if your area has hard water, which can damage tap internals.
- Exercise handles and spouts regularly to prevent stiffness.
- Use only manufacturer-approved replacement parts.
Pro Tip:
Keep your tap’s installation manual and spare parts kit in a safe place. Having the correct part number and specs makes future repairs easier and faster.
Example: Avoiding Mineral Buildup
A New York apartment owner noticed reduced flow in their bathroom tap after one year. Cleaning the aerator and adding a small water filter noticeably improved performance and prolonged the tap’s life.
Integrating Tap Installation With Broader Kitchen Or Bath Upgrades
Replacing a tap is often part of a larger renovation or plumbing update. Coordinating projects can maximize efficiency and minimize disruption.
Coordinating With Sink Upgrades
If you’re also replacing your sink, install the new tap before setting the sink in place. This offers better access for securing hardware and connecting supply lines. For more on this approach, see how to install a new kitchen sink.
Adding Accessories
Consider installing a sink sprayer or soap dispenser alongside your new tap. Many taps come with accessory ports or can be combined with add-ons. For installation guides, visit how to install a sink sprayer and how to install a soap dispenser in a kitchen sink.
Upgrading Plumbing
If your kitchen or bathroom plumbing is aging, now is a good time to replace old supply lines, shutoff valves, or even install new sink drain baskets. For step-by-step plumbing updates, check how to install kitchen sink plumbing.
Example: Complete Kitchen Refresh
When remodeling a kitchen in Seattle, the homeowner installed a new double sink, tap, and garbage disposal in one weekend. Coordinating all upgrades streamlined the process and minimized downtime.
Frequently Asked Questions
What Is The Best Way To Remove Stubborn Old Mounting Nuts?
Stubborn mounting nuts can be loosened by applying a penetrating oil (like WD-40) and allowing it to soak for 10-15 minutes. Use a basin wrench for extra leverage. If the nut remains stuck, gently tapping it with a rubber mallet can help.
As a last resort, a nut splitter tool can safely cut through the nut without damaging the sink.
Can I Reuse Existing Supply Lines When Installing A New Tap?
While it’s sometimes possible to reuse supply lines if they are in excellent condition and the connectors match your new tap, most experts recommend installing new lines. Old supply lines can develop hidden cracks or wear, leading to leaks. Upgrading ensures a secure, leak-free connection and peace of mind.
How Do I Know If My Sink Is Compatible With A New Tap?
Check the number of holes and the spacing between them on your sink or countertop. Compare this to the mounting requirements of your chosen tap. Also, measure the clearance behind and around the sink for handle operation. If your new tap requires fewer holes than your sink, use an escutcheon plate to cover unused holes.
Is It Safe To Install A Tap Above A Dishwasher Or Garbage Disposal?
Yes, but ensure all plumbing connections are secure and leak-free, as leaks above dishwashers or disposals can cause hidden water damage. It’s also important to route supply lines neatly and avoid contact with hot appliance surfaces. If you’re installing a tap as part of a bigger project, see how to install a double sink with garbage disposal.
What Should I Do If Water Is Discolored After Installation?
Discolored water often results from disturbed sediment in pipes or residual manufacturing debris in the new tap. Run both hot and cold water for several minutes to flush the system. If discoloration persists, remove and clean the aerator. For ongoing issues, contact your water utility or a licensed plumber to check for larger supply problems.
Replacing a sink tap is a highly rewarding home improvement project that enhances both the look and function of your kitchen or bathroom. With careful planning, attention to detail, and a willingness to troubleshoot, you can achieve a professional-quality result on your own. Whether you’re pursuing a simple update or a full renovation, the skills and confidence you gain from this project will serve you well on future DIY adventures. For more in-depth guides on related sink and plumbing upgrades, explore the resources linked throughout this article and consider consulting trusted sources such as the Family Handyman for advanced tips.