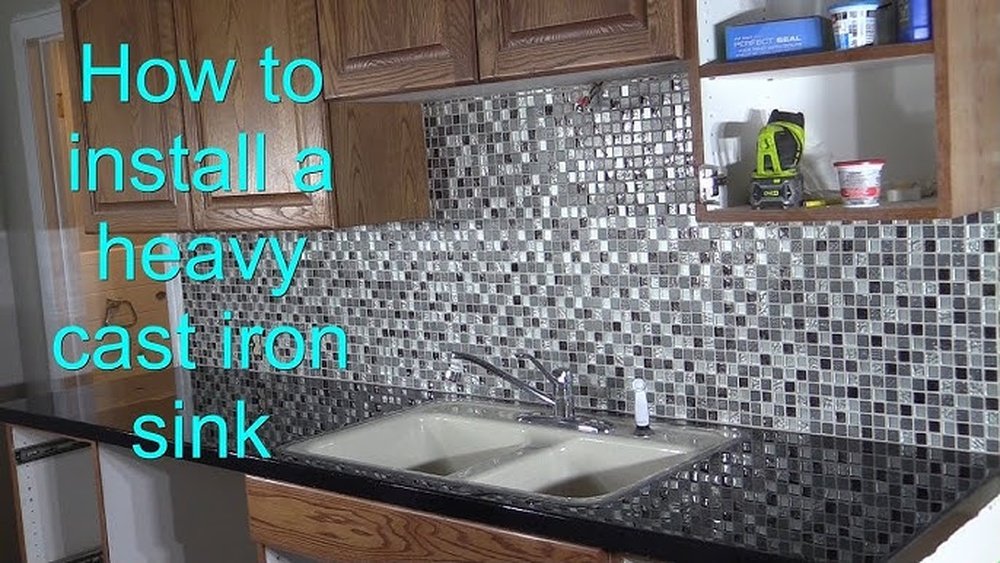
Few home upgrades combine durability, style, and functionality like installing a cast iron sink. With their classic look and legendary longevity, cast iron sinks are a favorite in both historic renovations and modern kitchens. However, their installation is not for the faint of heart. A cast iron sink can weigh 80, 150 pounds, and installing one requires careful preparation, precise measurements, and the right tools. Homeowners who approach this project with patience and the correct guidance can achieve professional-quality results, often in a single weekend.
Whether you’re replacing an old sink, remodeling your entire kitchen, or upgrading to a more robust and attractive fixture, learning how to install a cast iron sink is a valuable skill. In this guide, you’ll discover the essential steps, common pitfalls, and expert tips to ensure a smooth and safe installation.
With detailed instructions, comparison tables, and real-world examples, this resource is your comprehensive reference for tackling a cast iron sink installation confidently.
Key Takeaways
- Cast iron sinks offer unmatched durability but require careful handling due to their weight and fragility.
- Precise measurements and countertop compatibility are critical for a secure, leak-free installation.
- Proper support, sealing, and integration with plumbing are essential for function and longevity.
- Safety precautions, including using a helper, are mandatory to prevent damage or injury.
- This guide covers every step, from prep work to final plumbing connections, with actionable tips and troubleshooting advice.
Credit: www.reddit.com
Understanding Cast Iron Sinks
What Is A Cast Iron Sink?
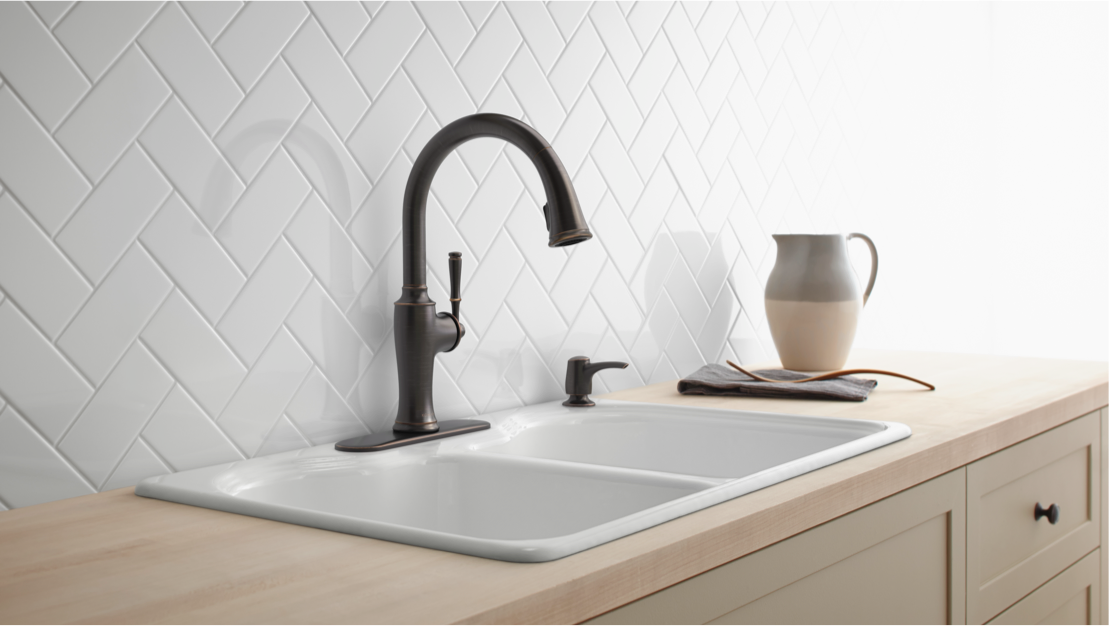
A cast iron sink consists of a solid cast iron core coated with a layer of glossy enamel. This design delivers a unique combination of strength, heat resistance, and timeless appeal. The enamel coating resists stains and scratches, while the iron core provides a reassuring heft that anchors the sink solidly in place.
Key Benefits And Drawbacks
Installing a cast iron sink brings both advantages and challenges. Here’s a quick overview:
| Benefit | Drawback |
|---|---|
| Exceptional durability | Very heavy (80, 150 lbs) |
| Classic, high-end appearance | Requires sturdy countertop support |
| Resistant to stains and chips | Enamel can crack if dropped |
| Long lifespan (often 50+ years) | More complex installation vs. stainless steel |
Types Of Cast Iron Sinks
Cast iron sinks come in several styles, each with installation nuances:
- Drop-in (Self-rimming): Sits on top of the countertop, with a visible rim.
- Undermount: Mounted below the countertop for a seamless look.
- Farmhouse (Apron-front): Features an exposed front, often requiring cabinet modification.
Cast Iron Vs. Other Sink Materials
How does cast iron compare to stainless steel, composite, or fireclay? Let’s look at the data:
| Feature | Cast Iron | Stainless Steel | Composite Granite | Fireclay |
|---|---|---|---|---|
| Durability | Excellent | Good | Very Good | Excellent |
| Weight | Very Heavy | Lightweight | Heavy | Heavy |
| Installation Difficulty | High | Low | Medium | High |
| Cost Range | $$, $$$ | $, $$ | $$ | $$$ |
| Maintenance | Easy | Very Easy | Easy | Medium |
Pro Tip: If you’re unsure whether your countertop and cabinetry can support a cast iron sink, consult a licensed contractor before proceeding.
Preparation And Planning
Assessing Your Countertop And Cabinetry
Before starting, it’s essential to verify that your countertop and sink cabinet can bear the weight. Cast iron sinks typically weigh two to three times more than stainless steel alternatives. According to the Kohler Cast Iron Sinks Guide, proper under-mount support is mandatory, especially for undermount or farmhouse models.
- Countertop Materials: Solid surfaces like granite, quartz, and concrete are ideal. Laminate and thin solid surface countertops may require reinforcement.
- Cabinet Support: Ensure the base cabinet is level and free of rot or weakness. Reinforce with plywood or 2x4s if necessary.
Measuring And Sink Selection
Accurate measurements are the foundation of a successful install:
- Sink Cutout: Measure the existing cutout or consult your new sink’s template.
- Cabinet Interior: Confirm there’s enough clearance for sink depth and plumbing.
- Faucet and Accessory Holes: Align with your faucet, sprayer, and soap dispenser needs.
Tools And Materials Checklist
Gather the following before you begin:
- Tape measure and pencil
- Level and square
- Jigsaw or oscillating tool (for cutouts)
- Plumber’s putty and silicone sealant
- Adjustable wrench and screwdriver
- Pipe wrench and channel-lock pliers
- Bucket and towels
- Heavy-duty gloves and safety glasses
- Two sawhorses or a padded work surface
- Helper (required for lifting)
Removing The Old Sink
If replacing an existing sink:
- Shut off water supply valves and disconnect supply lines.
- Remove the drain trap and garbage disposal, if present.
- Cut through old caulk or adhesive.
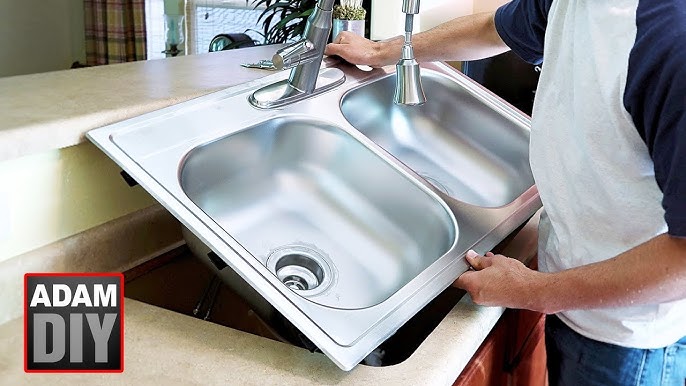
- Lift out the old sink (enlist help for heavy models).
For detailed removal instructions, refer to How To Install A Drop-In Kitchen Sink.
Real-world Example: Planning For A Heavyweight
When I helped a friend install a 120-pound Kohler cast iron farmhouse sink, we discovered the cabinet base flexed under the weight. We reinforced it with two 2x4s and a 3/4″ plywood panel, ensuring it could support the sink for decades.
Credit: www.youtube.com
Step-by-step Installation Process
1. Dry-fitting The Sink
Before applying any sealant, dry-fit the sink into the opening:
- Ensure the sink fits snugly without forcing.
- Check that the rim sits evenly on the countertop.
- For undermount or farmhouse sinks, confirm the front and side reveals are even.
If adjustments are needed, carefully enlarge the cutout using a jigsaw, keeping dust and debris out of the cabinet.
2. Installing Sink Supports
Cast iron sinks often require additional support beyond the countertop:
- For drop-in models, the countertop usually supports the weight, but verify manufacturer requirements.
- Undermount and farmhouse sinks benefit from ledger boards (2x4s or metal brackets) attached to the inside of the cabinet. The sink should “rest” on these supports, not hang from the countertop alone.
| Sink Type | Support Method | Notes |
|---|---|---|
| Drop-In | Countertop (with or without clips) | Check rim sits flush; reinforce if needed |
| Undermount | Ledger boards plus adhesive | Must support full sink weight |
| Farmhouse | Cabinet base or custom supports | May require cabinet modification |
Pro Tip: Always use a helper when lifting the sink into place. Cast iron can crack if dropped or banged against a hard surface.
3. Sealing And Setting The Sink
Proper sealing prevents leaks and water damage:
- For drop-in sinks, run a bead of plumber’s putty or silicone around the cutout before setting the sink.
- For undermounts, apply a generous bead of silicone to the underside of the countertop.
- Lower the sink gently into position, ensuring even compression of the sealant.
- Wipe away excess sealant immediately.
4. Securing The Sink
- Drop-in models may use metal clips under the rim for added security. Tighten clips gradually, alternating sides.
- For undermounts, use the supplied brackets, bolts, or custom wood supports. Allow silicone to cure per manufacturer’s instructions (typically 24 hours) before connecting plumbing.
5. Installing Faucets And Accessories
Install the faucet, sprayer, and other accessories before connecting water lines:
- If the sink has pre-drilled holes, align fixtures and secure with mounting hardware.
- Apply plumber’s putty under faucet bases to prevent leaks.
- Attach supply lines but do not turn on water yet.
For step-by-step faucet installation, see How To Install A Kitchen Sink Faucet.
6. Connecting Drain And Garbage Disposal
- Install the sink strainer using plumber’s putty.
- Assemble the drain tailpiece, P-trap, and extension pipes.
- Connect the garbage disposal (if applicable) per manufacturer instructions.
- For double-basin sinks, use a continuous waste kit for proper drainage.
Comprehensive plumbing guidance is available at How To Install Kitchen Sink Plumbing.
7. Testing For Leaks And Final Adjustments
- With all fittings secure, open the supply valves and slowly run water.
- Check every connection under the sink for leaks.
- Tighten fittings as needed and wipe away any drips.
- Test the garbage disposal, sprayer, and soap dispenser.
Example: In my experience, even a small bead of missed sealant can lead to a slow leak. Take your time inspecting every joint with a dry paper towel.
Credit: www.lowes.com
Tips For A Professional-quality Installation
Handling And Safety Precautions
- Always wear heavy-duty gloves and safety glasses to protect hands and eyes from sharp edges and debris.
- Use a dolly or cart for moving the sink when possible.
- Never attempt to lift a cast iron sink alone, enlist a strong helper.
Ensuring Proper Support
- Double-check that all cabinet reinforcements are securely fastened.
- For undermount and farmhouse sinks, periodically inspect supports over time to catch any loosening or sagging.
Achieving A Perfect Seal
- Clean all surfaces thoroughly before applying sealant.
- Use a high-quality, mold-resistant silicone for long-lasting results.
- Don’t overtighten mounting clips, which can damage the countertop.
Integrating Accessories
- Plan faucet, sprayer, and soap dispenser placement before installing the sink.
- Confirm that all holes are properly aligned and sized.
Real-world Example: Avoiding Common Mistakes
A recent case involved a homeowner who installed a cast iron drop-in sink on a laminate countertop without reinforcement. After a few months, the countertop began to sag, causing leaks and requiring a costly fix. Always verify countertop strength and reinforce as needed before installation.
Troubleshooting And Common Issues
Sink Doesn’t Fit The Cutout
If the sink is too large for the opening, carefully enlarge the cutout with a jigsaw. If too small, use a template to mark the required size before cutting.
Countertop Sagging
Sagging indicates insufficient support. Reinforce with additional ledger boards or plywood panels beneath the sink.
Leaks Around The Rim Or Drain
Leaks often result from inadequate or improperly applied sealant. Remove the sink, clean off old sealant, and reapply a fresh bead of plumber’s putty or silicone.
Drainage Problems
Improper slope or blocked pipes can cause slow drainage. Ensure the drain tailpiece has a consistent downward slope and all pipes are clear.
Enamel Damage
Chips or cracks in the enamel can occur during installation. Handle the sink with care and avoid setting heavy objects inside the basin.
Warning: Never use the countertop alone to support the full weight of a cast iron sink. Failure to reinforce can lead to structural damage and safety hazards.
Maintenance And Longevity Tips
Routine Cleaning
Clean cast iron sinks with a non-abrasive sponge and mild detergent. Avoid harsh chemicals or steel wool, which can scratch the enamel.
Preventing Scratches And Chips
- Use a sink grid or mat to protect the basin from pots and pans.
- Don’t drop heavy items into the sink.
Dealing With Stains
Most stains can be removed with baking soda and water. For stubborn marks, use a cleaner designed for enamel surfaces.
Periodic Inspections
Inspect seals and supports every six months, especially after heavy use or significant temperature changes.
Real-world Example: 20-year Sink Performance
A 20-year-old cast iron sink in a rental property showed minimal wear, no chips, stains, or leaks. Regular cleaning and prompt repairs kept it looking and functioning like new.
Cost Analysis And Value Considerations
Upfront And Long-term Costs
Cast iron sinks are typically more expensive than other materials, with prices ranging from $300 to $1,200+. Installation costs may increase due to the need for additional support and professional help.
- DIY Installation: Material costs only, but factor in reinforcement supplies and tools.
- Professional Installation: Labor costs range from $200 to $600, depending on complexity and location.
Return On Investment (roi)
According to the Remodeling 2026 Cost vs. Value Report, kitchen remodels recoup 60, 80% of their cost on resale. High-quality, durable fixtures like cast iron sinks enhance a home’s value and appeal.
Comparison Table: Cost And Roi By Sink Material
| Sink Material | Average Cost | Expected Lifespan | ROI Impact |
|---|---|---|---|
| Cast Iron | $300, $1,200 | 50+ years | High |
| Stainless Steel | $100, $600 | 20, 30 years | Medium |
| Composite Granite | $250, $900 | 25, 40 years | Medium |
| Fireclay | $400, $1,500 | 40, 60 years | High |
Example: Budgeting For A Kitchen Upgrade
A homeowner replacing a stainless steel sink with a cast iron model budgeted $900 for materials and $500 for professional installation. The upgrade increased the home’s resale value and provided decades of worry-free use.
Frequently Asked Questions
What Should I Do If My Countertop Isn’t Strong Enough For A Cast Iron Sink?
If your countertop can’t support the weight, reinforce it with additional plywood or 2×4 framing beneath the sink area. For undermount or farmhouse installations, ledger boards attached to the cabinet sides offer crucial support. If reinforcement isn’t feasible, consider a lighter sink material instead.
Can I Install A Cast Iron Sink By Myself, Or Do I Need Professional Help?
While a skilled DIYer can handle cast iron sink installation, it’s strongly recommended to have at least one helper due to the sink’s weight and bulk. If you lack experience with plumbing, cabinetry, or countertop modifications, hiring a licensed professional is wise for safety and quality.
How Can I Repair Minor Chips In The Enamel Finish?
Small chips can often be repaired using an enamel repair kit designed for cast iron sinks. Clean the area thoroughly, apply the repair compound according to package instructions, and let it cure fully. For larger cracks or deep damage, consult a professional for more extensive repairs.
Are There Any Special Considerations For Installing A Garbage Disposal With A Cast Iron Sink?
Yes. The added weight of a garbage disposal requires secure mounting to the sink and plumbing. Use proper brackets and supports, and avoid overtightening to prevent enamel cracks. For step-by-step instructions, see How To Install A Garbage Disposal.
How Do I Maintain The Shine And Color Of My Cast Iron Sink Over Time?
To preserve the glossy enamel finish, clean regularly with non-abrasive cleaners and avoid harsh chemicals. For extra shine, you can occasionally polish the sink with a gentle glass cleaner. Always dry the basin after use to prevent water spots and mineral buildup.
Installing a cast iron sink is a rewarding project that enhances both the beauty and utility of your kitchen. With careful planning, attention to detail, and the right support, you can enjoy a timeless fixture that stands up to decades of daily use. Whether you’re undertaking a full kitchen remodel or a simple sink swap, the steps outlined above will guide you through a safe, high-quality installation. For more detailed plumbing and accessory integration, explore resources like How To Install A Double Kitchen Sink and How To Install A Sink Sprayer for related projects and expert advice.