If you see cracks or gaps around your kitchen sink, it may be time to replace the caulking or grout. Old caulk and grout can let water get under your sink area. This can cause damage to your cabinets or walls. Fixing this is easier than you think. You do not need to call a professional. Just follow these simple steps.
What Is Caulking and Grout?
Caulking is a soft material that seals gaps. It is usually made of silicone or latex. You find it around sinks and bathtubs. It keeps water from leaking out.
Grout is a hard material used between tiles. It keeps the tiles in place and stops water from getting behind them. Both help protect your kitchen from water damage.
Tools and Materials You Will Need
Before starting, gather these items:
- Utility knife or caulk remover tool
- Putty knife or scraper
- Rubbing alcohol or cleaning solution
- Clean cloth or paper towels
- New caulk (silicone or latex-based, kitchen grade)
- Grout (if replacing grout between tiles)
- Caulk gun (if using caulk in a tube)
- Masking tape (optional but helpful)
- Gloves
- Bucket of water and sponge (for grout)
Step 1: Remove Old Caulking or Grout
First, remove the old caulk or grout carefully. Use a utility knife or caulk remover tool. Cut along the edges of the old caulk. Pull it away slowly. Be gentle to avoid scratching the sink or countertop.
If you are removing grout, use a grout removal tool or a small scraper. Scrape the grout between the tiles around the sink. Take your time. Make sure you remove all loose material.
Step 2: Clean the Area
After removing the old caulk or grout, clean the area well. Use rubbing alcohol or a mild cleaning solution. This removes dirt, grease, and old residue.
Wipe the area with a clean cloth or paper towel. Let it dry completely. This helps the new caulk or grout stick better.
Step 3: Prepare for New Caulking
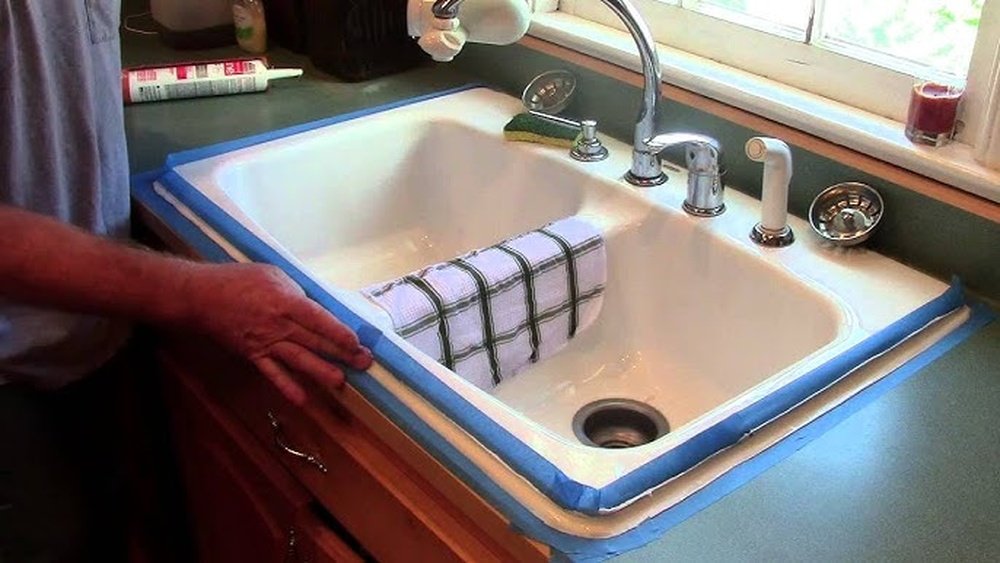
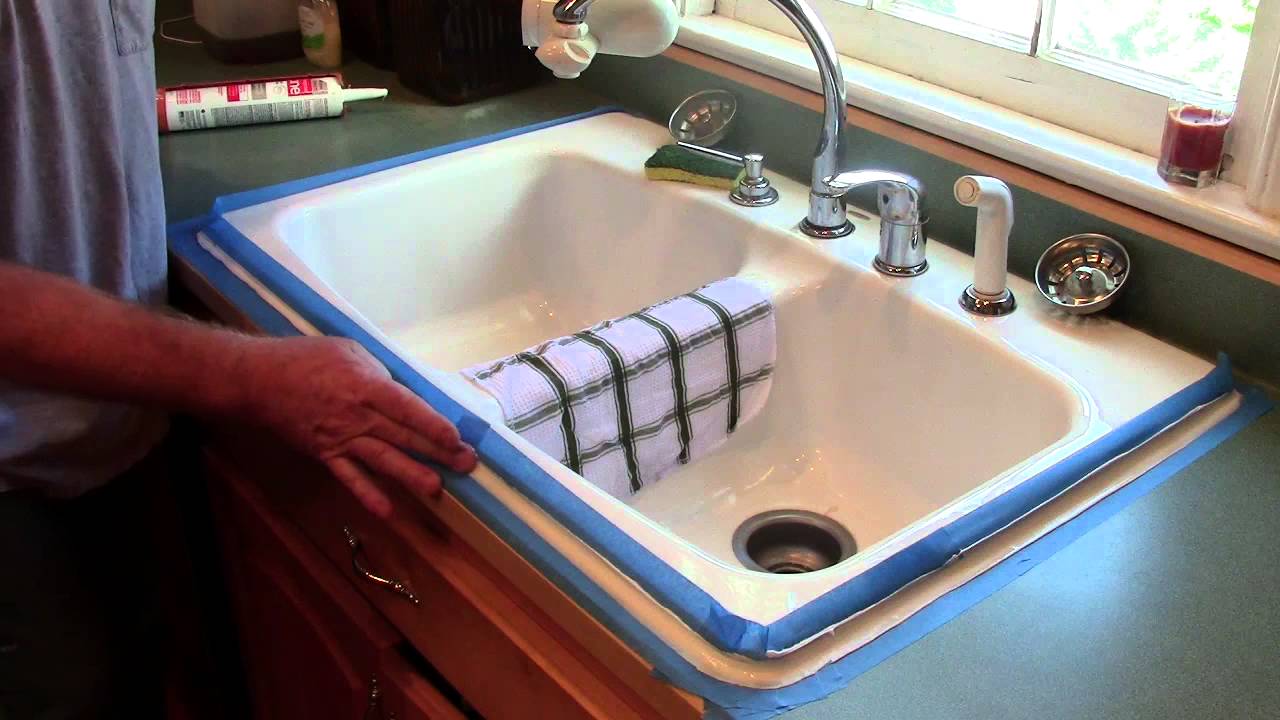
If you want a neat line of caulk, use masking tape. Place tape on each side of the joint. This keeps the caulk in a straight line.
Cut the tip of the caulk tube at a 45-degree angle. Make a small hole to control the flow. Insert the tube into the caulk gun.
Step 4: Apply New Caulking
Hold the caulk gun at a 45-degree angle. Slowly squeeze the trigger. Move the gun along the joint smoothly. Fill the gap with caulk evenly.
Do not stop in the middle. Keep a steady speed for a smooth line.
Once done, wet your finger with water. Run your finger along the caulk line. This smooths the caulk and pushes it into the gap.
Remove the masking tape carefully before the caulk dries. This keeps clean edges.

Credit: hydroforcecleaningsystems.com
Step 5: Replace Grout (If Needed)
If you removed grout, now is time to apply new grout. Mix the grout according to the package instructions. It should be a thick paste.
Use a grout float or a putty knife to press grout into the gaps. Hold the float at a 45-degree angle. Press firmly to fill the gaps well.
Remove extra grout by holding the float at a 90-degree angle. Scrape across the tiles gently.
Let the grout set for about 10-15 minutes. Then, use a damp sponge to wipe the tiles. Clean off grout haze, but do not remove grout from the joints.
Step 6: Let It Dry
Allow the caulk or grout to dry fully. Drying times differ:
- Caulk usually dries in 24 hours.
- Grout may take 24-72 hours to cure.
Do not use the sink during this time. Keep the area dry and clean.
Credit: www.youtube.com
Tips for Best Results
- Choose kitchen-grade silicone caulk for water resistance.
- Use gloves to keep hands clean.
- Work in a well-ventilated space.
- Remove caulk or grout gently to avoid damage.
- Clean the area thoroughly before applying new material.
- Take your time to apply caulk or grout evenly.
- Use masking tape for straight caulk lines.
- Don’t rush drying times to avoid peeling or cracking.
Why Replace Caulking and Grout?
Over time, caulk and grout get old and crack. This lets water leak into places it should not. Water damage can cause mold and rot. Cabinets and walls may become weak.
Replacing caulking and grout keeps your kitchen safe and clean. It also makes your sink area look fresh and new.
When to Replace Caulking or Grout
- You see cracks or gaps in caulk or grout.
- Caulk looks moldy or discolored.
- Water pools around the sink edges.
- Tiles around the sink feel loose.
Summary
Replacing caulking and grout around a kitchen sink is simple. You remove old material, clean well, and apply new caulk or grout. Use the right tools and materials for best results.
This small task protects your kitchen from water damage. It also keeps your sink area looking neat and tidy.
Follow the steps carefully. Take your time. You will have a fresh, sealed sink area in no time.
Frequently Asked Questions
How Do I Remove Old Caulking Around My Kitchen Sink?
Use a utility knife or caulk remover tool to cut and scrape away old caulk. Work slowly to avoid damaging the sink or countertop. Clean the area before applying new caulk.
What Type Of Caulk Is Best For Kitchen Sinks?
Silicone caulk is best for kitchen sinks because it is waterproof and flexible. It sticks well to ceramic, metal, and stone surfaces. Choose a mold-resistant formula for extra protection.
How Long Does It Take For Caulk To Dry Around A Sink?
Caulk usually takes 24 hours to fully dry and cure. Avoid using the sink during this time to ensure a strong seal. Check the product label for exact drying times.
Can I Replace Grout Around My Kitchen Sink Myself?
Yes, you can replace grout yourself with basic tools and materials. Remove old grout carefully, apply new grout, and smooth it with a grout float. Let it dry completely before use.