
Installing a Sinkology farmhouse sink can change the look of your kitchen. These sinks are strong, beautiful, and easy to clean. If you want a new sink that stands out, a farmhouse sink is a great choice.
This guide will help you install your Sinkology farmhouse sink step by step. You do not need to be an expert. Just follow the simple instructions below.
What You Will Need
Before starting, gather these tools and materials:
- Measuring tape
- Pencil
- Jigsaw or saw
- Drill with bits
- Adjustable wrench
- Screwdriver
- Plumber’s putty or silicone sealant
- Pipe wrench
- Safety glasses
- Bucket and towels
- New Sinkology farmhouse sink
- Drain kit (usually comes with the sink)
Step 1: Prepare Your Workspace
Turn off the water supply to your sink. Look under the sink and close the valves. If there are no valves, turn off the main water supply.
Next, place a bucket under the pipes. Open the faucet to drain any water left in the lines. This stops water from spilling when you disconnect pipes.
Clear the area under your sink. Remove any items from the cabinet so you have space to work.
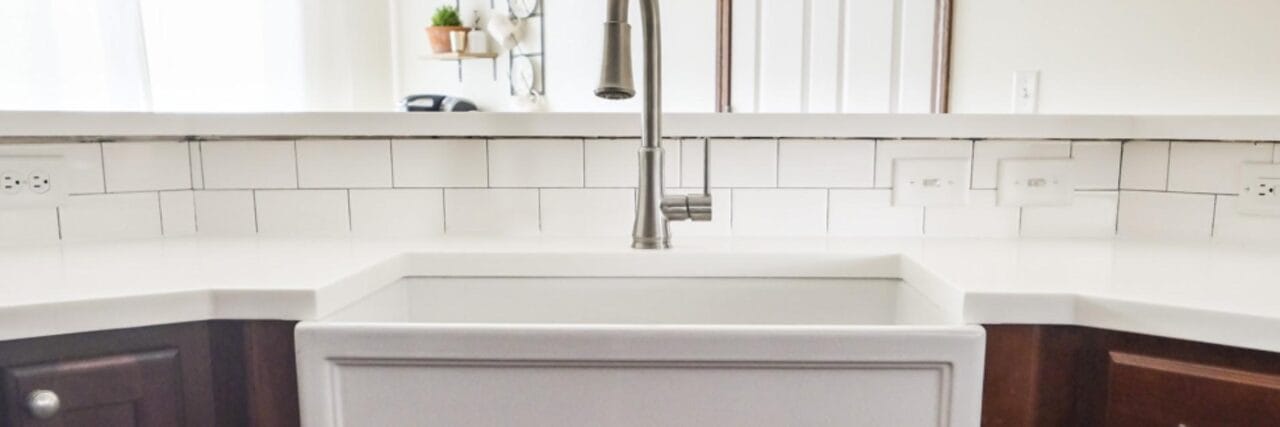
Credit: www.sinkology.com
Step 2: Remove the Old Sink
Start by disconnecting the drain pipes. Use a pipe wrench or adjustable wrench to loosen the nuts. Keep the bucket below to catch water.
Disconnect the water supply lines from the faucet. Use the wrench carefully to avoid damage.
Cut any caulk or sealant around the old sink with a utility knife. This helps to free the sink from the countertop.
Lift the old sink out of the countertop. You may need help if it is heavy.
Step 3: Measure and Cut the Countertop
Measure the Sinkology farmhouse sink carefully. Check the instructions for exact dimensions.
Mark the cut lines on your countertop with a pencil. Make sure the marks are straight and even.
Put on safety glasses. Use a jigsaw to cut along the lines. Cut slowly to avoid mistakes.
Remove the cut piece of countertop. Smooth edges with sandpaper if needed. This helps the sink fit well.
Step 4: Prepare the Sink
Place the drain kit on the sink. Follow the instructions that come with the kit.
Apply plumber’s putty or silicone sealant around the drain opening. This prevents leaks.
Attach the drain to the sink. Tighten the nuts by hand, then use a wrench to secure them. Do not overtighten.

Credit: www.sinkology.com
Step 5: Install the Farmhouse Sink
Apply a bead of silicone sealant around the edge of the cutout on the countertop. This keeps water from getting under the sink.
With help, carefully lower the farmhouse sink into the cutout. The front of the sink should hang over the cabinet.
Press down gently to make sure the sink sits evenly. Check that the sink is level. Use a small level tool if you have one.
Secure the sink to the countertop and cabinet. Use the clips or brackets that came with your Sinkology sink. Tighten the screws but do not force them.
Step 6: Connect the Plumbing
Reconnect the water supply lines to the faucet. Use the wrench to tighten the connections.
Attach the drain pipes to the sink drain. Make sure all nuts are tight to avoid leaks.
Check the drain trap and replace any old washers or seals if needed.
Step 7: Test for Leaks
Turn on the water supply valves slowly. Check under the sink for any leaks.
Run water through the faucet and watch the drain connections. Look for drips or moisture.
If you see leaks, tighten connections carefully. Add plumber’s tape if needed on threaded parts.
Step 8: Clean Up and Finish
Wipe away any excess silicone sealant around the sink edges. Use a damp cloth for a clean look.
Replace items you removed from the cabinet. Organize your space to keep it neat.
Your new Sinkology farmhouse sink is now ready to use. Enjoy your beautiful new kitchen feature!
Tips for a Smooth Installation
- Always measure twice before cutting.
- Work slowly and carefully to avoid mistakes.
- Ask for help when lifting heavy sinks.
- Keep all your tools and parts within reach.
- Wear safety glasses when cutting or drilling.
- Use silicone sealant for a strong water barrier.
- Check for leaks before finishing the job.
Why Choose a Sinkology Farmhouse Sink?
Sinkology sinks are made from strong materials like fireclay. They resist scratches and stains well. Their classic look fits many kitchen styles.
These sinks have large basins, perfect for washing big pots. The front apron design adds charm and makes cleaning easier.
Installing your own farmhouse sink can save money. Plus, you get the satisfaction of doing it yourself.
Frequently Asked Questions
What Tools Do I Need To Install A Sinkology Farmhouse Sink?
You need a wrench, screwdriver, plumber’s putty, tape measure, and silicone sealant. These tools help ensure a smooth installation process.
How Long Does Installing A Sinkology Farmhouse Sink Take?
Installation usually takes 2 to 4 hours depending on skill level. It includes removing the old sink and fitting the new one.
Can I Install A Farmhouse Sink Myself?
Yes, with basic plumbing knowledge and the right tools, you can install it yourself. Follow the instructions carefully for best results.
What Type Of Countertop Works Best With A Farmhouse Sink?
Farmhouse sinks fit well with granite, quartz, or solid surface countertops. Make sure the countertop can support the sink’s weight.
Conclusion
Installing a Sinkology farmhouse sink is a good project for homeowners. With the right tools and steps, you can do it yourself.
Follow each step carefully. Take your time and check your work. Soon, you will have a beautiful, functional sink in your kitchen.