Installing an undermount sink on a quartz countertop can seem hard. But with the right steps, you can do it yourself. This guide will help you install the sink safely and correctly.
What Is an Undermount Sink?
An undermount sink is attached under the countertop. This means the sink is hidden below the surface. It creates a clean look and makes cleaning easy. Quartz countertops look great with undermount sinks.
Tools and Materials You Need
Before starting, gather all tools and materials. This will save time and prevent mistakes.
- Undermount sink
- Quartz countertop
- Silicone sealant (clear or white)
- Sink clips or brackets
- Screwdriver
- Measuring tape
- Masking tape
- Cloth or paper towels
- Caulk gun
- Plumber’s putty (optional)
- Safety gloves
Step 1: Prepare the Workspace
Clear the area where you will work. Remove anything on the countertop. Clean the surface well. Make sure the countertop edge is smooth and clean. This helps the sink stick properly.
Step 2: Check the Sink and Countertop Cutout
Measure the sink and the hole in the countertop. The hole must fit the sink perfectly. If the hole is too small or big, the sink will not fit well. Ask a professional if you need to change the hole size.
Step 3: Dry Fit the Sink
Place the sink under the countertop hole. Check if it fits well and sits flat. Make sure the edges line up smoothly. This is called a dry fit. It helps you see if the sink sits right before gluing it.
Step 4: Apply Masking Tape
Put masking tape around the countertop hole on the top side. This protects the quartz from glue or sealant mess. It also helps keep the area clean for a neat finish.
Step 5: Apply Silicone Sealant
Use a caulk gun to put a bead of silicone sealant around the edge under the countertop hole. Use enough sealant to create a good seal. This seal stops water from leaking under the sink.
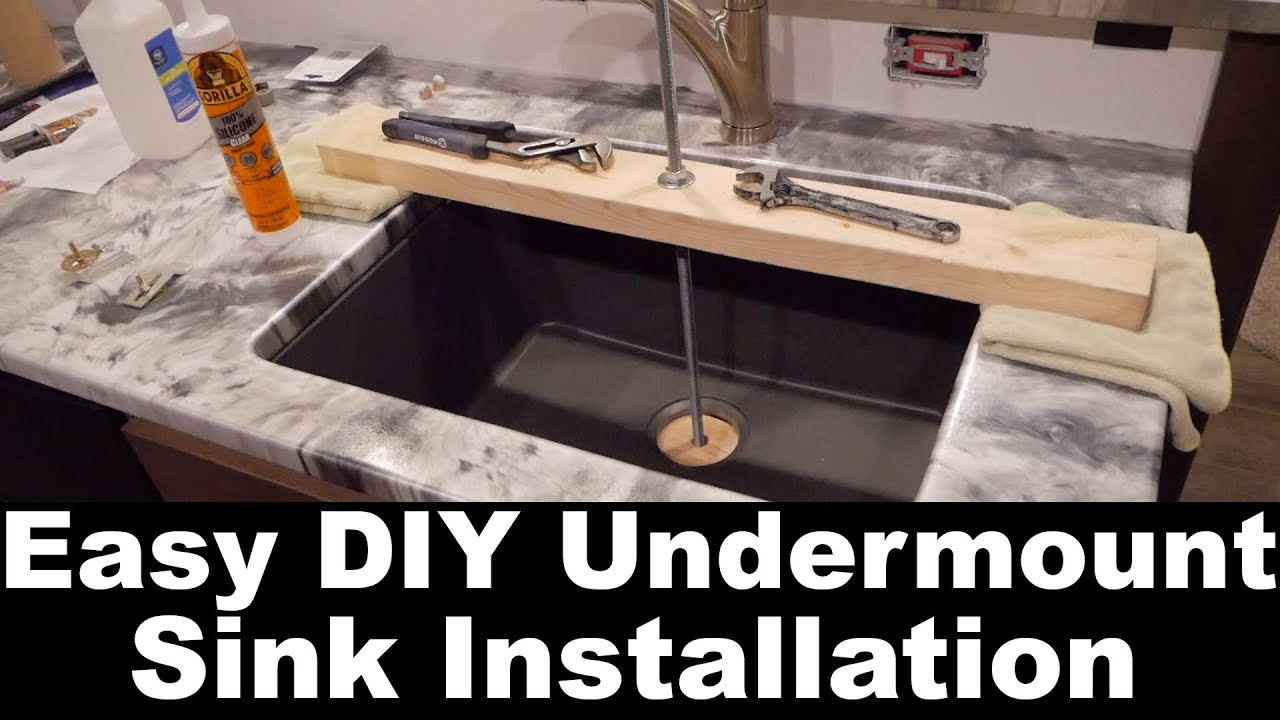
Step 6: Attach the Sink
Carefully push the sink up against the countertop. Press it firmly into the sealant. Hold it steady for a few minutes. This allows the sealant to start sticking.
Step 7: Secure the Sink with Clips
Use sink clips or brackets to hold the sink in place. Attach them to the sink and countertop. Tighten the screws slowly and evenly. Do not over-tighten. This can crack the quartz or damage the sink.
Credit: helpcenter.elkay.com
Step 8: Clean Excess Sealant
Remove any extra silicone that squeezed out. Use a cloth or paper towel. Be gentle to avoid moving the sink. Clean the countertop and sink edges well.
Step 9: Let the Sealant Dry
Allow the silicone to dry fully. This usually takes 24 hours. Avoid using the sink during this time. This helps the sink stay firmly attached.
Step 10: Connect the Plumbing
After the sealant dries, connect the drain and faucet pipes. Use plumber’s putty if needed to prevent leaks. Check all connections for tightness. Turn on the water to test for leaks.
Credit: www.youtube.com
Tips for a Successful Installation
- Always wear safety gloves when handling tools and sealants.
- Work slowly and carefully to avoid damaging quartz.
- If unsure, ask for help from a professional.
- Use high-quality silicone made for kitchen use.
- Make sure the sink is level before tightening clips.
Why Choose an Undermount Sink for Quartz?
Quartz is strong and looks modern. Undermount sinks match quartz well. They make cleaning easier. No sink edges stick up above the countertop. This keeps your kitchen neat and tidy.
Common Problems and How to Avoid Them
| Problem | Cause | How to Avoid |
|---|---|---|
| Sink leaks | Bad seal or loose clips | Apply enough sealant and tighten clips properly |
| Quartz cracks | Over-tightening clips | Tighten screws slowly and gently |
| Sink does not fit | Wrong hole size | Measure carefully before installation |
| Messy edges | Sealant spills | Use masking tape and clean up immediately |
Final Thoughts
Installing an undermount sink on a quartz countertop is doable. Take your time and follow each step. Use the right tools and materials. Protect your countertop during work. And always check your work after installation. A good install means your kitchen will look great and work well for years.
Remember, if you feel unsure, it’s okay to ask for help. A professional can make sure the job is done right. Enjoy your new sink and clean countertop!
Frequently Asked Questions
How Do I Prepare Quartz Countertop For Undermount Sink Installation?
Clean the surface thoroughly and remove any debris. Mark the sink outline on the quartz for precise cutting and placement.
What Tools Are Needed To Install An Undermount Sink On Quartz?
You need a drill, silicone sealant, clamps, and a jigsaw with a diamond blade. Safety gear like gloves and goggles is also important.
Can I Cut Quartz Countertop Myself For Sink Installation?
Cutting quartz requires special blades and steady hands. It’s best to hire a professional to avoid damage.
How To Secure The Undermount Sink To Quartz Countertop?
Use strong silicone adhesive under the sink rim. Then, clamp the sink tightly until the sealant cures.