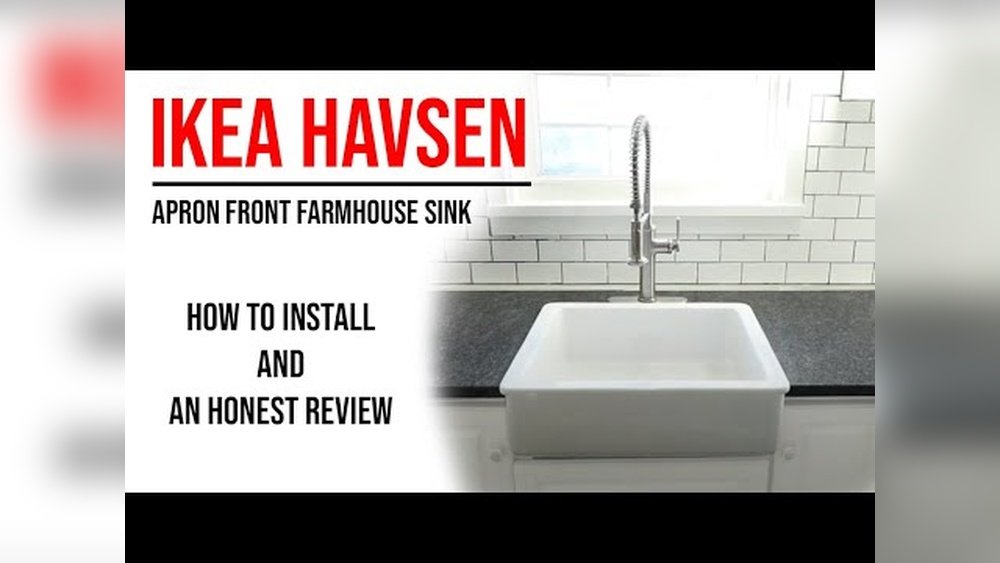
Installing a new sink can seem hard. But with the right steps, it is easier than you think. This guide will help you install your Ikea Havsen sink. We will go step by step. You do not need to be an expert. Just follow the instructions carefully.
What You Need Before You Start
First, gather all the tools and parts you will need. This saves time and stress later. Here is a simple list:
- Ikea Havsen sink
- Faucet (if not included)
- Drain kit
- Plumber’s putty or silicone sealant
- Adjustable wrench
- Screwdriver
- Bucket or bowl
- Towels or rags
- Measuring tape
- Pipe wrench (optional)
- Plumbers tape (Teflon tape)

Credit: www.youtube.com
Step 1: Prepare Your Work Area
Clear the space under your sink. Remove any items that may get in the way. Turn off the water supply. You can usually find the valves under the sink. Turn them clockwise until tight.
Open the faucet to drain any water left in the pipes. Place a bucket under the drain pipe. This catches water when you disconnect pipes.
Step 2: Remove the Old Sink
If you have an old sink, remove it first. Disconnect the water supply lines using a wrench. Then, remove the drain pipe carefully. Use the bucket to catch water.
Check if the old sink is fixed with screws or clips. Remove them carefully. Lift the old sink out. If it is stuck, gently tap around the edges with a rubber mallet.
Clean the countertop surface where the new sink will sit. Remove old putty or sealant. A clean surface helps the new sink fit well.
Step 3: Check the Ikea Havsen Sink
Take the new Ikea Havsen sink out of the box. Check for any damage. Read the instructions from Ikea carefully. The sink usually comes with a manual.
Measure the sink and the countertop hole. Make sure they match. If the hole is too small, you may need to cut it bigger. If it is too big, you might need a sink that fits better.

Credit: inspiredkitchendesign.com
Step 4: Install the Faucet and Drain
It is easier to install the faucet and drain before placing the sink on the countertop.
Follow these steps:
- Insert the faucet into the hole on the sink.
- Secure the faucet underneath with nuts and washers.
- Wrap plumber’s tape around faucet threads to stop leaks.
- Install the drain kit in the sink drain hole.
- Use plumber’s putty or silicone under the drain flange.
- Tighten the drain parts carefully.
Step 5: Place the Sink in the Countertop
Apply a thin line of silicone sealant around the edge of the sink hole. This stops water from leaking under the sink.
Carefully lower the Ikea Havsen sink into the hole. Press down gently but firmly. Wipe away extra silicone that squeezes out.
Step 6: Secure the Sink
Under the counter, use the clips or brackets that came with the sink. Attach them to hold the sink in place. Tighten screws evenly. Do not over-tighten or you may crack the sink.
Check that the sink sits flat and level.
Step 7: Connect Water Supply Lines
Attach the water supply lines to the faucet. Use the adjustable wrench to tighten them. Wrap plumber’s tape on the threads before connecting. This helps prevent leaks.
Connect the hot and cold water lines to their correct valves.
Step 8: Connect the Drain Pipes
Attach the drain pipe to the sink drain. If your pipes are old, consider replacing them. Tighten all connections by hand first, then with a wrench if needed.
Make sure the drain pipe slopes downwards. This helps water flow properly.
Step 9: Test for Leaks
Turn on the water supply valves slowly. Open the faucet and let water run. Look carefully under the sink for any leaks.
If you see water dripping, tighten connections more. Use towels to dry the area and check again.
Step 10: Clean Up
Wipe away any excess sealant around the sink edges. Clean your tools and work area. Dispose of old pipes or sink parts safely.
Tips for a Smooth Installation
- Read the Ikea Havsen manual before starting.
- Ask for help if the sink is heavy.
- Work slowly and carefully.
- Keep tools within reach.
- Use a flashlight under the sink to see better.
Why Choose the Ikea Havsen Sink?
The Ikea Havsen sink is simple and stylish. It fits many kitchen styles. It is made of strong stainless steel. The surface resists scratches and stains. This makes it easy to clean.
The sink is also deep enough for big pots and pans. It has sound insulation to reduce noise. Many people like the clean look it adds to their kitchen.
Common Problems and How to Fix Them
| Problem | Cause | Solution |
|---|---|---|
| Water leak under sink | Loose pipe connections or bad seal | Tighten pipes and add plumber’s tape or sealant |
| Sink not level | Uneven countertop or loose clips | Adjust clips and add support if needed |
| Drain water slow | Drain pipe clogged or wrong slope | Clean pipes and ensure proper slope |
| Faucet leaks | Loose faucet or worn parts | Tighten faucet and replace washers if needed |
Final Thoughts
Installing an Ikea Havsen sink takes time but is doable. Follow each step with care. Do not rush. Check your work often. If you find problems, fix them before moving on.
With patience, your kitchen will have a new, clean sink. It will work well for many years. Enjoy your new Ikea Havsen sink!
Frequently Asked Questions
How Do I Prepare The Countertop For Ikea Havsen Sink?
Clean the countertop surface well before installation. Make sure the cutout matches the sink’s size exactly.
What Tools Are Needed To Install Ikea Havsen Sink?
You need a screwdriver, sealant, wrench, and measuring tape. These tools make installation easier and more precise.
Can I Install Ikea Havsen Sink Myself?
Yes, the sink is designed for easy DIY installation. Follow the instructions carefully and take your time.
How To Seal The Ikea Havsen Sink Properly?
Apply a bead of silicone sealant around the sink edge. Press the sink firmly to ensure a tight seal.