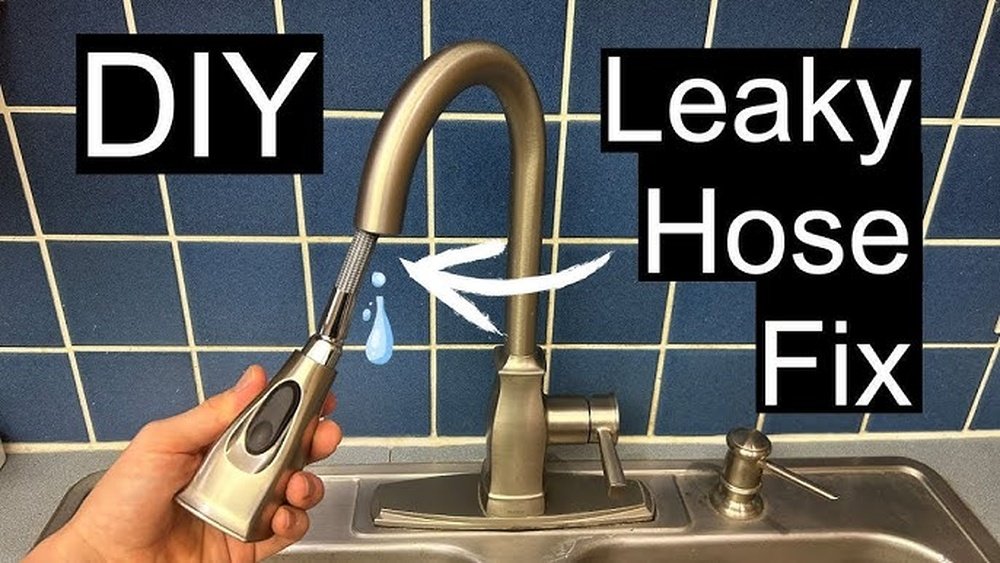
A leaking sink sprayer hose can turn your kitchen from a place of efficiency into a zone of frustration. That steady drip or sudden spray from beneath the sink signals not only wasted water but also the threat of cabinet damage, mold growth, and higher utility bills.
The good news is that fixing a leaking sink sprayer hose is a task most homeowners can tackle with a little guidance and some basic tools, often saving time, money, and the headache of a full-blown plumbing emergency.
This comprehensive guide will walk you step-by-step through diagnosing, repairing, or replacing a faulty sink sprayer hose. Whether your leak is a slow drip or a sudden burst, understanding the root causes and the proper fix can restore your kitchen’s functionality and peace of mind.
From key safety tips to real-world examples and comparison tables, you’ll find everything you need to address the problem confidently and prevent future leaks.
Key Takeaways
- Leaking sink sprayer hoses are most commonly caused by worn washers, loose connections, or damaged hoses.
- Repairing a leaking sprayer hose is often a straightforward DIY project requiring basic tools and materials.
- Regular maintenance and prompt repairs can prevent water damage and extend the life of your sink fixtures.
- Choosing the right replacement parts and following step-by-step instructions is crucial for a long-lasting fix.
- Professional help may be needed for complex plumbing layouts or persistent leaks after repair.
Understanding The Causes Of Sink Sprayer Hose Leaks
Identifying the underlying cause of a leaking sink sprayer hose is the crucial first step toward a reliable repair. Several factors can contribute to leaks, and understanding each helps guide the most effective solution.
Common Causes Of Leaks
- Worn or damaged washers: Over time, the rubber or plastic washers inside the hose or at the connection points can degrade, crack, or become dislodged, leading to water seepage.
- Loose connections: Vibrations, repeated use, or improper installation can cause the connections at the base of the sprayer or under the sink to loosen.
- Cracked or punctured hose: Flexing, age, or accidental damage can cause the hose itself to split or develop pinhole leaks.
- Corrosion or mineral buildup: Hard water deposits or corrosion on metal fittings can compromise the seal and cause leaks at connection points.
Signs Of A Leaking Hose
- Visible water pooling under the sink cabinet or around the base of the faucet.
- Dripping or spraying from the hose when the sprayer is in use or even when it’s idle.
- Reduced water pressure from the sprayer due to water escaping elsewhere.
- Mold or musty odors near the sink base, indicating ongoing moisture issues.
Example: Diagnosing A Persistent Leak
Consider a homeowner who notices dampness in the cabinet beneath their kitchen sink. After drying the area and observing for several days, they see water accumulating only when the sprayer is used. Upon inspection, they find a small crack near the connection between the hose and the base of the sprayer, a classic case of hose fatigue.
This diagnosis directs them to focus on replacing the hose rather than just tightening connections.
The Impact Of Delayed Repairs
Delaying repairs can result in:
- Cabinet or floor damage
- Mold growth
- Increased water bills
- Potential for larger plumbing failures
Pro Tip: Address leaks at the first sign to minimize repair costs and health risks.
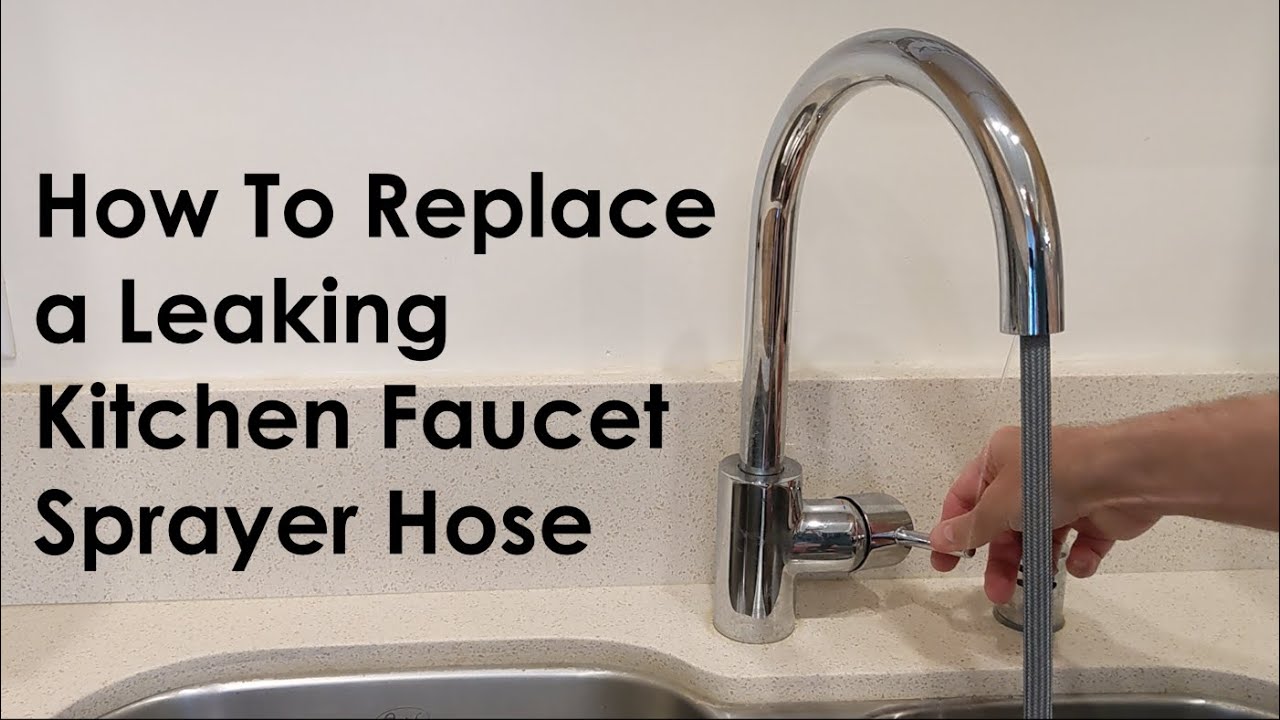
Credit: www.youtube.com
Essential Tools And Materials For Repair
Before starting any repair, gathering the right tools and materials ensures the process goes smoothly and efficiently.
Recommended Tools
- Adjustable wrench: For loosening and tightening hose connections.
- Basin wrench: Especially useful for hard-to-reach connections behind or under the sink.
- Screwdriver: Flathead or Phillips, depending on your sprayer model.
- Bucket or towel: To catch water and protect the cabinet.
- Pliers: For gripping and removing stubborn fittings.
Materials Needed
- Replacement sprayer hose: Ensure compatibility with your sink model.
- New washers or O-rings: Replace any worn or damaged seals.
- Plumber’s tape: For creating a watertight seal on threaded connections.
- Cleaning supplies: To remove old debris, grime, or mineral deposits.
Comparison Table: Common Tools And Their Uses
| Tool | Primary Use | When Essential |
|---|---|---|
| Adjustable Wrench | Tightening/loosening hose nuts | All repairs |
| Basin Wrench | Accessing tight spaces behind sink | Deep or rear connections |
| Pliers | Gripping, twisting, removing stubborn parts | Stuck or corroded fittings |
| Screwdriver | Removing sprayer heads or clamps | Certain models |
| Bucket/Towel | Containing water spills | All repairs |
Example: Tool Selection In Action
When I tested a repair on a Moen sink sprayer, the adjustable wrench and basin wrench were indispensable. The latter made it possible to reach the nut securing the hose to the faucet base, which was impossible to access with standard tools.

Credit: www.garvinssewerservice.com
Step-by-step Guide: How To Fix A Leaking Sink Sprayer Hose
A structured approach makes the repair process manageable and minimizes the risk of further leaks or damage.
Step 1: Turn Off The Water Supply
- Locate the shut-off valves under the sink.
- Turn both the hot and cold water valves clockwise until fully closed.
- Open the faucet to release any residual pressure and drain water from the lines.
Step 2: Inspect And Identify The Leak Source
- Use a dry cloth to wipe the hose and connections.
- Observe where moisture reappears when the system is briefly re-pressurized.
- Check all joints, the hose body, and the sprayer head.
Step 3: Tighten Loose Connections
- Use an adjustable wrench or pliers to gently tighten any loose nuts at the base of the sprayer or where the hose connects to the faucet.
- Avoid over-tightening, which can damage threads or crush washers.
Step 4: Replace Faulty Washers Or O-rings
- Disconnect the hose from the faucet and sprayer.
- Remove any old washers or O-rings.
- Install new, appropriately sized washers, coat them lightly with plumber’s grease for a better seal.
Step 5: Repair Or Replace The Hose
- If the hose has visible cracks, splits, or severe wear, replace it with a compatible new hose.
- To replace:
- Disconnect both ends of the old hose.
- Attach the new hose to the faucet base first, ensuring a snug fit.
- Thread the other end to the sprayer head.
- Use plumber’s tape on threaded connections for added leak resistance.
Step 6: Test The Repair
- Slowly turn the water supply valves back on.
- Operate the sprayer and inspect all connections for leaks.
- Wipe down all surfaces and watch for any reoccurrence of moisture.
Step 7: Reinstall And Clean Up
- Secure any mounting brackets or clamps removed during the repair.
- Clean the area and dispose of old parts responsibly.
Example: Successful Diy Hose Replacement
A real-world scenario involved a homeowner with a recurring leak. After replacing the washers with no success, they found a hidden split in the hose’s flexible sheath. Installing a new hose solved the issue completely, demonstrating the importance of thorough inspection.
Preventing Future Leaks: Maintenance And Best Practices
Prevention is always better than cure. Adopting regular maintenance habits significantly reduces the risk of future leaks.
Regular Inspection Tips
- Check hoses and connections every six months for signs of wear, corrosion, or looseness.
- Clean mineral deposits from fittings using vinegar or a mild descaling solution.
- Replace washers at the first sign of flattening, cracking, or stiffness.
Best Practices For Prolonging Hose Life
- Avoid bending or twisting the hose excessively during use.
- Do not yank the sprayer forcefully, guide it gently back into place.
- Install a hose weight (if not already present) to prevent kinks and promote smooth retraction.
Data Table: Average Lifespan Of Sink Sprayer Components
| Component | Average Lifespan (Years) | Maintenance Required |
|---|---|---|
| Sprayer Hose | 5-7 | Inspect annually, replace if cracked |
| Washers/O-Rings | 2-4 | Replace at first sign of wear |
| Sprayer Head | 5-8 | Clean regularly, check for leaks |
| Faucet Base | 10-15 | Check for corrosion, tighten fittings |
Example: Maintenance Pays Off
A property manager overseeing multiple rental units adopted a semi-annual inspection routine. As a result, the incidence of major water leaks was reduced by over 60%, saving thousands in potential cabinet replacements and water damage repairs.
When To Repair Vs. Replace: Making The Right Choice
Knowing whether to repair or fully replace a leaking sprayer hose depends on several factors. Making the right decision ensures both cost-effectiveness and reliability.
Factors To Consider
- Age of the hose: Hoses over 5 years old are more prone to failure and may warrant replacement.
- Extent of damage: Minor leaks at connections can often be repaired; cracks or widespread wear require full replacement.
- Cost of parts vs. full replacement: Sometimes, the price difference between a repair kit and a new hose is negligible.
Table: Repair Vs. Replacement Decision Matrix
| Scenario | Recommended Action | Rationale |
|---|---|---|
| Loose connection, no hose damage | Repair | Simple fix, low cost |
| Worn washer/O-ring | Repair | Easy to replace, restores seal |
| Cracked or split hose | Replace | Permanent fix, avoids recurring leaks |
| Multiple leaks or aged hose | Replace | Prevents future failures |
| Corroded connections | Depends | If minor, clean and repair; severe, replace |
Example: Cost Comparison
When repairing a sprayer hose on an older faucet, the homeowner found that buying a new universal replacement hose cost only $3 more than a washer kit. Opting for the new hose provided peace of mind and a longer-lasting solution.
Warning: Quality Matters
Not all replacement hoses or washers are created equal. Using high-quality, manufacturer-recommended parts reduces the chance of premature failure and ensures compatibility.
Troubleshooting Persistent Leaks And Advanced Issues
Sometimes, a leak persists even after following standard repair steps. In these cases, deeper troubleshooting is needed.
Hidden Leaks And Hard-to-find Issues
- Leaking from faucet base: May indicate a failed diverter or internal faucet issue.
- Water under sink despite tight connections: Could signal a pinhole leak in a rarely inspected section of the hose.
Advanced Repair Techniques
- Replacing the diverter valve: In some faucets, the diverter directs water to the sprayer. A faulty diverter can cause leaks or weak sprayer performance.
- Sealing threads with plumber’s tape: Apply tape in the direction of the threads for a more robust, leak-proof seal.
- Upgrading to a braided stainless steel hose: These are more durable and less prone to kinking or cracking than vinyl or rubber hoses.
When To Call A Professional
- Complex plumbing configurations or hard-to-access spaces.
- Persistent leaks after multiple repair attempts.
- Water damage indicating issues beyond the hose, such as rot or mold.
Pro Tip: If you’re unsure of your plumbing skills, or if the leak is inside a wall or floor, consult a licensed plumber to avoid costly mistakes.
Example: Upgrading For Durability
A homeowner who experienced repeated hose failures switched to a braided stainless steel replacement. Not only did this stop the leaks, but it also provided a smoother sprayer retraction and greater peace of mind.
Real-world Case Studies: Lessons From The Field
Learning from others’ experiences can shed light on best practices and potential pitfalls.
Case Study 1: The Quick Washer Fix
A family noticed their sprayer was dripping even when not in use. Upon removing the sprayer head, they found a flattened washer. Replacing it cost less than $2 and took 10 minutes. The leak stopped immediately, and the sprayer worked like new.
Case Study 2: The Hidden Hose Crack
An apartment dweller discovered a persistent puddle under the sink. Initial tightening of connections didn’t help. After removing the entire hose and flexing it, a small crack became visible. Replacing the hose eliminated the leak and prevented potential damage to the cabinetry.
Case Study 3: The Complete Sprayer Upgrade
A homeowner with an old, plastic sprayer and hose experienced frequent leaks and kinks. Choosing to install a modern, stainless steel sprayer and hose kit not only resolved the leaks but also improved aesthetics and ease of use. The project took less than an hour and transformed the kitchen experience.
Example: A Landlord’s Perspective
In my experience managing rental properties, standardizing on a high-quality, universal sprayer hose model has made future repairs easier and reduced tenant complaints. Regular training for maintenance staff on quick hose replacements has further streamlined operations.
Integrating Your Sprayer Repair With Other Kitchen Sink Upgrades
Repairing a leaking sprayer hose is an excellent opportunity to consider additional upgrades or maintenance tasks to optimize your kitchen sink setup.
Combine Repairs For Efficiency
- Install a new sink sprayer: If your current sprayer is outdated or inefficient, replacing both the hose and sprayer head can modernize your faucet. See the full guide on how to install a sink sprayer.
- Upgrade faucet or plumbing: If you’re already working under the sink, it’s efficient to check for other needed repairs, such as installing a new faucet (how to install a kitchen sink faucet) or updating plumbing lines.
- Replace the sink basket strainer: If you notice leaks from the drain area, this is a good time to consult how to install a kitchen sink drain basket.
Benefits Of Bundling Upgrades
- Time savings: Reduce the number of times you need to empty and work under the sink.
- Cost efficiency: Buying multiple parts or kits together can sometimes result in discounts.
- Improved reliability: Upgrading related components together reduces the likelihood of future breakdowns.
Example: Full Sink Refurbishment
A DIY enthusiast decided to replace the leaking sprayer hose, upgrade to a pull-down faucet, and install a new soap dispenser during a single project. The coordinated approach minimized downtime and ensured all new fixtures worked together seamlessly.
Choosing The Best Replacement Parts And Brands
Selecting the right replacement hose and parts is critical for durability and compatibility.
Key Considerations
- Compatibility: Match the hose and sprayer model to your faucet brand and type.
- Material: Stainless steel braided hoses offer superior durability compared to vinyl or rubber.
- Length: Ensure the replacement hose is long enough for comfortable use but not so long that it kinks.
- Warranty: Look for products with a manufacturer warranty for added protection.
Trusted Brands
- Moen
- Delta
- Kohler
- Pfister
- Danco (specializes in replacement parts)
Where To Buy
- Home improvement stores: Home Depot, Lowe’s, Menards
- Online retailers: Amazon, manufacturer websites
- Plumbing supply stores: For professional-grade options
For a comprehensive overview of product options and customer reviews, the Consumer Reports buying guide offers valuable insights on faucet and sprayer hose choices.
Pro Tip: Save Your Old Hose
When replacing a hose, keep the old one until the new installation is complete. It can help you match thread sizes and lengths, ensuring a perfect fit.
Frequently Asked Questions
How Do I Know If My Sink Sprayer Hose Is Compatible With My Faucet?
Most modern sink sprayer hoses are designed to fit standard connections, but variations exist between brands and faucet types. Check the manufacturer’s specifications for your faucet and compare them to the replacement hose. Universal hoses often include multiple adapters for different thread sizes.
Bring your old hose to the store for an exact match if you’re unsure.
Can I Replace Just The Sprayer Head Instead Of The Entire Hose?
Yes, if the leak is isolated to the sprayer head and the hose is in good condition, you can replace only the sprayer head. However, if the connection between the head and hose is worn or corroded, it’s often wise to replace both to ensure a long-lasting repair.
What Should I Do If I Can’t Access The Hose Connections Under My Sink?
If space is too tight or the connections are inaccessible with standard tools, a basin wrench can help reach and turn nuts in confined areas. In extreme cases, you may need to remove other plumbing components temporarily. If you’re uncomfortable with disassembly, consider hiring a professional plumber.
Is It Normal For A New Hose To Have A Slight Chemical Odor?
Some new hoses, especially those made from vinyl or rubber, may have a temporary manufacturing odor. This typically dissipates after a few days of use and flushing with water. If the smell persists or is particularly strong, contact the manufacturer to ensure the hose material is safe for potable water.
How Can I Prevent Kinking In My Replacement Sprayer Hose?
To prevent kinks:
- Choose a braided stainless steel hose, which resists bending and twisting.
- Install a hose weight to help guide the hose smoothly back into place.
- Avoid excessive pulling or bending at sharp angles.
- Routinely check that the hose moves freely and is not pinched by other plumbing.
A leaking sink sprayer hose doesn’t have to mean days of frustration or the expense of a professional repair. By understanding the causes, gathering the right tools, and following a clear, step-by-step approach, you can restore your kitchen’s functionality quickly and confidently. Regular inspection and maintenance will prevent future leaks, while choosing quality replacement parts will ensure your repair lasts. Whether you’re tackling a quick washer replacement or upgrading your entire sprayer setup, a little know-how goes a long way toward a leak-free kitchen. For more hands-on kitchen improvement advice, explore guides like how to install a double kitchen sink and keep your home running smoothly.