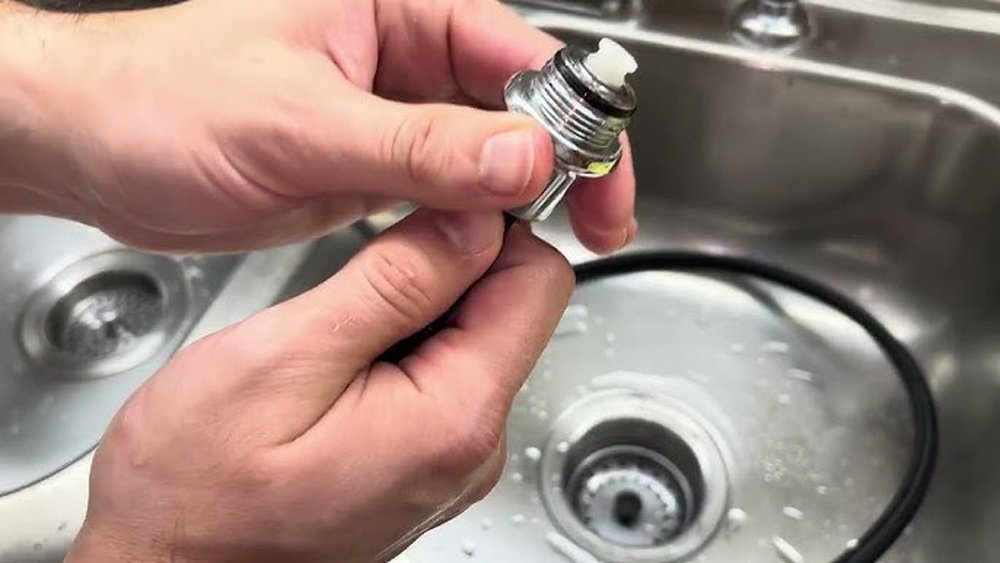
If your kitchen sink sprayer is not working right, it might be time to replace it. This guide will help you change the sprayer hose or head. You do not need to call a plumber. You can do it yourself with simple tools and steps.
Why Replace the Kitchen Sink Sprayer Hose or Head?
Sometimes the sprayer hose leaks or the head stops spraying water well. It might be clogged or broken. Replacing the hose or head can fix these problems. It also saves water and makes your kitchen easier to use.
What You Need Before You Start
Before you begin, gather the right tools and parts. This will make the job easier and faster.
- New kitchen sink sprayer hose or head (choose the part you want to replace)
- Adjustable wrench or pliers
- Towel or small bucket (to catch water)
- Flashlight (optional, if under the sink is dark)
- Cloth or rag (to clean any spills)
Step 1: Turn Off the Water Supply
Before you touch the sprayer, turn off the water. Look under your sink. Find the small valves on the pipes. Turn them clockwise to close. This stops water from flowing while you work.
If you don’t see valves, turn off the main water supply for your home.
Step 2: Remove the Old Sprayer Hose or Head
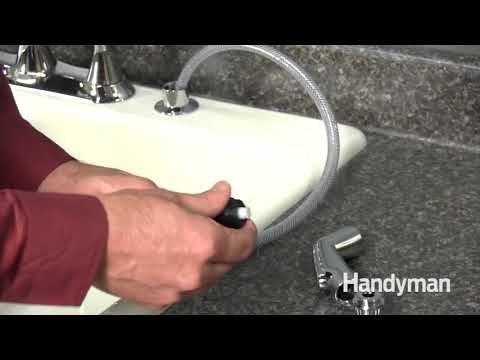
Start with the sprayer head, if you want to replace it. Grip the sprayer head and turn it counterclockwise. It should come off by hand. If it is tight, use pliers carefully.
If you want to replace the hose, you need to go under the sink. Look for the hose connected to the sprayer and the water pipe. Use the wrench to loosen the nut holding the hose. Turn it counterclockwise.
Pull the hose out from the sink area. Keep a towel or bucket ready. Water inside the hose may drip out.
Step 3: Check the New Sprayer Hose or Head
Before installing, compare the new part with the old one. Make sure they are the same size and type. This helps avoid mistakes and leaks later.
Step 4: Install the New Hose or Head
If you replace the sprayer head, screw the new head onto the hose. Turn it clockwise until tight. Hand-tight is usually enough.
If you replace the hose, first push the hose through the hole in the sink where the old hose came out. Then, connect the hose to the water pipe under the sink. Use the wrench to tighten the nut. Turn it clockwise.
Step 5: Test for Leaks
Turn the water supply back on. Slowly open the valves under the sink. Check the new sprayer for leaks. Look at the connections carefully.
If you see water dripping, tighten the nuts a little more. Be careful not to tighten too much. This can damage the parts.
Credit: www.youtube.com
Step 6: Clean Up
Wipe any water spills with a cloth. Put your tools away. Dispose of the old sprayer hose or head properly.
Tips for a Smooth Replacement
- Take a picture of your setup before starting. It helps during reassembly.
- Use a flashlight if it is dark under the sink.
- Work slowly and carefully to avoid damage.
- Keep a towel nearby for water spills.
- If unsure, ask a friend for help or advice.
Common Problems and How to Fix Them
| Problem | Cause | Solution |
|---|---|---|
| Water leaks at connection | Loose connection or damaged washer | Tighten nuts; replace washer if needed |
| Sprayer not spraying water | Clogged sprayer head or hose | Clean or replace sprayer head/hose |
| Sprayer hose is too short | Wrong replacement part | Buy correct length hose |
| Cannot unscrew old parts | Parts stuck or rusted | Use penetrating oil; wait and try again |
Why Doing This Yourself Saves Money
Calling a plumber can cost a lot. Parts and labor add up fast. Doing it yourself takes time but costs less. You also learn more about your kitchen sink.
Replacing a kitchen sink sprayer hose or head is a simple fix. It can make your kitchen sink work like new again. Follow these easy steps and take your time. You will be proud of your work.
Summary
To replace a kitchen sink sprayer hose or head, first turn off water. Remove the old part carefully. Install the new hose or head. Check for leaks. Clean up after finishing.
With basic tools and a little patience, you can do this job yourself. Keep this guide handy for reference.
Frequently Asked Questions
How Do I Know When To Replace My Kitchen Sink Sprayer Hose?
A leaking or low-pressure sprayer hose signals it’s time to replace it. Also, cracks or water damage indicate replacement needs.
What Tools Do I Need To Replace A Kitchen Sink Sprayer Hose?
You typically need an adjustable wrench, pliers, and a bucket for water catch. Some hoses may require a screwdriver as well.
Can I Replace The Sprayer Hose Without Turning Off Water?
No, always turn off the water supply before replacing the sprayer hose. This prevents leaks and water damage during replacement.
How Long Does It Take To Replace A Kitchen Sink Sprayer Hose?
Replacing a sprayer hose usually takes 15 to 30 minutes. The time depends on your sink type and your experience level.