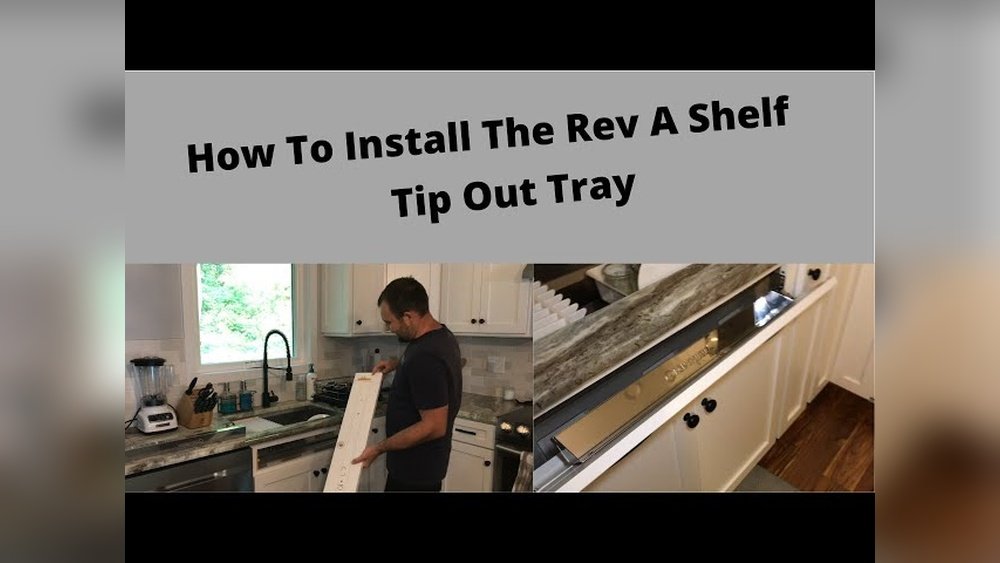
Are you looking for a simple way to add extra storage to your kitchen? A Rev-A-Shelf tip-out tray is a good choice. It fits in small spaces near your sink. You can keep small items like sponges or brushes in it. Installing one is easy. This guide will help you do it step-by-step.
What is a Rev-A-Shelf Tip-Out Tray?
A tip-out tray is a small tray that fits into a cabinet front. It “tips out” when you open the cabinet door. This lets you use space that is often wasted. It is perfect for holding small cleaning tools. The Rev-A-Shelf brand is popular because it is strong and easy to install.
Tools You Will Need
Before starting, gather these tools:
- Screwdriver (Phillips head)
- Measuring tape or ruler
- Pencil
- Drill (optional, for pilot holes)
- Level (optional)
These simple tools will make your job easier.
Step 1: Prepare Your Cabinet
First, clear out the cabinet door where you want to install the tip-out tray. Make sure the door is clean and dry. Check if the door is flat and not damaged. If the door is warped, the tray might not fit well.
Next, measure the inside width of the cabinet door. The Rev-A-Shelf tip-out tray usually fits standard cabinet doors. But measuring helps you be sure.
Step 2: Mark the Position
Now, take the tip-out tray. Hold it against the inside of the cabinet door. The tray should sit near the bottom edge of the door. This way, it will tip out easily.
Use a pencil to mark the spots where the screws will go. The tray usually has pre-drilled holes. Mark these holes on the door carefully.

Credit: www.youtube.com
Step 3: Drill Pilot Holes (Optional)
If your cabinet door is made of hard wood, drilling pilot holes helps. Pilot holes make it easier to insert screws. Use a drill bit slightly smaller than the screws.
Be careful not to drill too deep. The pilot holes should be shallow, just enough for the screws.
Step 4: Attach the Tip-Out Tray
Now, hold the tray back in place. Line up the holes with your pencil marks or pilot holes. Use the screwdriver to put in the screws. Tighten the screws firmly, but do not over-tighten. Over-tightening can crack the door or the tray.
Make sure the tray is secure and does not wobble.
Step 5: Test the Tip-Out Tray
Open the cabinet door slowly. The tray should tip out smoothly. Close the door and check if the tray fits well inside. If it sticks or does not move well, loosen the screws slightly and adjust.
If the tray is not level, use a small level to check. Adjust the screws to make it straight.
Tips for a Successful Installation
- Always measure twice before drilling or screwing.
- Use a pencil for easy changes or corrections.
- Work slowly and carefully to avoid mistakes.
- If you have a helper, ask for help to hold the tray.
- Keep screws and small parts away from children.
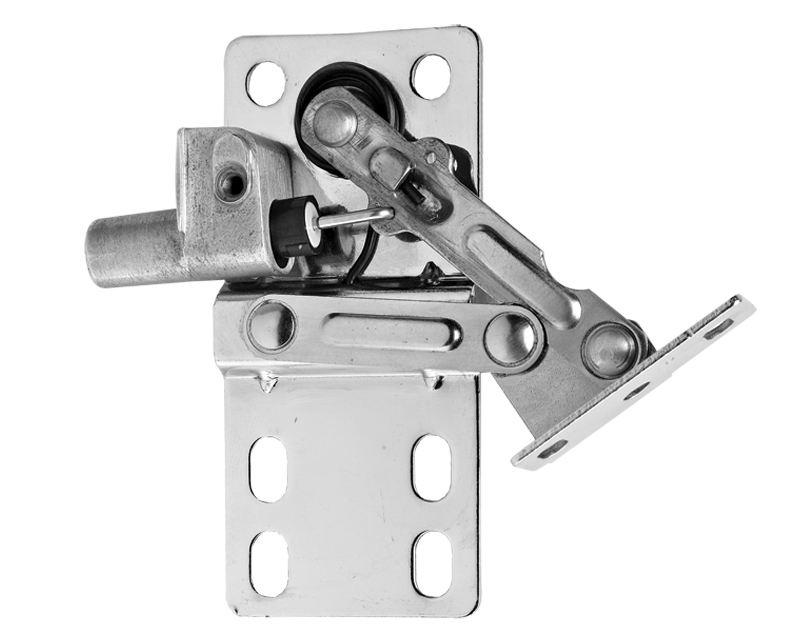
Credit: hardwarehut.com
Benefits of Using a Tip-Out Tray
You might wonder why to add a tip-out tray. Here are some reasons:
| Benefit | Explanation |
|---|---|
| Extra Storage | Uses space behind cabinet doors well. |
| Easy Access | Items are easy to reach and see. |
| Organized Kitchen | Keeps small tools neat and tidy. |
| Simple Installation | Does not need professional help. |
Common Problems and How to Fix Them
Sometimes, you may face small problems. Here are some common ones and solutions:
- Tray won’t tip out smoothly: Check for tight screws or rough edges. Loosen screws or sand edges slightly.
- Tray feels loose: Tighten screws or add small washers.
- Tray does not fit the door: Measure door size again. You may need a different size tray.
- Door does not close properly: Check if the tray is blocking the door. Adjust the tray position.
Maintaining Your Tip-Out Tray
To keep your tray working well, clean it often. Wipe with a damp cloth. Avoid harsh chemicals that can damage the finish.
Check screws every few months. Tighten if needed. This keeps the tray safe and sturdy.
Frequently Asked Questions
What Tools Do I Need To Install A Rev-a-shelf Tip-out Tray?
You need a screwdriver, measuring tape, pencil, and a drill for installation. These tools help secure the tray properly and ensure it fits well.
How Long Does It Take To Install A Tip-out Tray?
Installation usually takes about 20 to 30 minutes for most people. It depends on your skill level and cabinet setup.
Can I Install A Tip-out Tray Without Drilling?
Drilling is usually needed to secure the tray firmly. Some trays may allow adhesive mounting but it is less stable.
Where Is The Best Place To Install A Tip-out Tray?
Tip-out trays are best installed in front of the sink cabinet. This location makes it easy to store cleaning supplies or sponges.
Conclusion
Installing a Rev-A-Shelf tip-out tray is a simple project. It adds useful storage to your kitchen. You only need a few tools and a little time. Follow these steps carefully, and you will have more space for your small items. A tip-out tray keeps your kitchen neat and organized. Try installing one today. You will enjoy the extra storage and easy access it gives.