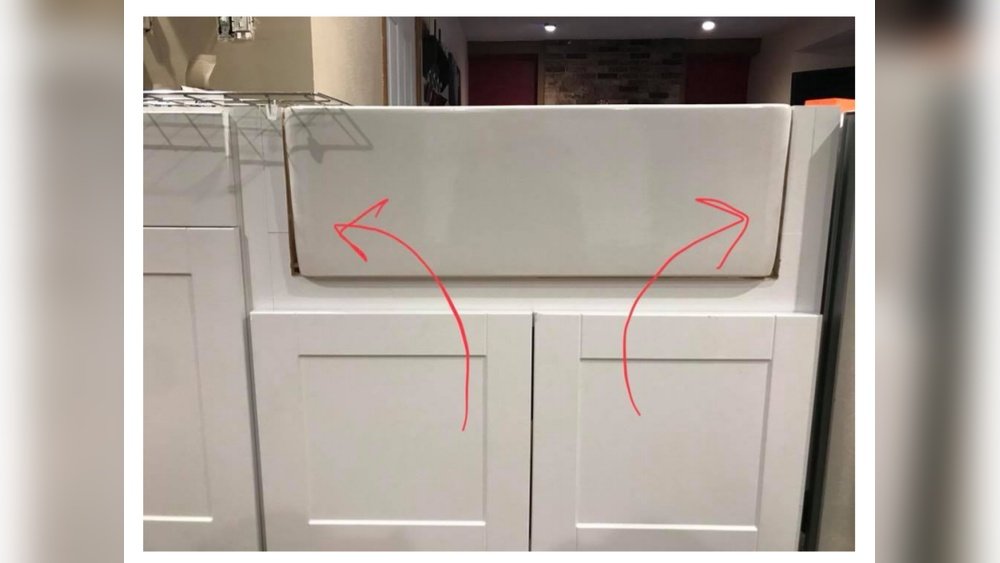
Installing a farmhouse sink in an Ikea cabinet can look great in your kitchen. But it can also be tricky. Ikea cabinets are made differently than other cabinets. So, you will need to prepare them before you put the sink in. This guide will help you step-by-step. You will learn how to fit your farmhouse sink nicely and safely.
What You Need Before You Start
Before you begin, gather all the tools and materials. Here is a list of what you will need:
- Farmhouse sink (also called an apron-front sink)
- Ikea base cabinet (usually the 30-inch or larger size works best)
- Jigsaw or circular saw
- Drill with drill bits
- Measuring tape
- Level
- Clamps
- Wood screws
- Wood glue
- Wood boards or plywood for support
- Silicone sealant
- Safety glasses and gloves
Step 1: Choose the Right Ikea Cabinet
Not all Ikea cabinets fit a farmhouse sink. The sink is big and heavy. It needs strong support. The cabinet must be at least 30 inches wide. The Ikea “Metod” series is popular for kitchens. You can use a base cabinet without a drawer on top. This way, you get more room for the sink.
Step 2: Remove the Cabinet Door and Drawer
Take off the door and drawer from the cabinet. This gives you space to work. Use a screwdriver to remove screws. Keep the screws safe. You will need them later.
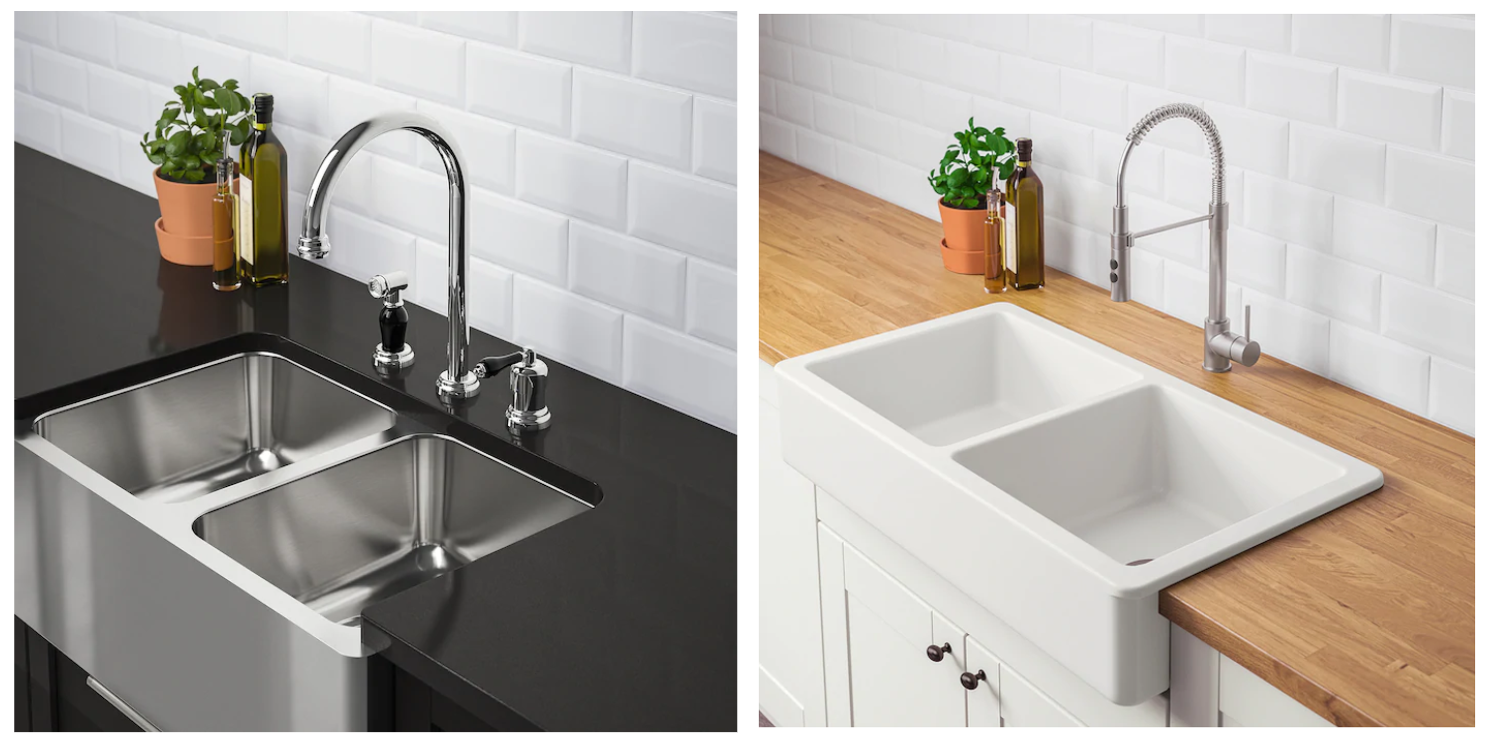
Step 3: Measure Your Farmhouse Sink
Measure the width, length, and depth of the sink. Write down these numbers. You will use them to cut the cabinet base. Remember, the sink’s front will stick out of the cabinet.
Credit: www.happystartsathome.com
Step 4: Mark the Cut Area on the Cabinet
Place the sink upside down on the cabinet base. Use a pencil to trace the sink’s opening on the cabinet. This is where you will cut. The cut should be a bit smaller than the sink size. This helps the sink sit properly.
Step 5: Remove the Cabinet Bottom Panel
Ikea cabinets usually have a bottom panel. Remove this panel inside where the sink will go. Use a jigsaw or circular saw to cut out the marked area. Be careful to cut straight lines. Wear safety glasses.
Step 6: Build Support for the Sink
The farmhouse sink is heavy. Ikea cabinets are not strong enough alone. You need to add extra support. Cut wood boards or plywood to fit inside the cabinet. Attach them under the sink opening. Use wood screws and glue. Make sure the support is level and strong.
Step 7: Test Fit the Sink
Put the farmhouse sink in the cabinet opening. It should fit snugly on the supports. Check if the front of the sink sticks out properly. If it does not fit, make small adjustments to the cut area or support boards.
Step 8: Secure the Sink to the Cabinet
Once the sink fits well, secure it. Apply a bead of silicone sealant around the sink edge. This keeps water from leaking. Use clamps to hold the sink in place. Screw the sink clips or brackets to the cabinet frame. Follow the sink manufacturer’s instructions for clips.
Step 9: Reinstall Cabinet Doors and Drawers
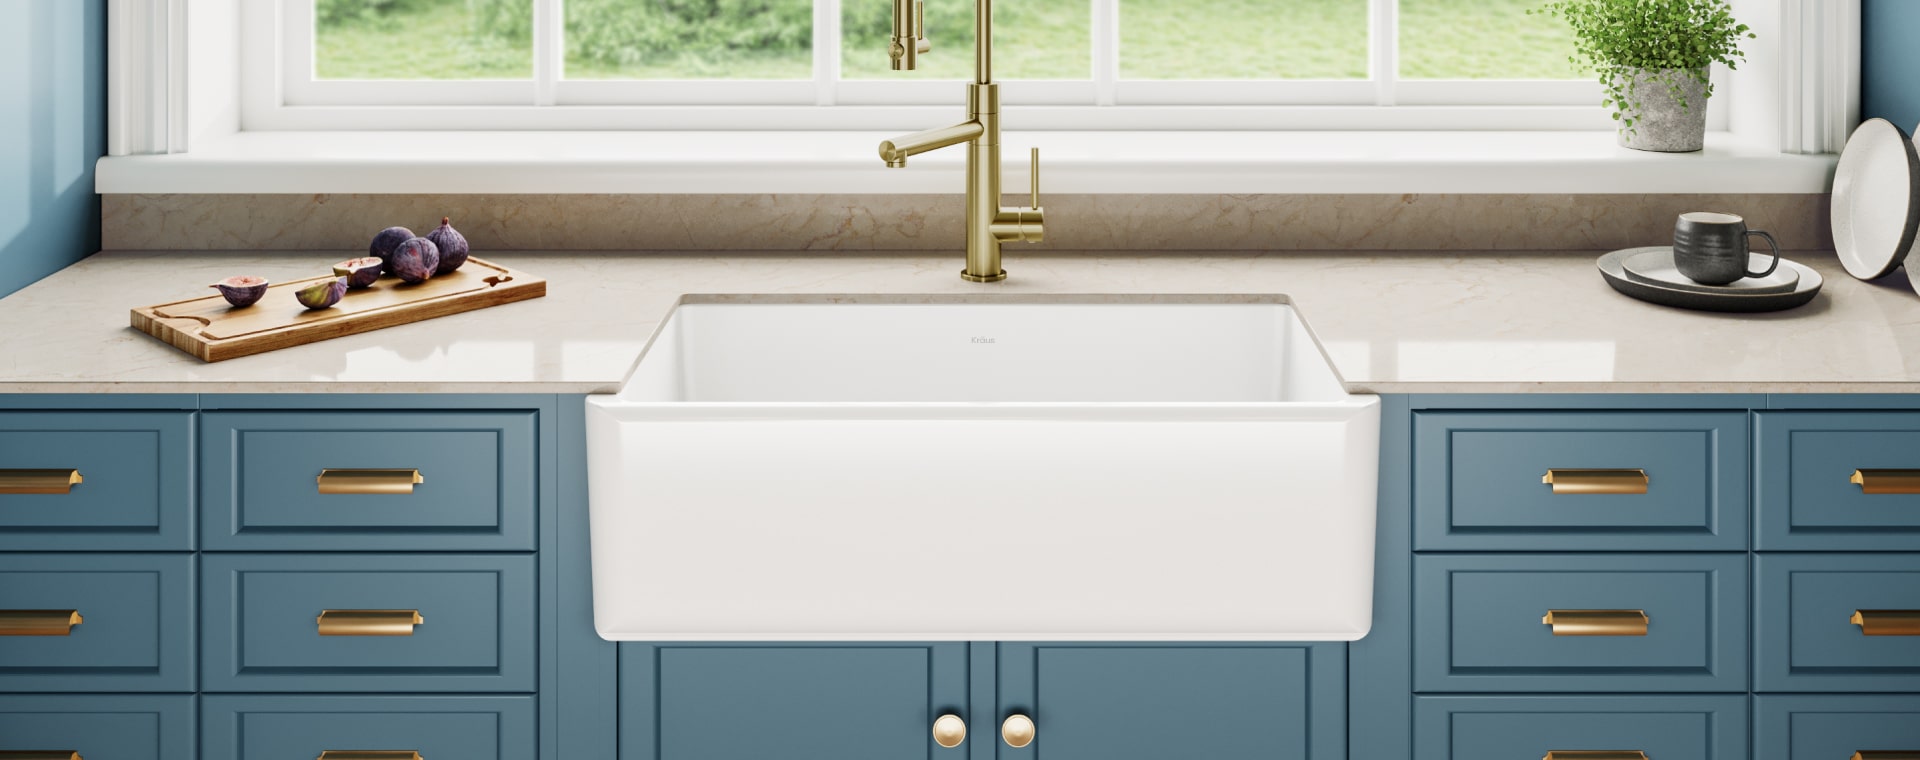
Put the doors and drawers back on the cabinet. The sink will be in front of the cabinet frame. If needed, adjust the doors so they open and close smoothly. You may need to trim doors for clearance.
Credit: www.happystartsathome.com
Step 10: Connect the Plumbing
Now, connect the faucet and drain pipes. Make sure all connections are tight. Turn on the water and check for leaks. If you see leaks, tighten the pipes or use plumber’s tape.
Tips for a Successful Installation
- Take your time measuring and cutting. Accuracy matters.
- Wear safety gear when cutting wood.
- Use a level to keep the sink even.
- Ask for help if the sink is heavy.
- Double-check all plumbing connections.
- Clean excess silicone sealant before it dries.
Why Choose a Farmhouse Sink?
Farmhouse sinks are popular for many reasons. They have a big, deep basin. This makes washing large pots easier. They also add a rustic look to your kitchen. When installed in Ikea cabinets, they combine style and function.
Common Challenges and How to Fix Them
Sometimes, the sink does not fit perfectly. This can happen if the cabinet is too small. Or if the cut is too tight. You can fix this by sanding the edges gently. Also, adding extra support can help with stability.
Another challenge is water leaking. Use good quality silicone sealant. Let it dry fully before using the sink. Check plumbing connections often.
Frequently Asked Questions
Can A Farmhouse Sink Fit In A Standard Ikea Cabinet?
Yes, many farmhouse sinks can fit in Ikea cabinets with proper measurements. Adjusting the cabinet base may be necessary to ensure a good fit.
What Tools Do I Need To Install A Farmhouse Sink?
You will need a jigsaw, drill, measuring tape, silicone sealant, and plumbing tools. These help cut, fit, and seal the sink properly.
How Do I Measure For A Farmhouse Sink In Ikea Cabinets?
Measure the cabinet opening width, depth, and height accurately. Also, check the sink’s dimensions to match or adjust the cabinet.
Can I Install A Farmhouse Sink Without Professional Help?
Yes, a DIY installation is possible with careful planning and basic tools. Follow step-by-step instructions to avoid mistakes.
Conclusion
Installing a farmhouse sink in an Ikea cabinet takes work. But it is possible with the right steps. Measure carefully, cut with care, and add strong support. Secure the sink well and check plumbing. Your kitchen will look beautiful and work well.
Follow this guide for a smooth installation. Enjoy your new farmhouse sink for many years.