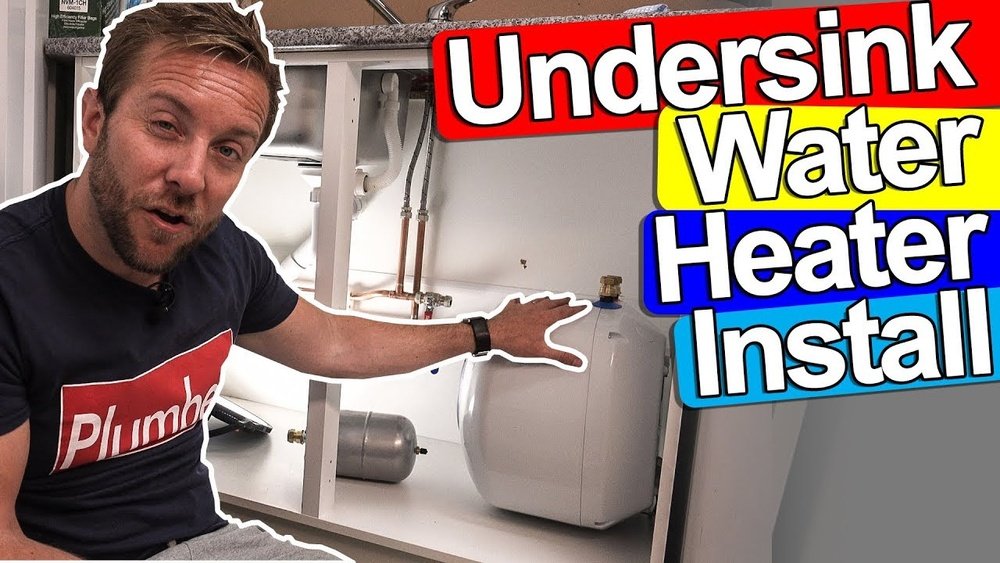
Having hot water right at your sink is very useful. You can wash dishes faster. You get warm water for cleaning your hands or food. An under-sink water heater gives you hot water quickly and saves energy. Installing one may seem hard, but it is quite simple. This guide will help you install an under-sink water heater step by step.
What Is an Under-Sink Water Heater?
An under-sink water heater is a small tank or tankless unit. It fits under your sink. It heats water only for that sink. You do not need to wait for hot water from the main heater. This saves water and energy.
Tools and Materials You Need
Before you start, gather these tools and materials:
- Under-sink water heater unit
- Adjustable wrench
- Pipe cutter or hacksaw
- Teflon tape (plumber’s tape)
- Plumber’s putty or silicone sealant
- Bucket or small container
- Screwdriver
- Flexible water supply lines (if not included)
- Pipe fittings (if needed)
Credit: www.palazzodelvignola.com
Step 1: Turn Off the Water Supply
First, find the water valve under the sink. Turn it off to stop water flow. If you cannot find a valve there, turn off the main water supply for the house. Open the faucet to let any water drain out. Use a bucket to catch any water left in the pipes.
Step 2: Remove the Existing Water Supply Line
Use your wrench to loosen the water line that goes to the faucet. Remove the old supply line carefully. Keep a bucket nearby to catch any leftover water. Clean the threads on the pipe to prepare for the new heater.
Step 3: Choose a Place to Mount the Heater
Find a flat spot under the sink to fix the heater. Make sure it is close to the water supply and the faucet. Leave enough space for you to work. Check that the heater will not touch anything wet or very hot.
Step 4: Mount the Water Heater
Most heaters come with screws or brackets. Use these to fix the heater to the wall or cabinet side. Hold the heater steady while you screw it in place. Ensure it is secure and does not move.
Step 5: Connect the Cold Water Supply
Wrap Teflon tape around the cold water pipe threads. This helps prevent leaks. Connect the cold water line from your home to the water heater’s cold water inlet. Tighten the connection with a wrench. Do not overtighten; this can damage pipes.
Step 6: Connect the Hot Water Line
Wrap Teflon tape around the heater’s hot water outlet threads. Attach a flexible supply line from the heater to the faucet’s hot water inlet. Tighten it gently. Check again that all connections are tight and sealed.
Step 7: Check Electrical Connections
If your heater is electric, plug it into a nearby outlet. Some models need to be hardwired by a professional. Do not try to connect wires yourself if unsure. Safety first.
Step 8: Turn On the Water and Check for Leaks
Slowly open the water valve under the sink. Watch the connections closely. Look for any water drops or wet spots. Tighten fittings if you see leaks. Open the faucet to let water fill the heater. Let the water run for a minute to clear air from pipes.
Step 9: Test the Heater
Turn on the water heater power if electric. Wait a few minutes for the water to warm up. Test the water temperature at the faucet. If the water is warm, your heater works well. If not, check the power and connections again.

Credit: www.youtube.com
Tips for a Safe Installation
- Always turn off water and electricity before starting.
- Use Teflon tape on all threaded pipe joints.
- Do not force pipes or fittings; this may cause damage.
- If unsure about electrical work, call a licensed electrician.
- Check your heater’s manual for specific instructions.
Common Problems and How to Avoid Them
| Problem | Cause | Solution |
|---|---|---|
| Water leaks | Loose or missing Teflon tape | Wrap tape properly; tighten connections |
| Water not heating | Power not connected or heater faulty | Check power supply; reset or replace heater |
| Water pressure low | Clogged filters or pipes | Clean filters; check pipes for blockages |
| Electric shocks | Poor grounding or damaged wiring | Hire electrician to fix wiring |
Why Install an Under-Sink Water Heater?
They save water by heating only what you use. You do not wait for hot water from far away. These heaters save energy because they heat less water. They are easy to install in small spaces. Plus, they give fast hot water for washing and cooking.
Final Thoughts
Installing an under-sink water heater is a good home project. With basic tools and careful steps, you can do it yourself. Take your time. Follow the instructions here. Check all connections well to avoid leaks. If you are not sure, ask for help. Enjoy having hot water ready quickly at your sink!
Frequently Asked Questions
How Do I Choose The Right Under-sink Water Heater?
Pick a heater based on your hot water needs and sink size. Check the power rating and storage capacity for efficiency.
How Long Does Under-sink Water Heater Installation Take?
Installation usually takes about 1 to 2 hours. It depends on your plumbing setup and experience level.
Can I Install An Under-sink Water Heater Myself?
Yes, with basic plumbing and electrical skills, you can install it yourself. Follow the manufacturer’s instructions carefully for safety.
What Tools Are Needed For Installation?
You’ll need a wrench, screwdriver, pipe cutter, and Teflon tape. A voltage tester is also helpful for electrical safety.