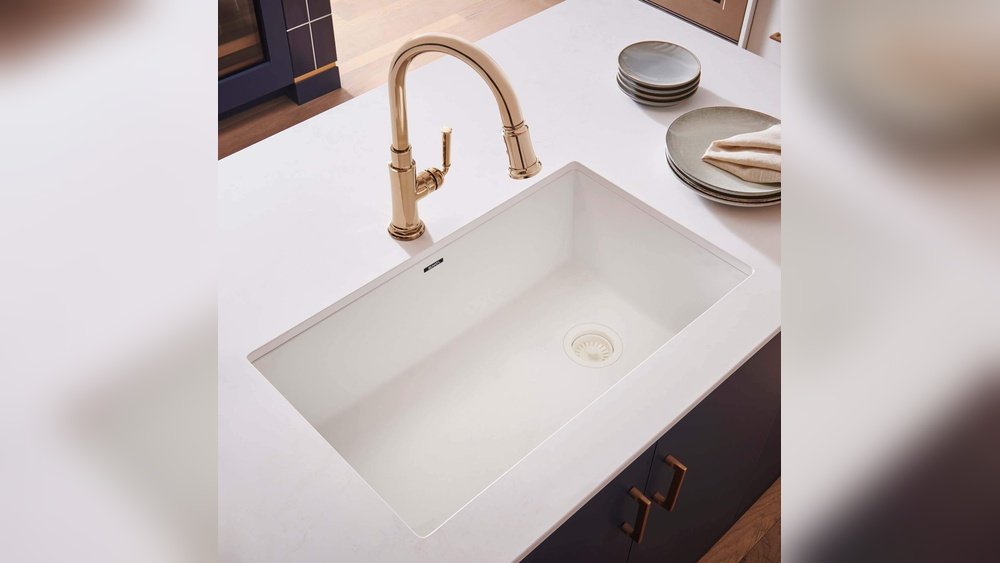
Installing an undermount sink to granite or quartz countertops can seem hard. But with the right steps, tools, and care, you can do it yourself. This guide will help you understand how to do it safely and correctly. We will explain each step clearly, so it is easy to follow.
What is an Undermount Sink?
An undermount sink is attached under the countertop. The edge of the countertop covers the sink edge. This gives a smooth look and makes cleaning easier. Water and crumbs can be wiped right into the sink.
Why Choose Granite or Quartz?
Granite and quartz are popular for kitchen counters. They look nice and last long. Both are hard stones, so they need special care when installing sinks.
Tools and Materials You Will Need
- Undermount sink
- Granite or quartz countertop with cutout
- Silicone sealant (clear or color matched)
- Epoxy adhesive (2-part)
- Sink clips or brackets
- Measuring tape
- Masking tape
- Caulking gun
- Rags or paper towels
- Rubber gloves
- Clamps (optional)
- Level
Step 1: Prepare Your Workspace
Clean your countertop and sink area. Remove dust, dirt, and grease. Use a good cleaner that will not damage the stone. Dry the surface well. Keep your tools nearby. This helps you work faster and easier.
Step 2: Check the Sink and Countertop Cutout
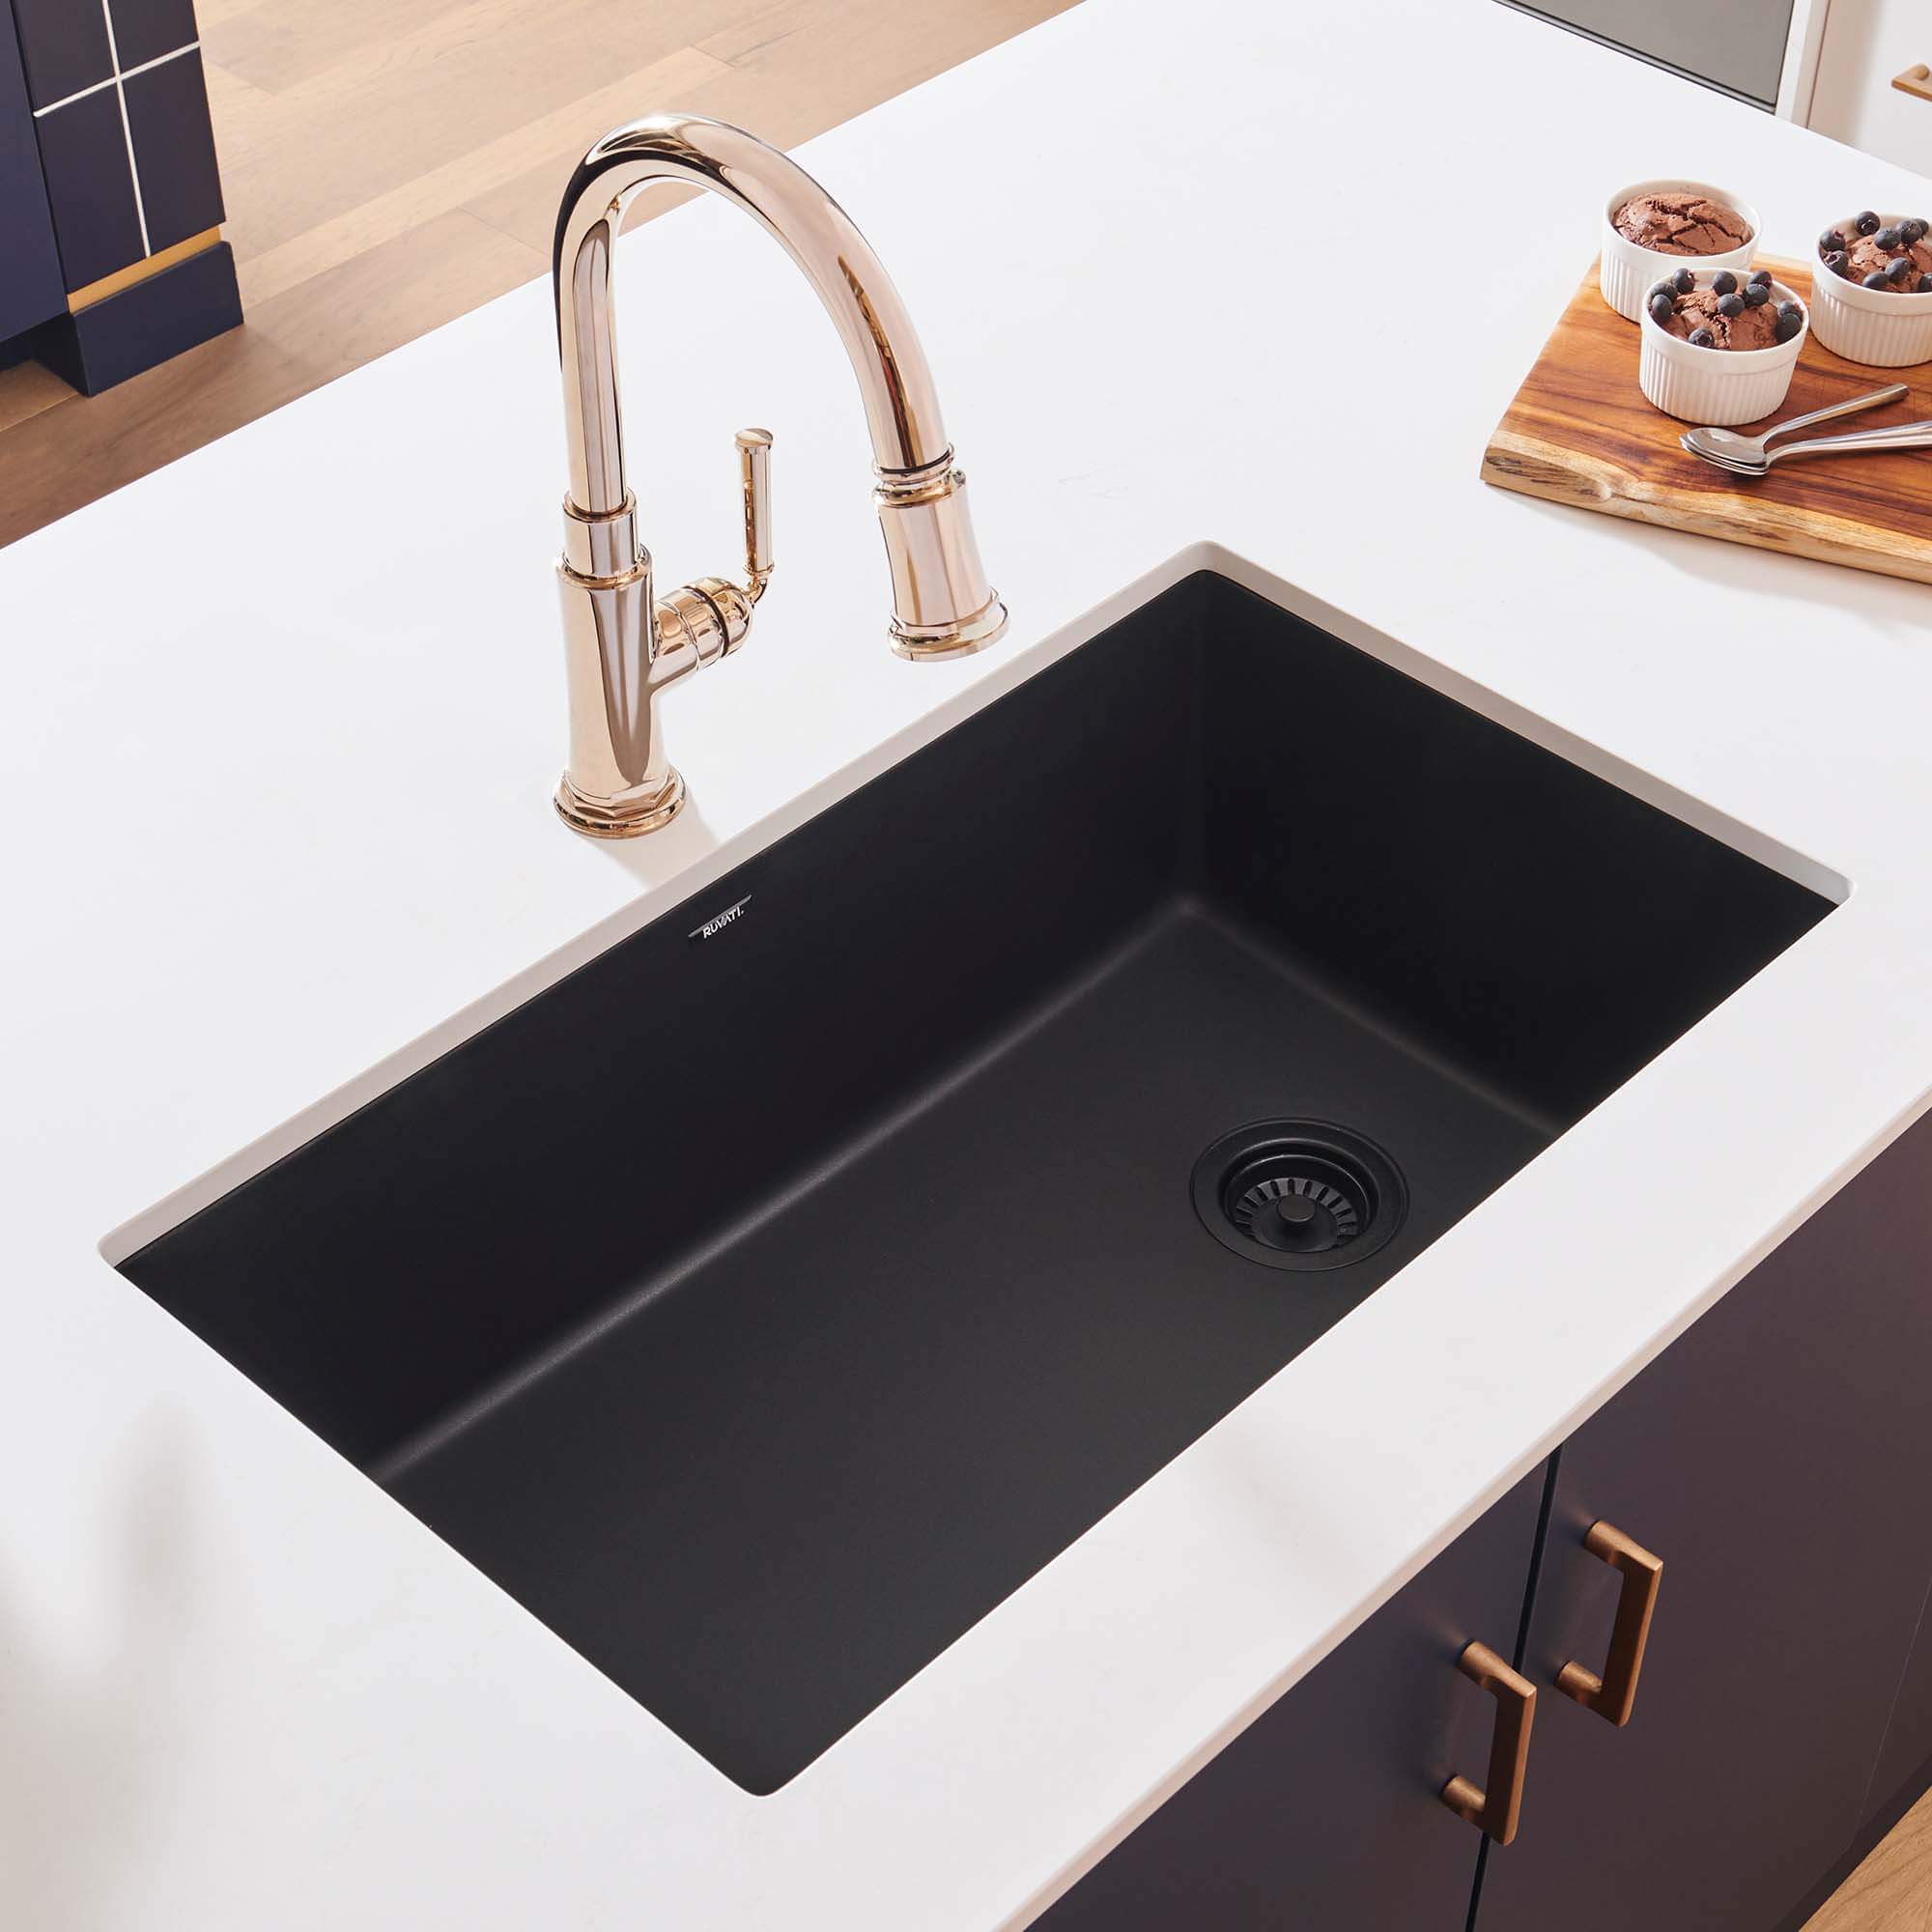
Make sure the sink fits the cutout in the countertop. Test fit the sink under the countertop hole. It should fit snugly without gaps. If the cutout is too small, you may need a professional to enlarge it. Don’t force the sink into a smaller hole.
Credit: www.ruvati.com
Step 3: Apply Masking Tape
Put masking tape around the cutout edge on the countertop. This protects the stone from glue spills and scratches. It also gives you a clean line to work along.
Step 4: Apply Silicone Sealant
Put a thin line of silicone sealant around the edge of the sink flange. The flange is the flat edge that will touch the countertop. Use a caulking gun for even application. Silicone helps make a water-tight seal between the sink and stone.
Step 5: Mix the Epoxy Adhesive
Epoxy is a strong glue that holds the sink to the stone. Mix the two parts of the epoxy well. Follow the instructions on the package carefully. Use gloves to protect your hands.
Step 6: Apply Epoxy to the Sink Flange
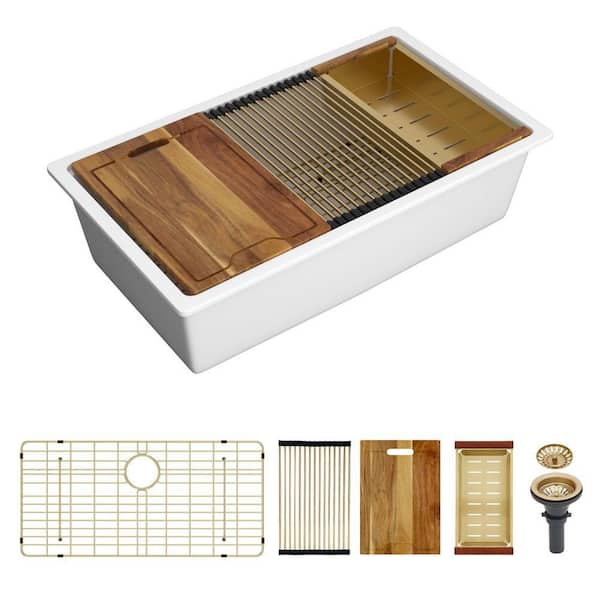
Spread epoxy on the underside of the sink flange. Make a smooth, even layer. Do not put too much glue, or it will squeeze out too much. The epoxy will bond the sink to the stone.
Credit: www.homedepot.com
Step 7: Position the Sink Under the Countertop
Carefully lift the sink and place it under the countertop cutout. Line it up so the sink fits perfectly inside. Once in place, press the sink flange firmly against the stone. Wipe away any glue that squeezes out with a rag.
Step 8: Use Sink Clips or Brackets
Attach the sink clips or brackets to hold the sink tight. These clips fasten the sink flange to the countertop from underneath. Tighten the clips slowly and evenly. Do not over-tighten, as this can crack the stone.
Step 9: Check the Sink Level
Use a level to check if the sink is straight. Adjust the clips or brackets if needed. It is important that the sink is level to avoid water pooling on one side.
Step 10: Let the Adhesive Cure
Allow the epoxy and silicone to dry and cure fully. This usually takes 24 hours but check the product instructions. Avoid using the sink during this time.
Step 11: Remove Masking Tape and Clean Up
After curing, peel off the masking tape carefully. Clean any leftover silicone or glue with a soft cloth. Do not use sharp tools that might scratch the stone.
Tips for a Successful Installation
- Always wear gloves when handling epoxy and silicone.
- Work slowly and carefully to avoid mistakes.
- Have a helper to hold the sink if needed.
- Check the sink fit before applying glue.
- Use good quality epoxy made for stone and sinks.
- Keep your workspace clean and organized.
- Follow all manufacturer instructions for materials.
Common Problems and How to Avoid Them
| Problem | Cause | How to Fix or Avoid |
|---|---|---|
| Sink moves after installation | Clips not tight enough or insufficient epoxy | Tighten clips properly and apply enough epoxy |
| Water leaks under sink | Poor silicone seal or gaps between sink and stone | Apply a smooth silicone bead and clean surface before sealing |
| Stone cracks during installation | Over-tightening clips or dropping sink | Do not overtighten; handle sink carefully |
| Glue squeezes out and hardens messy | Too much epoxy applied | Use a thin, even layer of epoxy only where needed |
Why Professional Help May Be Needed
If you feel unsure or the cutout needs changing, it is best to call a professional. Cutting granite or quartz requires special tools. Professionals also know how to handle heavy sinks safely.
Final Thoughts
Undermounting a sink to granite or quartz takes time and care. Follow each step slowly and clearly. Use the right tools and materials. Keep safety in mind. With patience, you can have a clean and strong sink installation. A well-installed sink looks great and lasts for many years.
Good luck with your sink project! Take your time and enjoy the process.
Frequently Asked Questions
What Tools Do I Need To Undermount A Sink To Granite?
You need a drill, silicone sealant, sink clips, and a tape measure. A support bracket may also help for heavy sinks.
How Do I Prepare Granite Before Installing An Undermount Sink?
Clean the granite surface thoroughly and dry it well. Mark the sink cutout area carefully before installation.
Can Quartz Countertops Support An Undermount Sink?
Yes, quartz is strong and can support undermount sinks. Proper sealing is important to prevent water damage.
What Type Of Adhesive Works Best For Undermount Sinks?
Silicone sealant is the best choice for a watertight seal. It bonds well with granite and quartz surfaces.