
If you want to give your kitchen a fresh new look, a drop-in farmhouse sink is a great choice. It looks nice and works well. Installing this sink is not very hard if you follow the right steps. This guide will help you install a drop-in farmhouse sink step by step.
What Is a Drop-In Farmhouse Sink?
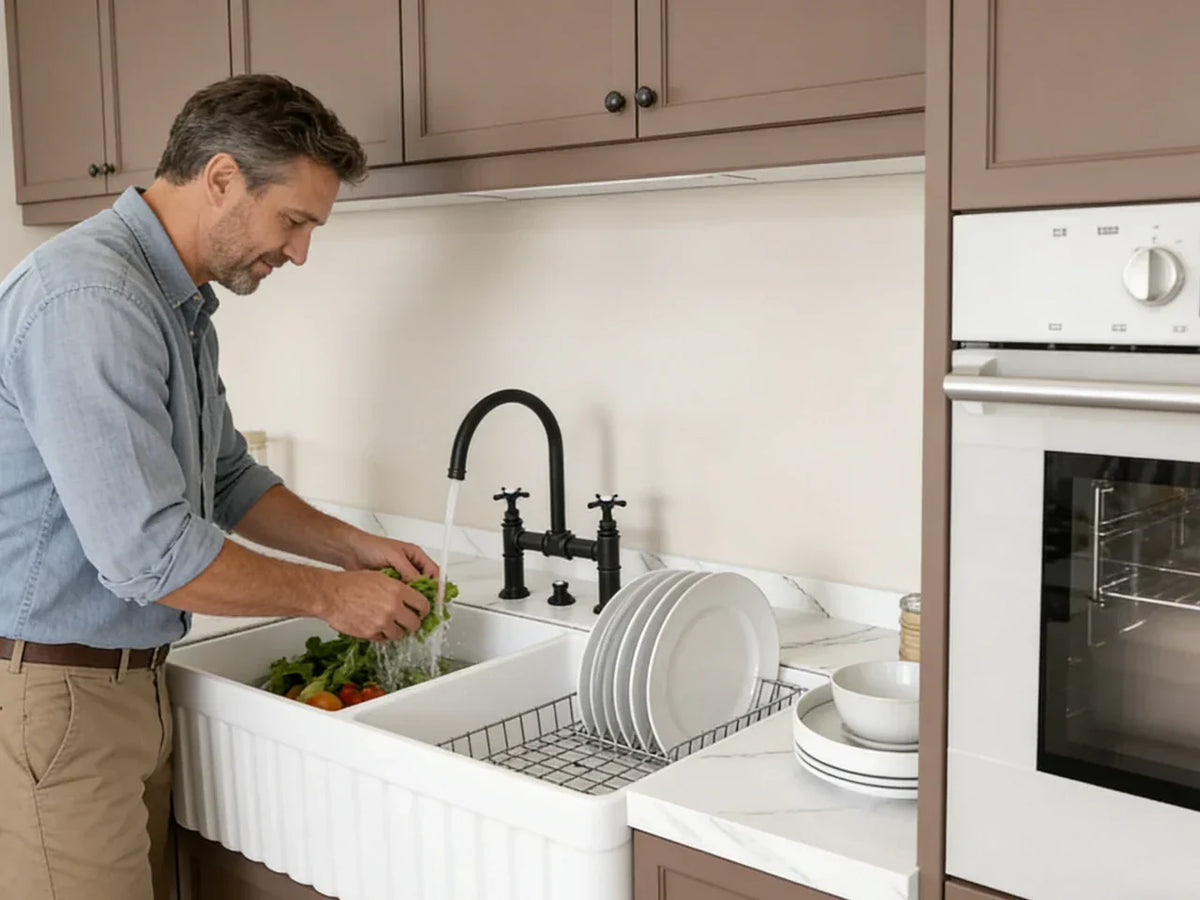
A drop-in farmhouse sink sits on top of the countertop. It has a big front panel that sticks out a little. It is different from other sinks that fit under the counter. This type of sink is easy to install because it drops into a hole cut in the countertop.
Tools and Materials You Will Need
Before you start, gather these tools and materials:
- Drop-in farmhouse sink
- Measuring tape
- Pencil
- Jigsaw or handsaw
- Caulk gun with silicone sealant
- Adjustable wrench
- Plumber’s putty
- Bucket
- Towels or rags
- Pipe wrench
- Safety goggles and gloves
Step 1: Prepare the Area
First, clear everything from under the sink cabinet. Remove the old sink if there is one. Turn off the water supply to the sink. Open the faucet to let out any water left in the pipes.
Use a bucket to catch water from the drain pipes when you disconnect them. Remove the drain and water lines carefully with the pipe wrench. Keep all parts if you plan to reuse them.
Step 2: Measure and Mark the Cutout
Measure the size of the new sink’s bottom part. Check the instructions that come with your sink for the exact size.
Use a pencil to mark the cutout area on your countertop. Make sure the mark is centered and straight. Double-check your measurements. It is better to be careful now than to fix mistakes later.
Step 3: Cut the Countertop
Wear safety goggles and gloves before you start cutting. Use a jigsaw or handsaw to cut along the pencil line. Cut slowly and carefully to keep the edges clean.
Once the cutout is ready, remove any rough edges with sandpaper or a file. Clean the area to remove dust and debris.

Credit: www.youtube.com
Step 4: Test Fit the Sink
Place the sink into the cutout to check the fit. The sink should sit flat on the countertop. The front panel should hang over the edge nicely.
If the sink fits well, take it out and prepare to install it. If it does not fit, trim the cutout edges slightly until it fits correctly.
Credit: horow.com
Step 5: Apply Sealant
Lift the sink out and apply a bead of silicone sealant around the edge of the cutout. This helps keep water from leaking under the sink.
Be careful not to use too much sealant. A thin, even line is enough. Place the sink back into the cutout and press down firmly.
Step 6: Secure the Sink
Most drop-in sinks have clips or brackets to hold them in place. Attach these clips under the countertop according to the sink’s instructions.
Tighten the clips gently but firmly. Do not overtighten, or you may damage the sink or countertop.
Step 7: Install the Faucet and Drain
If you have a new faucet, install it now while the sink is out or before sealing. Follow the faucet instructions carefully.
Apply plumber’s putty around the drain opening on the sink. Insert the drain assembly and tighten the locknut from below. Clean off any extra putty that squeezes out.
Step 8: Reconnect Plumbing
Reconnect the water supply lines to the faucet. Use an adjustable wrench to tighten connections. Do not overtighten.
Attach the drain pipes back to the sink drain. Make sure all connections are tight but not forced.
Step 9: Test for Leaks
Turn on the water supply. Let the water run for a few minutes. Check all connections for leaks. Look under the sink carefully.
If you see any leaks, tighten the connections gently. If leaks continue, you may need new washers or plumber’s tape.
Step 10: Clean Up
Wipe away any excess sealant around the sink edges. Clean the sink and countertop surface.
Put back any items you removed from under the sink. Your new drop-in farmhouse sink is ready to use!
Tips for a Successful Installation
- Always measure twice before cutting.
- Use the right tools for safety and accuracy.
- Work slowly and carefully.
- Keep your work area clean and dry.
- Ask for help if you feel unsure about any step.
Why Choose a Drop-In Farmhouse Sink?
Drop-in farmhouse sinks are easy to install. They give your kitchen a classic, warm look. The large basin holds more dishes than regular sinks.
Because the sink sits on top of the counter, it is easier to fix or replace. This type of sink fits many kitchen styles.
Frequently Asked Questions
What Tools Do I Need To Install A Drop-in Farmhouse Sink?
Basic tools include a screwdriver, adjustable wrench, silicone sealant, and plumber’s putty. A jigsaw might be needed for countertop cutting.
How Long Does It Take To Install A Farmhouse Sink?
Installation usually takes 2 to 4 hours, depending on experience and preparation. Allow extra time for cutting and sealing.
Can I Install A Farmhouse Sink Myself?
Yes, with basic plumbing skills and proper tools, you can install it yourself. Careful measurements and sealing are important.
What Type Of Countertop Works Best With A Drop-in Farmhouse Sink?
Solid surfaces like granite, quartz, or laminate are ideal. They support the sink and resist water damage well.
Conclusion
Installing a drop-in farmhouse sink is a good way to improve your kitchen. You do not need to hire a professional if you follow these steps. Take your time, prepare well, and use the right tools.
With patience and care, your new farmhouse sink will look great and work well for years. Enjoy your beautiful kitchen upgrade!