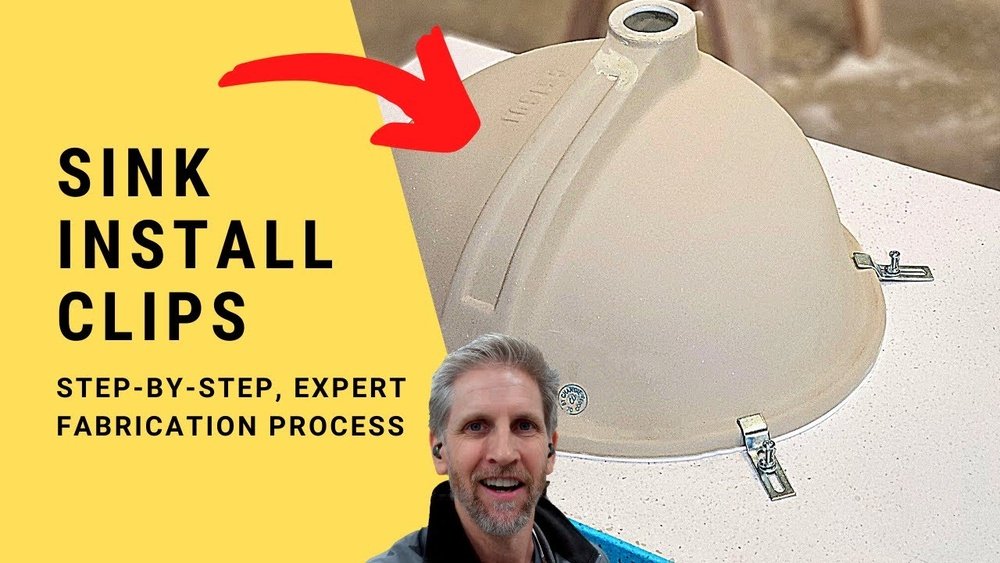
Installing an undermount sink in a Corian countertop is a common task in kitchens and bathrooms. It looks neat and modern. But it needs care and the right steps. If you want to do it yourself, this guide will help you.
What Is an Undermount Sink?
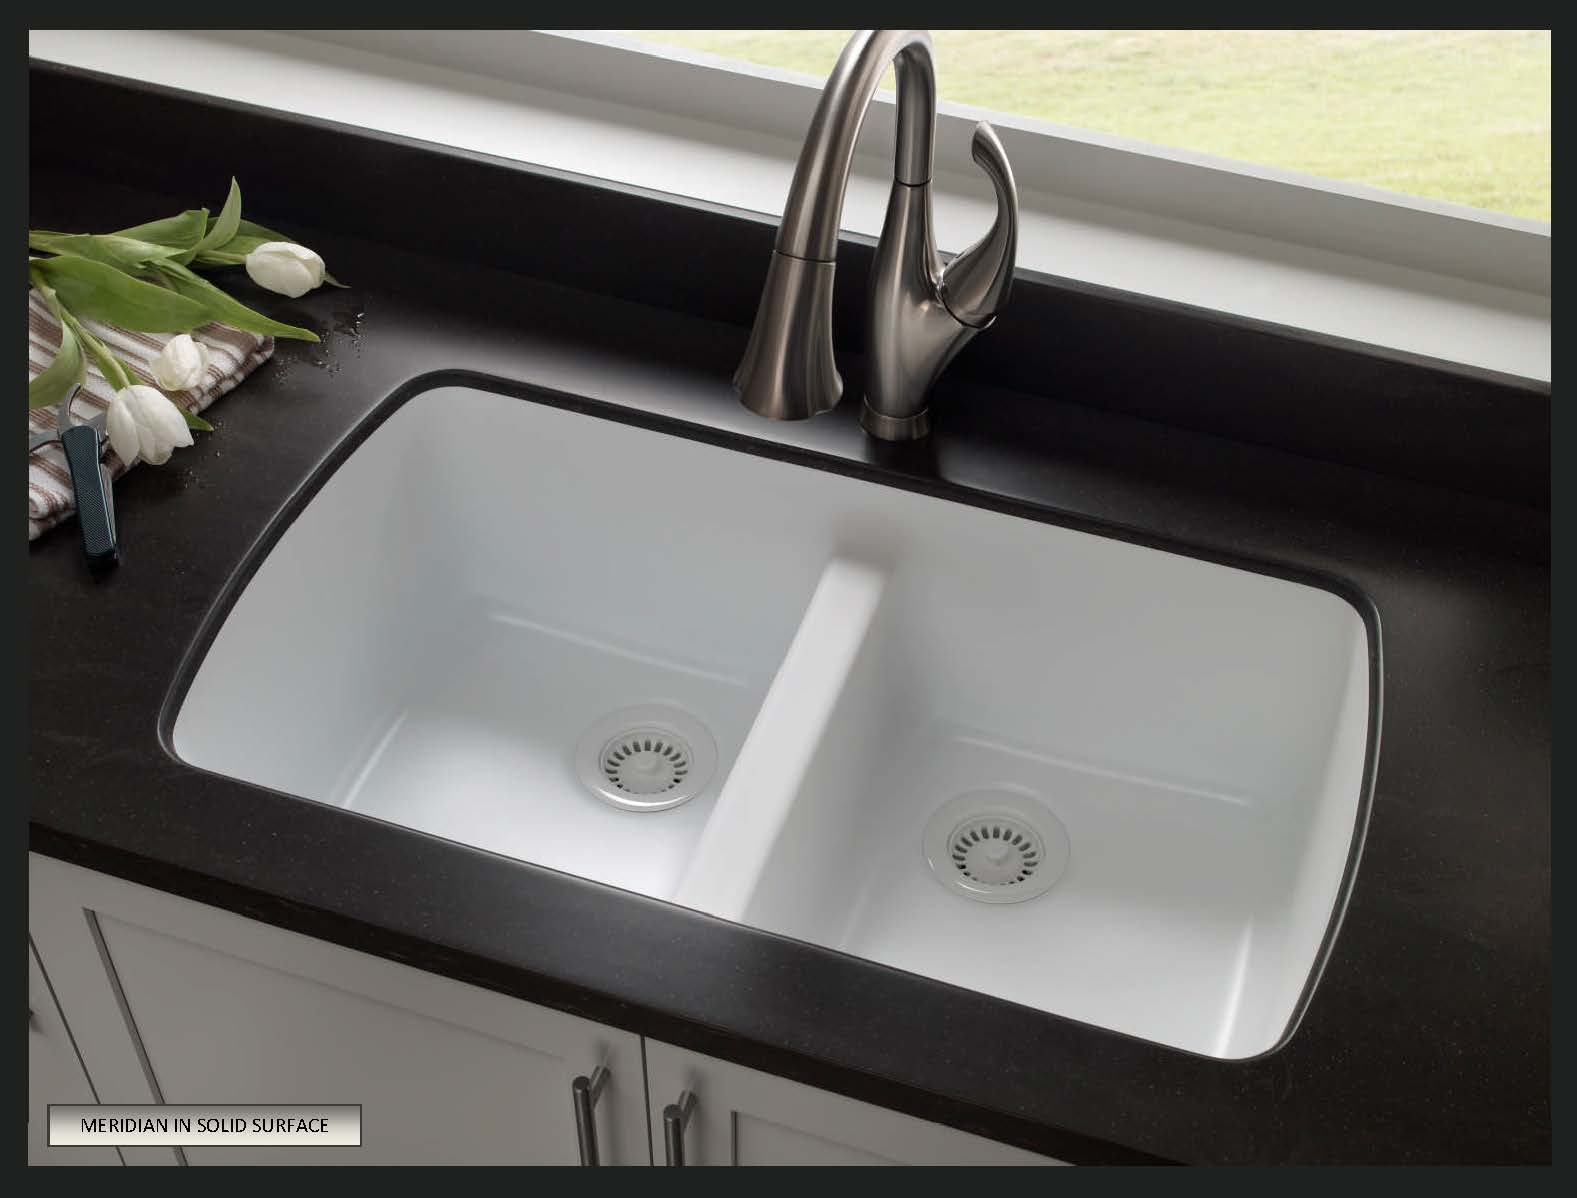
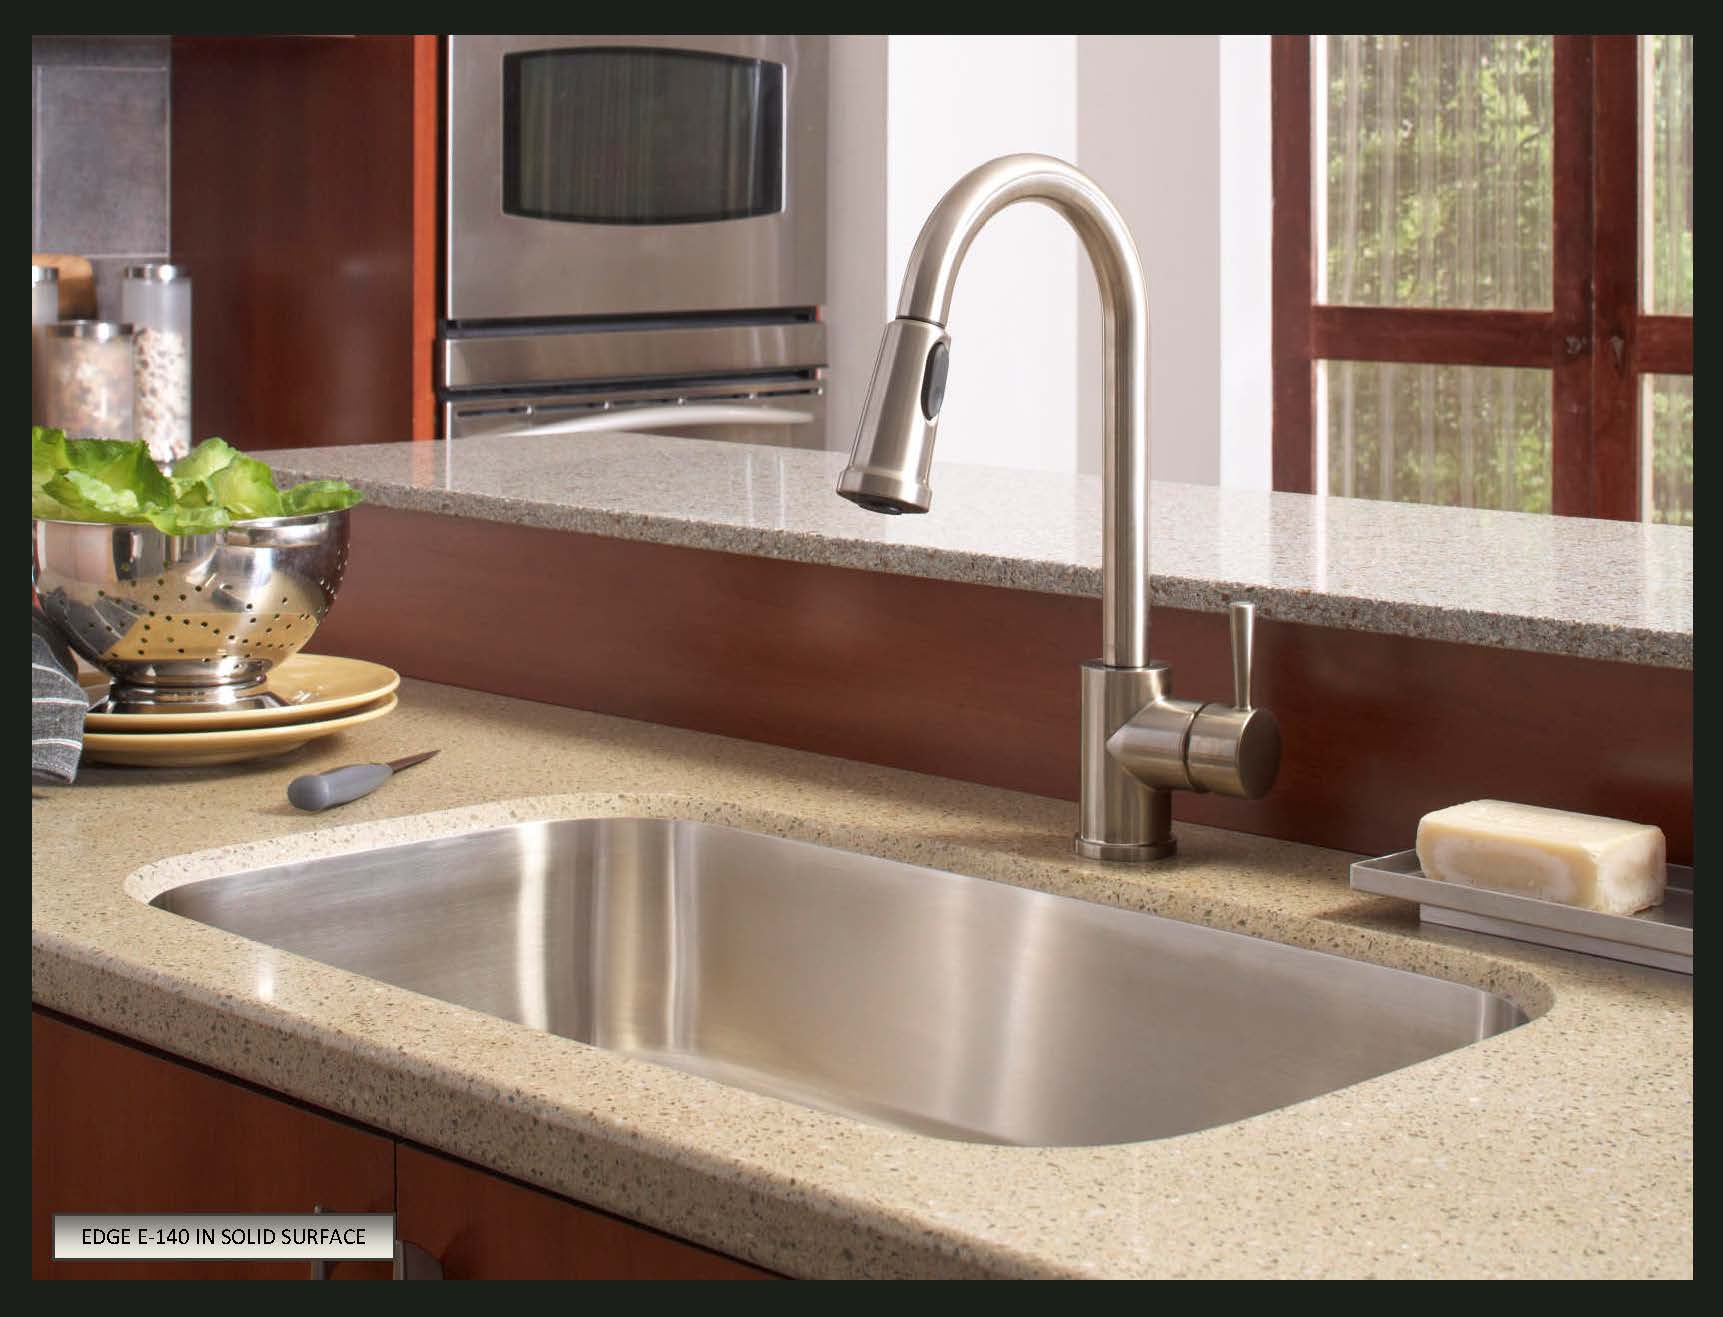
An undermount sink is fixed under the countertop. You do not see the rim of the sink on top. This style makes cleaning easier. Water and food do not get stuck on the edge.
Why Use a Corian Countertop?
Corian is a solid surface material. It is smooth and non-porous. It looks like stone but is lighter. Corian is easy to clean and repair. It fits well with undermount sinks because it holds glue well.
Tools and Materials You Will Need
- Undermount sink
- Corian countertop with cutout
- Measuring tape
- Silicone adhesive or sealant (clear or color matched)
- Epoxy glue (two-part adhesive)
- Clamps or strong tape
- Screwdriver
- Drill with small drill bits
- Putty knife or plastic scraper
- Rags or paper towels
- Masking tape
Step 1: Prepare Your Workspace
Clear the area under the sink. Remove any old sink if needed. Clean the countertop surface. Make sure the cutout is the right size for your sink. Check the sink fits under the hole without touching the edges.
Step 2: Test Fit the Sink
Place the sink under the countertop cutout. Check the position carefully. The sink should be centered. Make sure there is enough space for plumbing. Mark the position on the countertop underside with a pencil.
Credit: blog.solidsurface.com
Step 3: Prepare the Sink and Countertop
Clean the rim of the sink well. Remove any dirt or oil. Use rubbing alcohol if needed. Clean the cut edge of the Corian too. This helps the glue stick better.
Credit: blog.solidsurface.com
Step 4: Apply Epoxy Glue to the Sink Rim
Mix the two-part epoxy glue as the instructions say. Apply a thin layer on the sink rim. Be careful not to put too much. The glue should cover the whole rim evenly.
Step 5: Attach the Sink to the Countertop
Carefully lift the sink and press it against the countertop. Use the marks you made before. Hold the sink firmly in place. Use clamps or strong tape to keep it steady. Make sure the sink stays aligned and does not move.
Step 6: Secure the Sink with Support Brackets
Most undermount sinks come with metal brackets. Attach them inside the cabinet under the sink. Use screws and a drill. Tighten the brackets to pull the sink closer to the countertop. Do not overtighten and crack the Corian.
Step 7: Seal the Sink Edge
Use a silicone sealant around the sink edge. This stops water from leaking. Apply a smooth bead with a caulk gun. Use a wet finger or tool to smooth the sealant. Wipe off extra sealant with a rag.
Step 8: Let the Glue and Sealant Dry
Follow the drying time on the glue and sealant packages. Usually, it takes 24 hours to dry fully. Do not use the sink until everything is dry. This helps a strong, leak-proof bond.
Step 9: Connect the Plumbing
Once the sink is firmly attached, connect the drain and water pipes. Check all connections for leaks. Tighten any loose parts carefully. Test the water flow to be sure.
Tips for a Successful Installation
- Always measure twice before cutting or gluing.
- Do not rush the drying time of glue and sealant.
- Use gentle pressure when clamping to avoid damage.
- Keep a rag handy to clean spills quickly.
- Check the sink position several times before gluing.
Common Problems and How to Avoid Them
| Problem | Cause | How to Fix |
|---|---|---|
| Sink moves during drying | Not clamped well or uneven pressure | Use stronger clamps or tape; check alignment often |
| Glue does not stick | Dirty surfaces or wrong glue type | Clean surfaces; use epoxy glue made for Corian |
| Water leaks at sink edge | Sealant applied unevenly or missed spots | Apply sealant carefully; smooth all edges |
| Cracks in Corian countertop | Overtightening brackets or dropping heavy tools | Be gentle; use proper tools and avoid overtightening |
Why DIY Installation Can Be Worth It
Doing the sink installation yourself saves money. You learn a new skill. It also gives pride in your work. Just follow the steps carefully. If you feel unsure, ask for help.
When to Call a Professional
Some jobs need expert hands. If the countertop or sink is heavy, a pro can help. Complex plumbing work may need a plumber. If the Corian is cracked, a professional can repair it.
Summary
Installing an undermount sink in Corian needs patience and care.
Prepare your tools and workspace well.
Fit the sink, glue it, and seal the edges carefully.
Let glue and sealant dry before use.
Check the plumbing for leaks.
Follow these steps for a neat and lasting sink installation.
Frequently Asked Questions
How Do I Prepare A Corian Countertop For Undermount Sink Installation?
Clean the countertop surface and remove any dust or debris. Mark the sink cutout area precisely for a perfect fit.
What Tools Are Needed To Install An Undermount Sink In Corian?
Basic tools include a jigsaw, silicone sealant, clamps, drill, and a wrench. A template may also help.
Can I Install An Undermount Sink Myself On Corian?
Yes, with careful measuring and the right tools, DIY installation is possible. Follow instructions closely for best results.
How Do I Secure The Undermount Sink To Corian?
Use silicone sealant around the sink rim and clamps underneath to hold it tight. Let it cure fully.