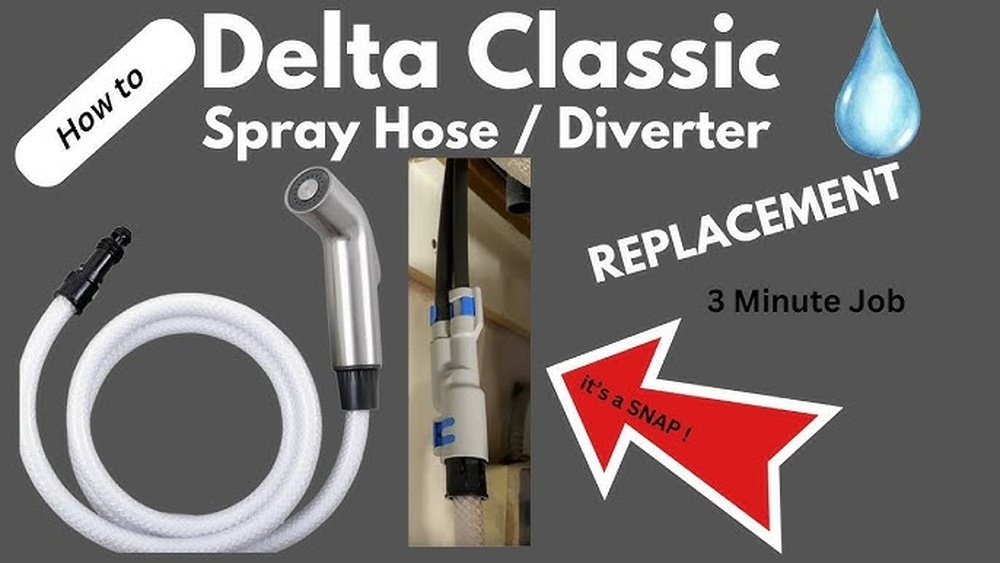
Installing a sink spray hose can be easy and useful. It helps you clean dishes and your sink fast. This guide will show you how to do it step by step. You don’t need to be a plumber.
What You Need Before Starting
Before you start, gather these tools and parts:
- Sink spray hose kit
- Adjustable wrench
- Screwdriver (usually Phillips)
- Teflon tape (plumber’s tape)
- Bucket or bowl (to catch water)
- Clean cloth or towel
- Flashlight (optional)
Make sure you have all parts that come with the spray hose kit.
Step 1: Turn Off the Water Supply
First, find the water valves under your sink. There are two valves: one for hot water and one for cold water. Turn both valves off by turning them clockwise. This stops the water flow.
If you cannot find these valves, turn off the main water supply in your home.
Step 2: Prepare the Area Under the Sink
Place a bucket or bowl under the sink. This will catch any water left in the pipes. Use a towel to dry the area. Keep a flashlight handy to see better under the sink.
Step 3: Remove the Old Spray Hose (If There Is One)
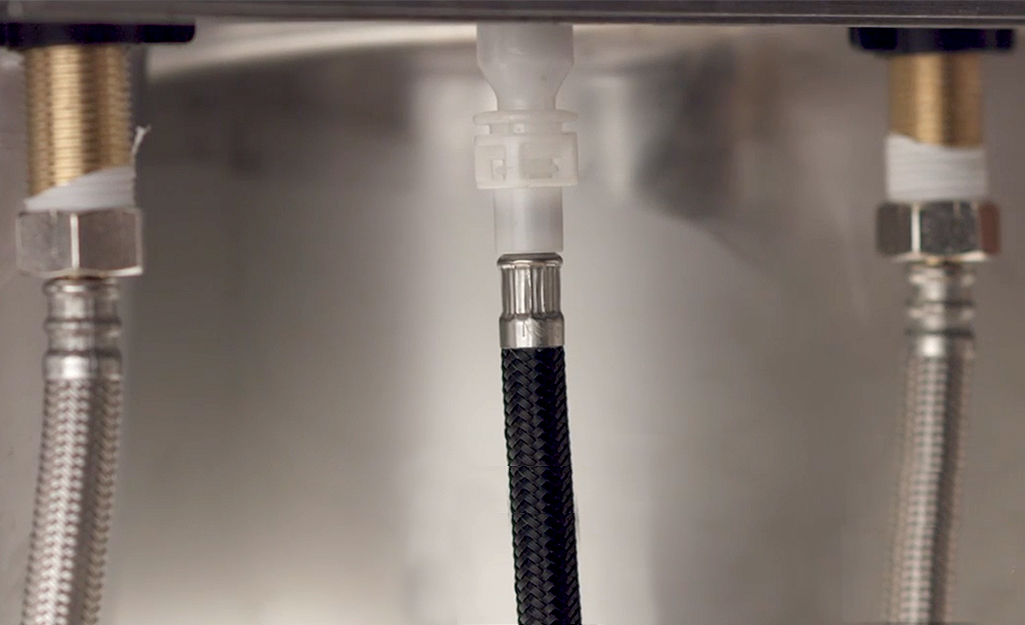
If you have an old spray hose, you need to remove it first. Look for the hose connection under the sink. Use your wrench to loosen the nut that holds the hose. Turn the nut counterclockwise to loosen it.
After loosening, pull the hose out carefully. Keep the old parts in case you need them later.
Credit: www.homedepot.com
Step 4: Install the New Spray Hose
Take your new spray hose and check the instructions. Usually, one end connects to the spray head, and the other end connects under the sink.
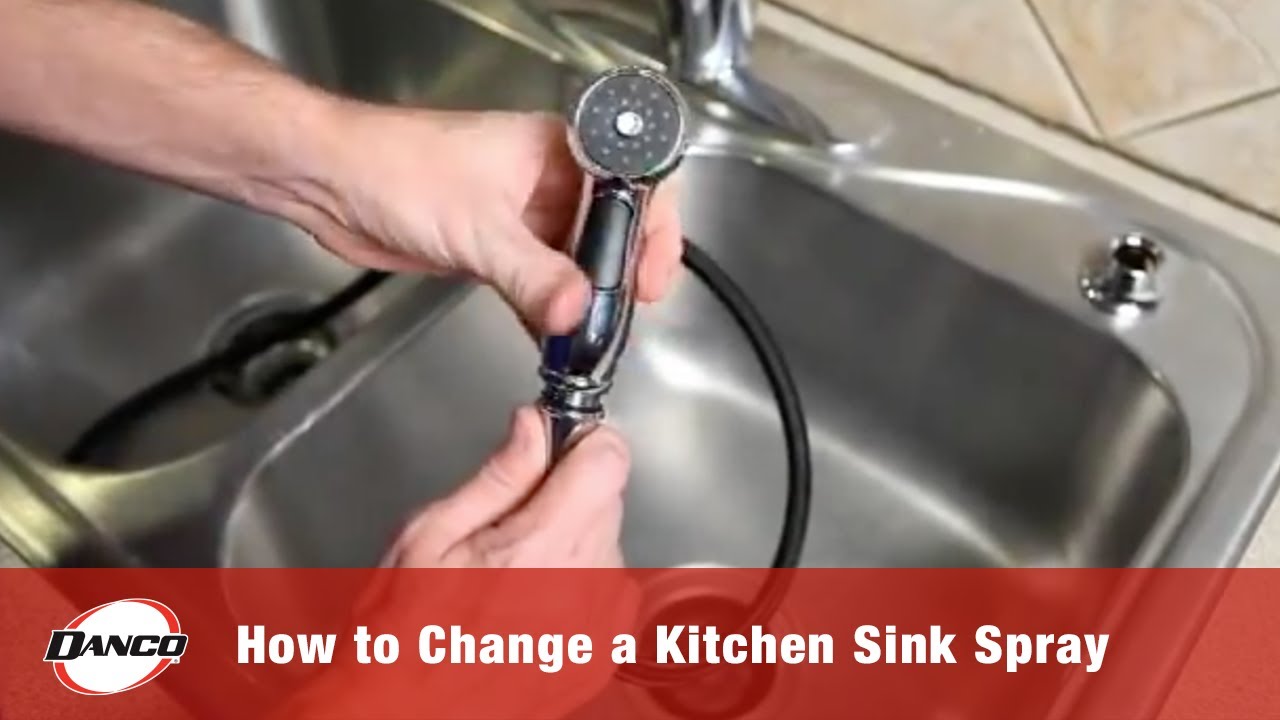
Start by attaching the spray head to the hose. Screw it on by hand until it is tight. Do not over-tighten.
Step 5: Connect the Hose Under the Sink
Now, connect the other end of the hose to the water supply or faucet. Look for the hose connection point. Wrap some Teflon tape around the threads. This helps stop leaks.
Use your wrench to tighten the nut. Turn it clockwise, but be gentle. Too much force can break the parts.
Step 6: Check the Mounting of the Spray Hose
Some spray hoses need a mounting bracket or clip under the sink. This keeps the hose in place. Find the right spot and screw the bracket using a screwdriver.
Make sure the hose moves freely and does not get stuck.
Step 7: Turn the Water Back On
Slowly turn the water valves back on by turning them counterclockwise. Check under the sink for leaks. If you see water dripping, turn off the valves again.
Tighten the connections a little more if needed.
Step 8: Test the Spray Hose
Pull out the spray head and press the button or lever. Water should come out smoothly. Move the hose around to see if it sprays well and the water flows strong.
If the water is weak or stops, check the hose for kinks or blockages.
Credit: www.youtube.com
Tips to Keep Your Sink Spray Hose Working Well
- Clean the spray head often to stop clogs.
- Do not pull the hose too hard to avoid damage.
- Check for leaks regularly.
- Replace washers if you hear dripping sounds.
Common Problems and How to Fix Them
| Problem | Cause | Solution |
|---|---|---|
| Leak under sink | Loose connection | Tighten nut with wrench carefully |
| No water flow | Valve off or blockage | Turn valve on and check hose for kinks |
| Spray head drips | Worn washer | Replace washer inside spray head |
| Hose hard to pull out | Wrong mounting or kinked hose | Adjust mounting and straighten hose |
Why Install a Sink Spray Hose?
A spray hose makes cleaning easier. You can reach all parts of the sink. It helps wash fruits, vegetables, and big pots. It saves time and water.
Many kitchens do not come with a spray hose. Adding one is simple and low cost. You do not need special skills.
Final Words
Installing a sink spray hose is a smart choice for your kitchen. Follow these easy steps to do it right. Take your time and check each connection. If you are careful, your new spray hose will work well for years.
Remember: turn off water before starting. Use Teflon tape to stop leaks. Test the spray after installation. And keep your hose clean.
Enjoy a cleaner, more useful kitchen with your new sink spray hose.
Frequently Asked Questions
How Do I Choose The Right Sink Spray Hose?
Pick a hose that fits your sink’s faucet size and style. Check the length needed for easy reach. Materials like stainless steel last longer.
Can I Install A Sink Spray Hose Myself?
Yes, installation is doable with basic tools and some care. Follow instructions step-by-step for best results. It usually takes under an hour.
What Tools Are Needed To Install A Sink Spray Hose?
You need an adjustable wrench, plumber’s tape, and a screwdriver. A bucket helps catch any water spills. Keep a towel handy too.
How Do I Prevent Leaks During Installation?
Tighten connections firmly but don’t overtighten to avoid damage. Use plumber’s tape on threaded parts. Check for leaks after installation by running water.