Installing a new kitchen sink may seem hard. But with the right tools and steps, you can do it yourself. This guide will help you install a Glacier Bay kitchen sink easily. Follow each step carefully for the best results.
What You Need Before You Start
Gather all tools and materials first. This makes the work easier and faster. Here is what you will need:
- Glacier Bay kitchen sink
- Plumber’s putty or silicone sealant
- Adjustable wrench
- Screwdriver (flat and Phillips)
- Plumbing tape (Teflon tape)
- Bucket or container to catch water
- Cleaning cloth or rag
- Measuring tape
- Jigsaw (if you need to cut the countertop)
- Safety gloves and glasses
Step 1: Turn Off Water Supply
Before you do anything, turn off the water supply. Find the valves under the sink. Turn them clockwise to stop water. Open the faucet to let out any water left in pipes. This stops water from spilling when you remove the old sink.

Credit: www.youtube.com
Step 2: Remove the Old Sink
Put a bucket under the pipes to catch water. Disconnect the water lines with the wrench. Loosen the nuts on the drain and remove the drain pipe. If the old sink is glued or sealed, use a putty knife to break the seal.
Lift the old sink carefully out of the countertop. You may need help if it is heavy. Clean the countertop surface well. Remove all old putty or sealant so the new sink fits well.
Step 3: Prepare the New Sink
Check the new sink and parts. Make sure everything is included. Place the sink upside down on a flat surface. Attach any mounting clips or brackets if they are separate. Use the instructions that came with your Glacier Bay sink.
Apply plumber’s putty or silicone sealant around the edge of the sink’s rim. This creates a waterproof seal between the sink and countertop.
Step 4: Place the Sink in the Countertop
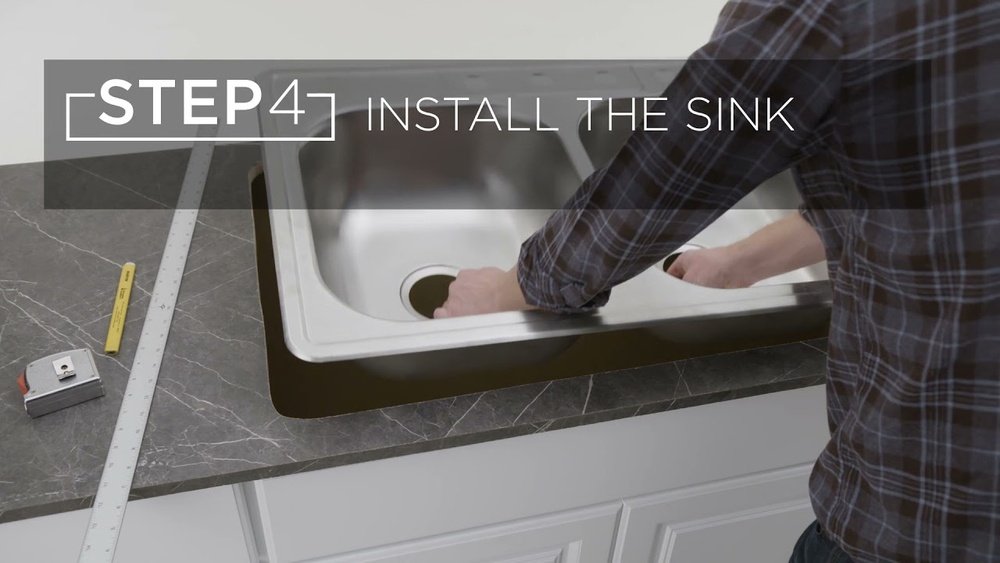
If you already have a hole for the sink, check the size. The Glacier Bay sink should fit well into the hole. If the hole is too small, you may need to enlarge it with a jigsaw. Be careful and measure twice before cutting.
Slowly lower the sink into the hole. Press the sink down firmly so the sealant spreads evenly. Wipe away any extra putty or sealant that squeezes out.
Step 5: Secure the Sink
From under the countertop, attach the mounting clips or brackets. Tighten them evenly to hold the sink in place. Do not over-tighten or you may damage the sink or countertop.
Check from above to make sure the sink is level and fits well.
Step 6: Install the Drain
Apply plumber’s putty around the drain opening on the sink. Insert the drain flange into the hole. From under the sink, attach the drain body and tighten the nut.
Use plumbing tape on the threads to prevent leaks. Connect the drain pipe back to the plumbing. Make sure all connections are tight but not too tight.
Step 7: Reconnect the Water Supply Lines
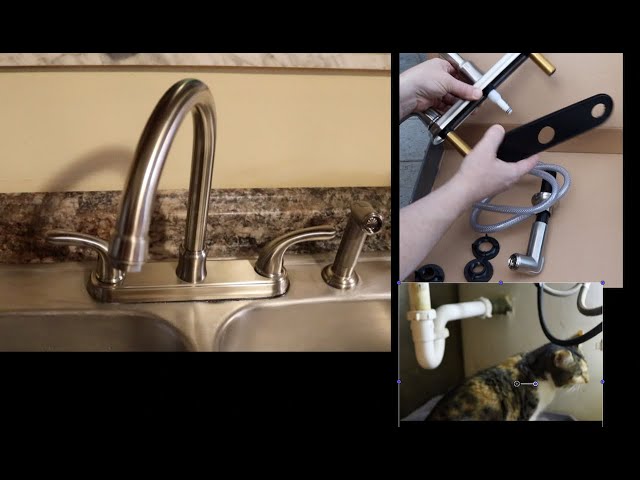
Attach the hot and cold water lines to the faucet. Use an adjustable wrench to tighten the connections. Wrap plumbing tape on the threads if needed to stop leaks.
Check all connections before turning the water back on.
Step 8: Turn On the Water and Test
Slowly turn on the water supply valves. Open the faucet and let water run for a few minutes. Check carefully for leaks under the sink and around the drain.
If you see leaks, tighten the connections or add more sealant. Wipe dry any water to avoid damage.
Tips for a Smooth Installation
- Read the sink manual before starting.
- Work slowly and carefully.
- Keep a clean workspace.
- Ask for help if the sink is heavy.
- Use safety gloves and glasses when cutting.
- Double-check measurements before cutting the countertop.
- Use the right amount of sealant to avoid mess.
Common Problems and How to Fix Them
| Problem | Cause | Solution |
|---|---|---|
| Water leaks under sink | Loose connections or bad seal | Tighten connections and add plumber’s putty |
| Sink does not fit in hole | Hole too small or wrong shape | Measure carefully and cut hole larger if needed |
| Sink moves after installation | Mounting clips not tight | Tighten mounting clips evenly |
| Drain clogs easily | Drain pipe or trap installed wrong | Check drain assembly and clean pipes |
Why Choose Glacier Bay Sinks?
Glacier Bay sinks are popular for many reasons. They are strong and last a long time. Their design fits most kitchens. They also come in many sizes and styles. This makes it easy to find one that fits your space and style.
Installing a Glacier Bay sink yourself can save money. It also lets you fix problems or change designs easily later.
Credit: www.youtube.com
Final Thoughts
Installing a Glacier Bay kitchen sink is simple if you follow steps. Take your time and check your work. The right tools and preparation make a big difference. Soon, you will have a nice new sink in your kitchen. Enjoy your new look and function!
Frequently Asked Questions
How Do I Prepare The Countertop For A Glacier Bay Sink?
Measure the sink and mark the cutout on the countertop carefully. Use a jigsaw to cut along the marked line smoothly. Clean the edges before installing the sink.
What Tools Are Needed To Install A Glacier Bay Kitchen Sink?
You will need a jigsaw, screwdriver, plumber’s putty, adjustable wrench, and tape measure. These tools help cut, secure, and seal the sink properly.
How Long Does It Take To Install A Glacier Bay Kitchen Sink?
Installation usually takes 1 to 2 hours for most DIYers. It depends on your experience and countertop material.
Can I Install The Sink Without Professional Help?
Yes, many people install Glacier Bay sinks themselves with basic tools. Follow the instructions carefully for a successful installation.