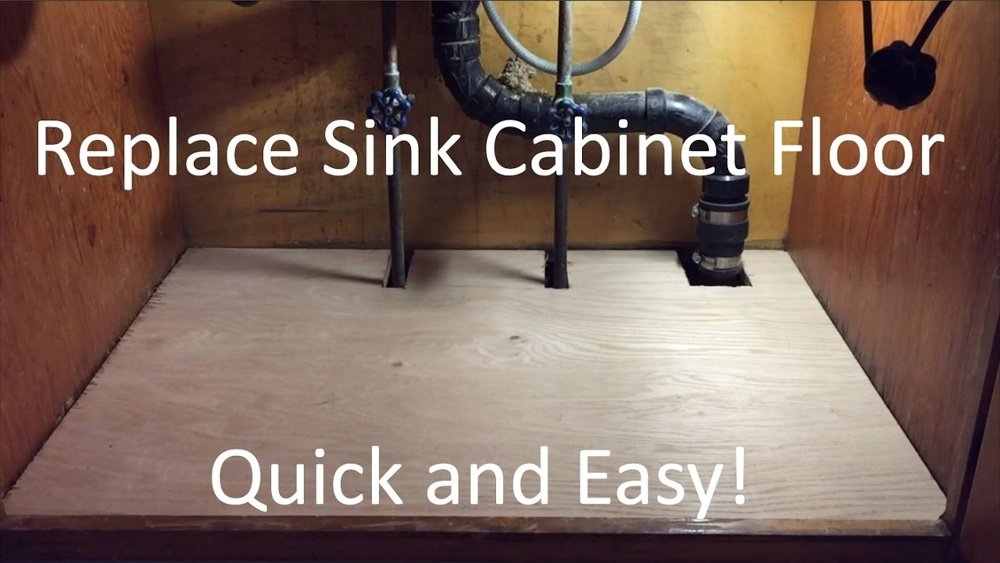
Fixing a damaged under-sink cabinet floor is one of the most valuable home improvement tasks you can tackle to maintain both kitchen hygiene and the overall integrity of your cabinetry. Water damage, mold, and rot under the sink are all-too-common issues thanks to leaks, spills, and condensation. Left unchecked, these problems can lead to expensive repairs, persistent odors, and even attract pests. But restoring your under-sink floor isn’t as daunting as it may seem, armed with the right guidance, tools, and materials, most homeowners can complete this repair in a weekend.
Whether you’re dealing with minor water stains or major rot, the right fix will not only restore your cabinet’s function but also protect your kitchen investment. This comprehensive guide breaks down every step, from diagnosis to material selection, repair methods, and preventative strategies.
You’ll find real-world examples, side-by-side comparisons of material options, and actionable tips to make your repair last. If you want to avoid future headaches, save money, and ensure your kitchen remains safe and attractive, this is the guide for you.
Key Takeaways
- Assessing the damage is crucial, some repairs require full floor replacement, others only patching.
- The best under-sink floor materials are waterproof and mold-resistant, with options ranging from plywood to PVC panels.
- Preparation, including disconnecting plumbing and removing mold, is key to a successful repair.
- Regular maintenance and simple upgrades can prevent future cabinet floor problems.
- DIY repairs are accessible for most homeowners, but severe structural damage may require a professional.
- Real-world examples and data-driven tables help you choose the best repair strategy for your needs.

Credit: www.youtube.com
Common Causes Of Under-sink Cabinet Floor Damage
Understanding why under-sink cabinet floors get damaged is the first step to a lasting solution. The area beneath your kitchen sink is subjected to unique hazards, and knowing the root causes can help you both address the current problem and prevent repeat issues.
Water Leaks And Plumbing Failures
The most common culprit is a plumbing leak. Even a slow drip from a supply line, faucet, or drain can saturate the cabinet floor over time. According to the Insurance Information Institute, water damage accounts for nearly 29% of all homeowner insurance claims in the United States. Persistent moisture not only weakens materials but also creates an environment for mold and mildew.
Poor Ventilation And Humidity
High humidity and poor ventilation can cause condensation under the sink, especially in homes with limited airflow. While less dramatic than a leak, repeated condensation contributes to gradual swelling and warping of the cabinet floor, especially with particle board or MDF.
Chemical Spills And Cleaning Agents
Households often store cleaning products under the sink. Spills of bleach, detergents, and other chemicals can degrade both the wood and protective finishes, accelerating wear and tear.
Pests And Rot
Moist, dark environments attract pests such as cockroaches and ants, which can further compromise the cabinet floor. Rot may set in if organic materials remain damp, especially with wood-based floors.
Real-world Example: The Hidden Drip
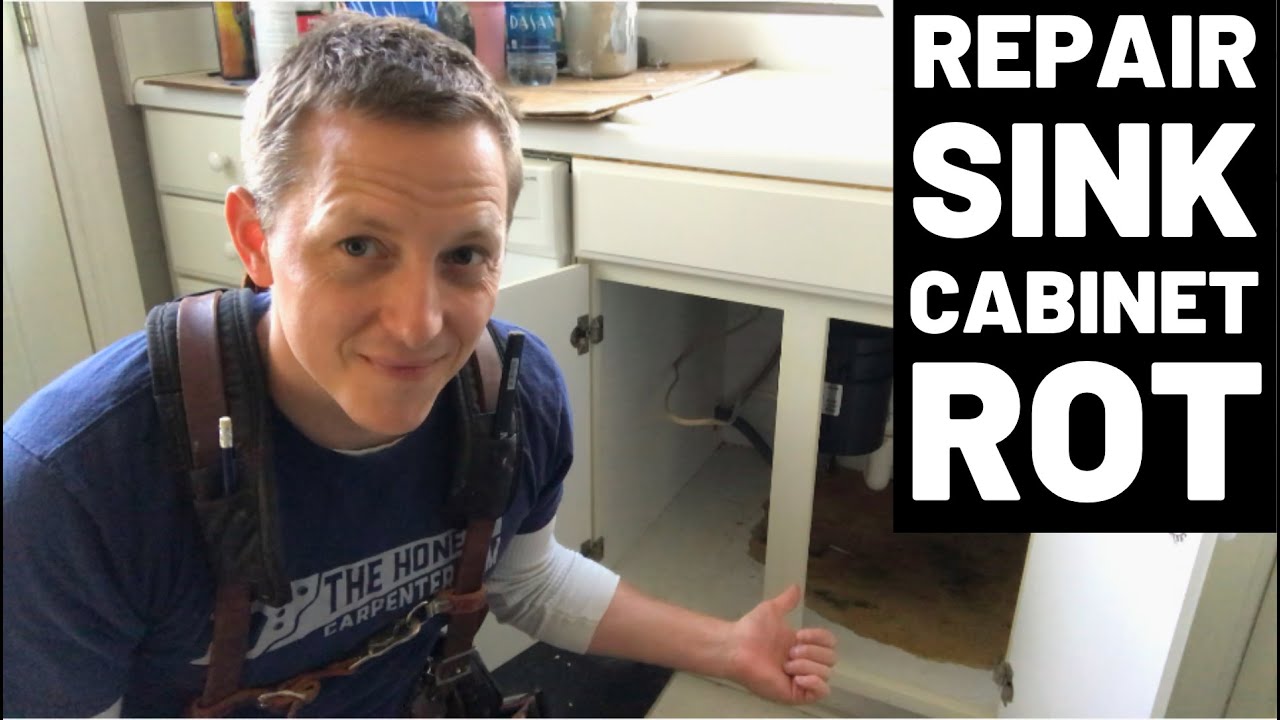
A homeowner in Seattle noticed a musty smell coming from the kitchen cabinet. Upon inspection, they discovered a slow leak from the garbage disposal flange had saturated the under-sink floor over several months, causing black mold and rot. Addressing the root cause required both plumbing repair and a full replacement of the cabinet floor.
Credit: www.youtube.com
Assessing The Damage: Inspection And Diagnosis
Before starting repairs, a thorough assessment ensures you choose the right fix and avoid unnecessary work. Here’s how to accurately inspect and diagnose your under-sink cabinet floor damage.
Visual Inspection
Start by removing all items from the cabinet. Use a flashlight to check for:
- Discoloration (dark spots, water stains)
- Swelling or warping
- Soft or spongy areas under gentle pressure
- Visible mold or mildew
- Peeling or bubbling laminate
Probing The Floor
Gently press the tip of a screwdriver or awl into suspect areas. If it sinks easily, the wood is likely rotten and needs to be replaced.
Checking For Mold And Odors
Persistent musty smells are a strong indicator of mold growth, even if not visible. Mold can hide beneath the surface, so inspect the underside of the cabinet floor if accessible.
Identifying The Source
Look for active leaks at:
- Faucet connections
- Drain pipes and P-traps
- Dishwasher or disposal hookups
Address these before starting the cabinet repair.
Severity Table
The following table helps match the damage type to the recommended repair approach:
| Damage Type | Symptoms | Recommended Repair |
|---|---|---|
| Surface Water Stains | Discoloration, no soft spots | Surface cleaning, sealant application |
| Minor Swelling/Softness | Small soft areas, minimal mold | Cut out and patch affected area |
| Significant Rot/Mold | Large soft/spongy areas, visible mold | Full floor replacement |
| Structural Sagging | Cabinet floor bows under weight | Replacement with added support |
Example: Quick Inspection
In my experience, a simple screwdriver test quickly reveals hidden rot beneath seemingly intact laminate. If the tool punctures the surface with little resistance, deeper replacement is necessary.

Credit: homestagingbloomingtonil.wordpress.com
Choosing The Right Materials For Under-sink Floor Repair
The material you choose for your under-sink cabinet floor impacts both durability and future water resistance. Here’s a breakdown of the best options, their pros and cons, and real-world suitability.
Plywood
Plywood is a popular choice thanks to its strength and relative moisture resistance. Use at least 1/2-inch exterior-grade plywood for best results. It’s easy to cut to size and can be sealed for added protection.
Pros:
- Strong and stable
- Readily available
- Easy to install
Cons:
- Still vulnerable to long-term leaks if not sealed
Mdf And Particle Board
Many cabinets come with MDF or particle board floors, which are cost-effective but highly susceptible to water damage. These materials swell and break down quickly when wet.
Recommendation: Avoid using MDF or particle board for repairs under sinks.
Pvc And Vinyl Panels
For maximum water resistance, PVC panels or vinyl flooring are excellent choices. They won’t rot or absorb moisture and are easy to clean.
Pros:
- Waterproof
- Mold-resistant
- Lightweight
Cons:
- Can flex under heavy loads
- May require extra support
Tile Backer Board
Cement-based tile backer board is extremely moisture-resistant, making it a good option in severe water-prone areas. It’s heavy but offers unmatched durability.
Comparison Table: Cabinet Floor Materials
| Material | Water Resistance | Durability | Ease of Installation | Cost |
|---|---|---|---|---|
| Plywood (sealed) | Moderate-High | High | Easy | Low-Mid |
| PVC/Vinyl Panel | Excellent | Medium | Easy | Low |
| Tile Backer Board | Excellent | Very High | Moderate | Mid |
| MDF/Particle Board | Poor | Low | Easy | Very Low |
Example: Upgrading For Longevity
A homeowner in Florida replaced a rotted MDF floor with PVC wall paneling, creating a waterproof surface that withstands leaks and is easy to wipe clean.
Pro Tip:
For extra durability, combine a plywood subfloor with a waterproof vinyl or PVC overlay.
Tools And Preparation: Setting Up For A Smooth Repair
Thorough preparation minimizes headaches and ensures a professional-looking repair. Here’s how to get started:
Essential Tools And Supplies
- Tape measure
- Circular saw or jigsaw
- Pry bar and hammer
- Screwdriver or drill
- Utility knife
- Construction adhesive
- Wood screws or finishing nails
- Waterproof caulk or sealant
- Respirator mask and gloves (for mold removal)
- Shop vacuum or brush
Safety First
- Turn off water supply lines before starting.
- Wear gloves and a mask if removing mold or rotten wood.
- Use eye protection when cutting or prying wood.
Removing The Old Cabinet Floor
- Empty the cabinet completely.
- Disconnect plumbing if necessary, especially for large repairs (see How To Install Kitchen Sink Plumbing for reconnection tips).
- Cut away caulk or sealant around the cabinet base.
- Pry up the old floor using a pry bar, being careful not to damage the cabinet sides.
- Remove debris and clean thoroughly, especially any mold.
Mold Removal
Scrub visible mold with a 1:10 bleach solution and allow the area to dry thoroughly. Severe infestations may require professional remediation.
Measuring And Cutting Replacement Material
- Measure the cabinet’s width and depth, allowing for pipe cutouts.
- Dry-fit the new material before securing.
Example: Precision Fitting
When I repaired my own cabinet, I templated the pipe locations on cardboard first, then transferred the cutouts onto plywood. This saved time and ensured a perfect fit.
Step-by-step Repair Methods For Under-sink Cabinet Floors
The specific repair method depends on the damage severity. Here’s how to tackle everything from minor patches to full floor replacements.
Surface Repair For Minor Damage
If the cabinet floor is mostly sound but stained or slightly rough:
- Clean thoroughly and dry the surface.
- Sand lightly to remove roughness.
- Apply a waterproof wood sealant or primer.
- For added protection, lay down a waterproof liner or shelf mat.
Patching Small Areas
For localized soft spots or holes:
- Cut out the damaged area using a jigsaw.
- Cut a matching patch from plywood or PVC panel.
- Apply construction adhesive to the edges and fit the patch in place.
- Secure with screws or nails; seal seams with waterproof caulk.
Full Floor Replacement
For extensive rot, mold, or sagging:
- Remove the entire old floor as described above.
- Cut the new floor to size, making pipe cutouts as needed.
- Apply construction adhesive to the cabinet base.
- Set the new floor in place, pressing down firmly.
- Fasten with screws (pre-drill to avoid splitting).
- Seal all edges with waterproof caulk.
Adding Support For Sagging Cabinets
If the cabinet floor bows under weight:
- Add wooden cleats (1×2” strips) along the inside edges for extra support.
- Place the new floor on top of the cleats and fasten.
Installing A Waterproof Overlay
For ultimate protection:
- After replacing the subfloor, lay a vinyl sheet or PVC panel over the top.
- Seal all seams and edges to prevent water intrusion.
Step-by-step Table
| Repair Type | Main Steps | Time Estimate | Skill Level |
|---|---|---|---|
| Surface Seal | Clean, sand, apply sealant/liner | 1-2 hours | Beginner |
| Patch Repair | Cut out/patch, secure, seal seams | 2-3 hours | Intermediate |
| Full Replacement | Remove floor, cut/fit/secure new material, seal | 4-6 hours | Intermediate-Advanced |
| Support Addition | Install cleats, fasten new floor | 1-2 hours | Intermediate |
Example: Advanced Diy
A homeowner documenting their project on a popular home improvement forum showed how they combined 3/4″ plywood with a PVC overlay, creating a cabinet floor that survived a dishwasher leak with zero damage.
Preventing Future Under-sink Cabinet Floor Damage
A quality repair is only half the battle, smart prevention will keep your cabinet in top shape for years.
Leak Detectors And Mats
Install a battery-powered leak detector under the sink. These affordable devices alert you to leaks before major damage occurs. Place a waterproof mat or tray beneath the plumbing for added protection.
Regular Inspections
Check for moisture or drips every few months, especially after plumbing work. Early detection limits the extent of necessary repairs.
Improving Ventilation
Leave the cabinet doors open occasionally, especially after leaks or spills, to let the area dry out. Consider installing a small vent grille if condensation is a frequent problem.
Plumbing Maintenance
Ensure all connections are tight and inspect hoses for signs of wear. If you’re replacing plumbing, refer to comprehensive guides such as How To Install Kitchen Sink Plumbing.
Storing Chemicals Safely
Use bins or trays to contain spills from cleaning products. Never store open containers directly on the cabinet floor.
Caulking And Sealing
Check and maintain caulking around pipes and the cabinet’s perimeter. This provides an extra barrier against leaks.
Example: Proactive Protection
A rental property owner lined all under-sink cabinets with removable vinyl mats and installed leak alarms. Over five years and multiple tenants, they avoided costly repairs despite minor plumbing mishaps.
Cost And Time Analysis: Diy Vs. Professional Repair
Deciding whether to tackle this repair yourself or hire a professional depends on the damage scope, your skill level, and time constraints.
Diy Repair
- Material costs: $25, $100 depending on materials chosen (plywood, PVC, sealants)
- Time investment: 2, 6 hours for most repairs
- Tools: Most are standard for home DIYers
Professional Repair
- Average cost: $150, $400, depending on region and repair complexity (according to HomeAdvisor)
- Timeframe: Usually completed in 1 day
- Warranty: Many pros offer a warranty on workmanship
When To Call A Professional
- Extensive mold infestations
- Structural cabinet or floor joist damage
- If plumbing rerouting or advanced carpentry is required
Diy Vs. Pro Comparison Table
| Factor | DIY | Professional |
|---|---|---|
| Material Cost | Low | Included in price |
| Labor Cost | None | Significant |
| Time Commitment | High | Low |
| Skill Required | Moderate | None for homeowner |
| Warranty | None (unless self-imposed) | Usually included |
Example: Cost Savings
A DIY enthusiast replaced their under-sink floor with $50 in materials and a Saturday afternoon of work, compared to a $350 quote from a local handyman.
Advanced Tips And Upgrades For Long-term Durability
For those seeking a truly maintenance-free under-sink cabinet, consider these advanced strategies and upgrades.
Epoxy Coatings
Applying a marine-grade epoxy to plywood creates an impermeable, waterproof barrier. This is especially useful in areas with frequent leaks or high humidity.
Removable Panels
Install the new cabinet floor as a removable panel. This makes future repairs or plumbing upgrades easier, simply lift out the floor rather than demolishing it.
Integrated Drip Trays
Some companies offer custom-fit cabinet drip trays with raised edges that contain leaks and direct water to the front for easy detection.
Upgrading Plumbing
While the cabinet is open, consider upgrading old supply lines to braided stainless steel hoses or installing quick-shutoff valves.
Professional-grade Liners
For high-end kitchens, invest in a stainless steel liner custom-cut to your cabinet dimensions. This provides unmatched water and chemical resistance and easy cleaning.
Example: Commercial-grade Solution
A restaurant kitchen retrofitted all under-sink cabinets with stainless liners after several costly insurance claims for water damage, virtually eliminating future problems.
External Reference
For an in-depth look at waterproofing strategies, see this guide from Family Handyman.
Integrating Cabinet Floor Repair With Sink Or Plumbing Upgrades
Repairing the under-sink floor is an ideal time to tackle other kitchen improvements. If you’re planning to upgrade your sink, faucet, or disposal, coordinate the projects for maximum efficiency.
Coordinating Projects
- If replacing your sink, see How To Install A New Kitchen Sink for step-by-step guidance.
- For faucet upgrades, reference How To Install A Kitchen Sink Faucet.
- If installing a garbage disposal, combine cabinet repairs with How To Install A Garbage Disposal for a streamlined workflow.
Real-world Example: Full Kitchen Refresh
A Chicago homeowner replaced their leaky sink, updated the plumbing, and installed a new waterproof cabinet floor in one coordinated weekend, reducing downtime and saving on labor costs.
Frequently Asked Questions
What’s The Best Way To Waterproof An Under-sink Cabinet Floor?
The most effective approach combines a water-resistant base material (like sealed plywood or PVC panel) with a waterproof overlay such as vinyl sheet or a removable tray. Sealing all seams and cutouts with high-quality silicone caulk further prevents water intrusion. For added protection, consider using a marine-grade epoxy coating on the floor surface.
How Do I Remove Musty Odors From Under My Sink After A Repair?
After removing damaged material, clean all cabinet surfaces with a 1:10 bleach solution to kill mold spores. Allow the cabinet to dry fully, then place an open container of baking soda or activated charcoal under the sink for several days. These absorb lingering odors. Improved ventilation and a waterproof mat also help prevent return of musty smells.
Can I Fix A Sagging Cabinet Floor Without Removing The Sink Or Plumbing?
In many cases, yes. If the damage is limited to the floor and the plumbing is accessible, install wooden cleats along the interior sides to support a new floor panel. Carefully measure and cut the replacement material to fit around pipes. However, for severe rot or full replacements, temporarily disconnecting plumbing may be necessary for a precise and thorough repair.
What Are Signs Of Hidden Mold That May Not Be Visible?
Persistent musty or earthy odors, even after cleaning, often indicate hidden mold. Discoloration or softness around cabinet edges, or allergic reactions (sneezing, itchy eyes) when the cabinet is open, are also clues. If in doubt, consult a mold remediation specialist to evaluate and safely address hidden contamination.
How Often Should I Inspect Under-sink Cabinets For Leaks Or Damage?
It’s wise to check under-sink cabinets every 2, 3 months. Look for moisture, stains, or new odors, and test all plumbing connections for tightness. Early detection of leaks or damage significantly reduces the scope and cost of repairs, helping maintain a safe and clean kitchen.
Fixing an under-sink cabinet floor is a practical DIY project that protects your kitchen from costly water and mold damage. By understanding the causes, choosing the right materials, and following proven repair strategies, you’ll restore your cabinet’s function and value. Combining repairs with smart prevention and timely upgrades ensures your under-sink space remains trouble-free for years. For more kitchen improvement tips, check out resources like Wikipedia: Waterproofing and the extensive how-to guides on Kitchenlio.