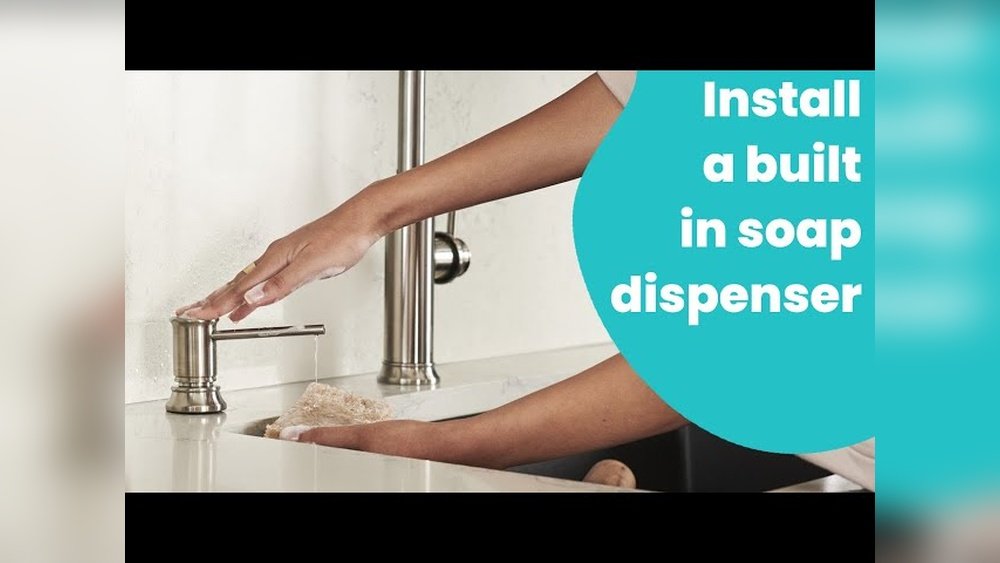
Installing a soap dispenser in your kitchen sink can transform your daily routine, bringing convenience and style to one of the most-used spaces in your home. Whether you’re aiming for a more streamlined countertop or seeking to minimize plastic clutter, a built-in dispenser offers both aesthetic and practical advantages.
With the right tools and guidance, this upgrade is accessible for most DIY enthusiasts, potentially saving you over $100 compared to professional installation fees. Plus, modern dispensers are designed to fit a wide range of sinks, making this project relevant for homeowners, renters, and those refurbishing their kitchens.
In my experience, installing a soap dispenser is not only a simple enhancement but also a step toward a cleaner and more organized kitchen. The process involves careful planning, tool selection, and step-by-step execution, each aspect contributing to a flawless result.
This comprehensive guide covers everything from choosing the best dispenser for your needs to troubleshooting issues post-installation. Real-world examples, data-driven comparisons, and actionable tips ensure you have all the information necessary to succeed. By the end of this article, you’ll be equipped to handle installation with confidence, backed by expert insights and trustworthy resources.
Key Takeaways
- Installing a soap dispenser is a straightforward DIY task that typically takes under an hour.
- Choose a dispenser that fits your sink type and meets your usage needs.
- Proper preparation and tool selection minimize installation risks.
- Maintenance and troubleshooting are essential for long-term function.
- Comparing dispenser models helps balance style, durability, and cost.
- Real-world examples and expert tips ensure a successful installation.
Credit: www.lowes.com
Understanding Kitchen Sink Soap Dispensers
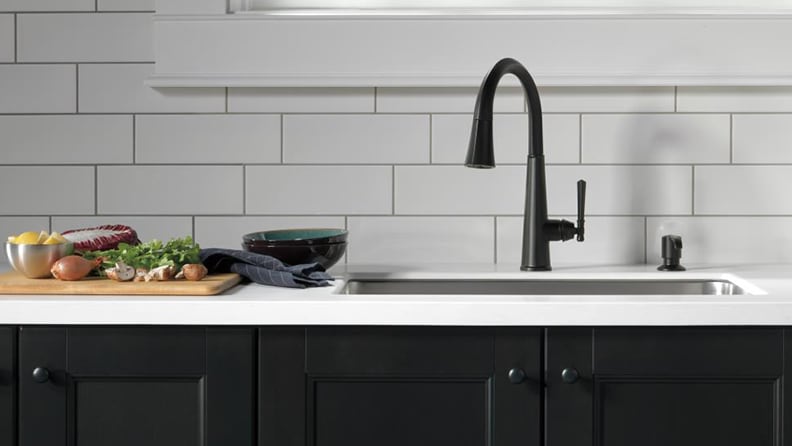
Modern kitchen sink soap dispensers are engineered for both convenience and durability, making them a popular choice in contemporary homes. Before starting the installation process, it’s crucial to understand the types available, their mechanisms, and compatibility with various sinks.
Types Of Soap Dispensers
Soap dispensers come in several forms, each with unique features:
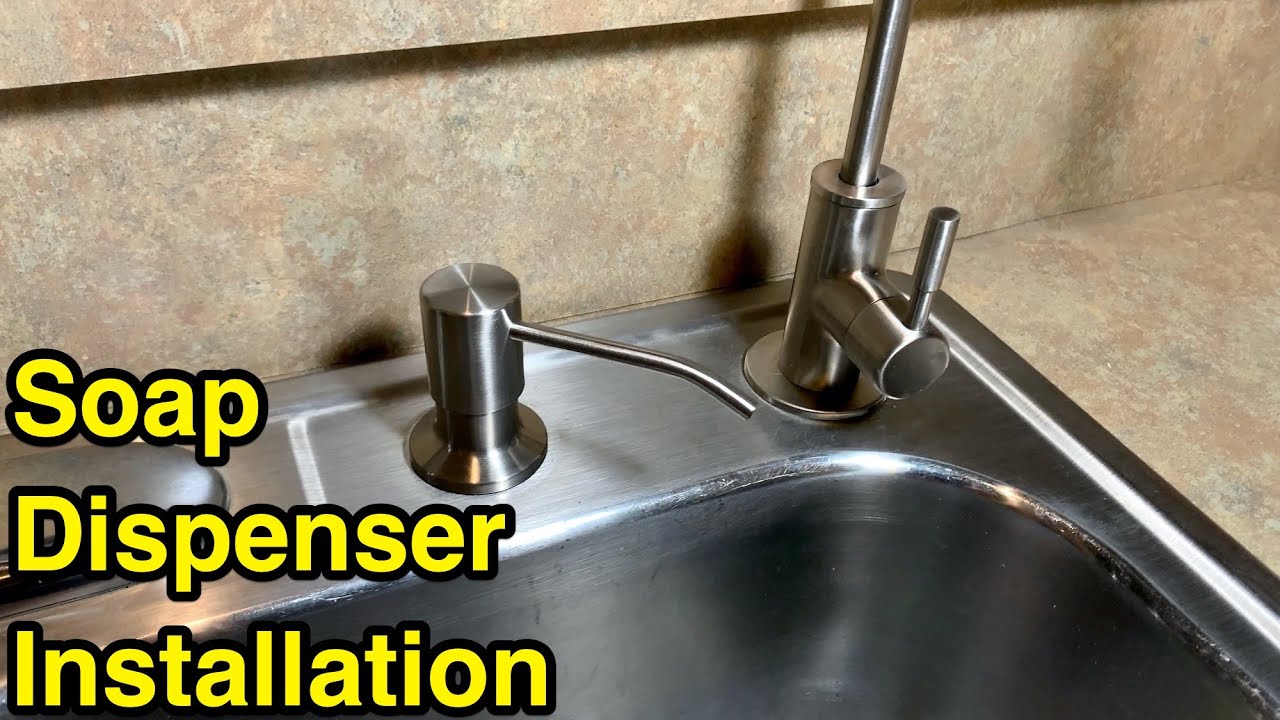
- Built-in dispensers: Installed directly into the sink or countertop, providing a seamless look.
- Deck-mounted dispensers: Positioned on the sink ledge; often included as an option in new sinks.
- Wall-mounted dispensers: Less common in kitchens, usually found in commercial settings.
- Manual pump dispensers: Require hand pressure to dispense soap.
- Automatic dispensers: Use sensors for touchless operation.
Compatibility With Sink Materials
Not all dispensers are suited for every sink material. Common sink materials include stainless steel, porcelain, granite composite, and cast iron. Built-in dispensers typically require a pre-drilled hole or the creation of one. Stainless steel sinks are easiest to modify, while granite or cast iron may need specialized drill bits.
Mechanism And Capacity
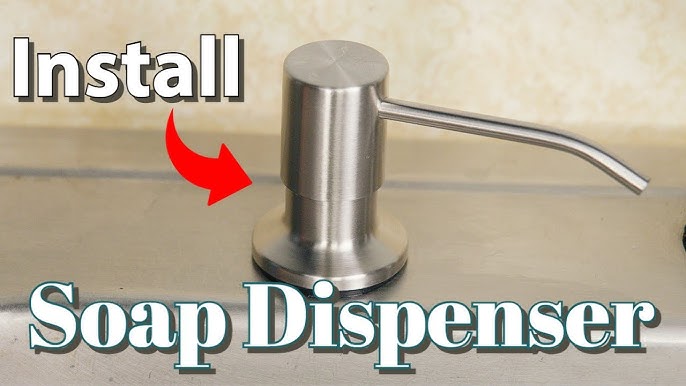
Most kitchen dispensers operate with a simple pump mechanism, drawing soap from a refillable reservoir beneath the sink. Reservoir capacities range from 8 to 16 ounces, with larger sizes minimizing refill frequency. Automatic dispensers often include batteries and electronic components, requiring additional maintenance.
| Dispenser Type | Installation Complexity | Reservoir Capacity | Suitable Sink Materials | Price Range |
|---|---|---|---|---|
| Built-in Manual | Medium | 8, 16 oz | Stainless, Porcelain, Granite | $20, $60 |
| Deck-mounted Manual | Low | 8, 12 oz | Stainless, Porcelain | $15, $40 |
| Automatic Sensor | High | 10, 14 oz | Stainless, Composite | $45, $120 |
Example: Choosing For A Remodel
When remodeling a kitchen with a granite composite sink, a homeowner opted for a built-in manual dispenser. The sink lacked a pre-drilled hole, so a diamond-tipped bit was required. The result was a seamless installation and reduced countertop clutter.
Credit: www.youtube.com
Selecting The Right Soap Dispenser For Your Kitchen
Choosing the best soap dispenser depends on your kitchen layout, sink material, and personal preferences. Quality, functionality, and aesthetics all play significant roles.
Factors To Consider
- Sink Compatibility: Ensure your sink has a pre-drilled hole or can be safely modified.
- Capacity and Refilling: Higher capacity means less frequent refilling, ideal for large families or frequent cooks.
- Design and Finish: Match dispenser finish (chrome, brushed nickel, matte black) to other fixtures.
- Pump Mechanism: Manual pumps are reliable; sensor pumps offer touchless convenience.
- Durability: Look for corrosion-resistant materials like stainless steel or brass.
- Brand Reputation: Established brands often provide better warranties and support.
Comparing Popular Dispensers
Below is a comparison of three popular built-in dispensers:
| Brand | Material | Finish Options | Reservoir Capacity | Warranty |
|---|---|---|---|---|
| Moen | Stainless Steel | Chrome, Nickel | 16 oz | Limited Lifetime |
| Kohler | Brass | Chrome, Matte Black | 12 oz | 1 Year |
| Delta | Plastic/Metal | Chrome, Stainless | 10 oz | 5 Years |
Example: Matching Fixtures
A homeowner with a brushed nickel faucet selected a matching Moen dispenser, ensuring a cohesive look. The 16-ounce reservoir suited their needs, and the lifetime warranty provided peace of mind.
Pro Tip:
Always measure the available space beneath your sink before purchasing, as cramped plumbing can complicate installation and refilling.
Credit: www.youtube.com
Preparing For Installation
Proper preparation is essential for a successful installation. Gathering the right tools, checking compatibility, and planning the process minimizes risk and ensures efficiency.
Tools And Materials Needed
- Adjustable wrench
- Philips screwdriver
- Drill (with appropriate bit for sink material)
- Tape measure
- Plumber’s putty or silicone sealant
- Safety goggles
- Soap dispenser kit (pump, reservoir, mounting hardware)
Checking Sink Compatibility
Before drilling, verify the sink’s thickness and material. Most dispensers require a hole 1, 1. 5 inches in diameter. Stainless steel sinks are easiest to drill, while granite or porcelain require specialized bits and gentle handling.
Preparing The Workspace
Clear the area around and beneath the sink. Remove any cleaning products, towels, or objects that may obstruct access. Lay down a drop cloth to protect cabinetry from dust or debris.
Example: Pre-installation Checklist
A DIY enthusiast preparing for installation found their sink had a pre-drilled hole intended for a spray nozzle. After removing the nozzle, they repurposed the hole for the soap dispenser, saving time and avoiding unnecessary drilling.
Step-by-step Guide To Installing A Soap Dispenser
With tools and materials at hand, follow this step-by-step guide to ensure a smooth installation. Each step is designed to maximize safety and efficiency.
Step 1: Confirm Hole Size And Location
- Measure the hole diameter to confirm compatibility.
- If no hole exists, mark the desired location, ensuring clearance from faucet and sink edges.
- Drill the hole using the correct bit, applying steady pressure and wearing safety goggles.
Step 2: Assemble Dispenser Components
- Unbox the dispenser kit and lay out all parts.
- Attach mounting hardware as per manufacturer instructions.
- Pre-fit the pump and reservoir to confirm alignment.
Step 3: Mount The Dispenser
- Apply plumber’s putty or silicone sealant around the dispenser base to prevent leaks.
- Insert the pump assembly through the hole from above.
- Secure with the mounting nut beneath the sink, tightening with an adjustable wrench.
Step 4: Install Soap Reservoir
- Screw or snap the reservoir bottle onto the pump assembly from below.
- Ensure a snug fit to prevent leaks and spills.
Step 5: Test And Refill
- Fill the reservoir with liquid soap.
- Pump several times to prime the dispenser.
- Check for leaks and proper operation.
Example: Overcoming A Tight Space
A homeowner with limited under-sink space used a flexible wrench and a compact soap reservoir to successfully install their dispenser, demonstrating that even challenging layouts can be managed with creativity.
Warning:
Avoid overtightening mounting nuts, as excessive force can crack porcelain sinks or damage hardware.
Maintenance, Refilling, And Troubleshooting
Proper care ensures your soap dispenser remains functional and attractive for years. Regular maintenance and prompt troubleshooting prevent common issues.
Routine Maintenance
- Wipe dispenser pump and nozzle weekly to remove soap buildup.
- Clean the reservoir and pump mechanism every 2, 3 months.
- Inspect mounting hardware for corrosion or loosening.
Refilling Tips
- Use a funnel for easy refilling, reducing spills.
- Refill with compatible liquid soap; avoid overly thick soaps that may clog the pump.
- For large families, consider dispensers with larger reservoirs to minimize refill frequency.
Troubleshooting Common Issues
- Pump Not Dispensing: Remove and clean the pump; check for clogs or dried soap.
- Leaks at Base: Tighten mounting nut or reapply sealant.
- Loose Dispenser: Tighten hardware beneath the sink.
- Soap Reservoir Difficult to Access: Use extension tubes or flexible bottles designed for tight spaces.
Example: Solving A Clog
After a month of use, a homeowner noticed their dispenser was slow to pump. Cleaning the nozzle and reservoir restored normal function, highlighting the importance of regular maintenance.
Comparing Soap Dispenser Models: Durability, Style, And Cost
Selecting a dispenser involves balancing durability, style, and cost. A data-driven comparison can help you make an informed choice.
Durability
Dispenser durability depends on materials and construction. Stainless steel and brass are the most corrosion-resistant, while plastic components may degrade faster in humid environments.
Style And Finish
Dispenser styles range from minimalist to ornate. Finish options include:
- Chrome: Bright, reflective, matches most faucets.
- Brushed nickel: Subtle, hides fingerprints.
- Matte black: Modern, bold aesthetic.
Cost Analysis
The average cost for built-in dispensers is $20, $60, while automatic dispensers range from $45, $120. Higher-end models feature touchless operation and premium materials.
| Model | Material | Finish | Price (USD) | Ease of Installation |
|---|---|---|---|---|
| Moen 3942 | Stainless Steel | Chrome | $45 | Medium |
| Kohler K-1893-C | Brass | Brushed Nickel | $58 | Medium |
| Delta RP1001 | Plastic/Metal | Stainless | $30 | Easy |
| SENSOR AutoPump | Plastic | Matte Black | $75 | Hard |
Example: Budget-friendly Upgrade
A renter seeking an affordable upgrade chose the Delta RP1001, installing it in under an hour. The plastic/metal construction was sufficient for moderate use, and the price suited their budget.
Real-world Examples And Case Studies
Learning from real-world experiences ensures you avoid common pitfalls and make informed decisions. Below are three case studies illustrating different installation scenarios.
Case Study 1: Stainless Steel Sink Upgrade
A family with a stainless steel sink installed a Moen built-in dispenser. The sink had a pre-drilled hole for a sprayer, which was repurposed for the dispenser. The project took 45 minutes, and the seamless look enhanced the kitchen’s style.
Case Study 2: Granite Composite Sink Challenge
A homeowner with a granite composite sink lacked a pre-drilled hole. Using a diamond-tipped drill bit, they carefully created an opening, taking precautions to prevent cracks. The installation was successful, and the dispenser matched their faucet perfectly.
Case Study 3: Tight Under-sink Space Solution
In a small apartment, the space beneath the sink was crowded with plumbing and storage. The resident chose a compact dispenser and used a flexible wrench to secure the hardware, demonstrating that thoughtful planning can overcome space limitations.
Example: Diy Success Story
After reading a comprehensive guide, a DIYer installed a deck-mounted dispenser, using plumber’s putty to prevent leaks. The process was straightforward, and the new fixture reduced countertop clutter, improving kitchen organization.
Safety And Professional Considerations
While most installations are safe for DIYers, certain situations warrant professional consultation. Sink materials, complex plumbing layouts, and lack of tools may increase risk.
When To Consult A Professional
- Granite or cast iron sinks: Drilling requires expertise and specialized equipment.
- Complex plumbing configurations: If pipes or wiring obstruct the installation area.
- Uncertainty about installation steps: Professional help avoids costly mistakes.
Safety Tips
- Wear safety goggles when drilling or handling tools.
- Disconnect water supply if working near pipes.
- Keep children and pets away from the workspace.
Pro Tip:
If unsure about modifying your sink, consult a licensed plumber or refer to manufacturer guidelines for safe installation practices.
Internal Resources
For additional kitchen plumbing tips, see:
- How To Fix A Backed Up Kitchen Sink
- How To Clear A Clogged Kitchen Sink Drain
- How To Fix Kitchen Sink Not Draining
Frequently Asked Questions
What Size Hole Is Needed For A Kitchen Sink Soap Dispenser?
Most dispensers require a hole between 1 and 1.5 inches in diameter. Always check the manufacturer’s specifications for your chosen model. If your sink lacks a pre-drilled hole, ensure the material can be safely drilled, and use the appropriate bit for stainless steel, granite, or porcelain.
Can I Install A Soap Dispenser In Any Kitchen Sink?
While most sinks accommodate soap dispensers, limitations may exist due to sink material or thickness. Stainless steel and porcelain sinks are easiest to modify, but granite and cast iron require specialized tools. If your sink has a spray nozzle or extra accessory hole, it can often be repurposed for a dispenser.
How Do I Clean And Maintain My Built-in Soap Dispenser?
To maintain performance, clean the pump and nozzle weekly with warm water. Every few months, disassemble and wash the reservoir to remove soap buildup. Avoid using abrasive cleaners that may damage the finish. Regular maintenance helps prevent clogs and leaks.
What Should I Do If The Dispenser Pump Stops Working?
If your dispenser pump fails, remove it and soak in warm, soapy water to dissolve clogs. Check for blockages in the nozzle and tubing. If cleaning doesn’t restore function, consult the manufacturer for replacement parts or warranty support.
Are Automatic Soap Dispensers Worth The Investment?
Automatic dispensers provide touchless convenience and can reduce germ transmission, especially in busy kitchens. However, they require batteries and may cost more. Consider your household’s needs and preferences before investing. For a comparison of manual versus automatic dispensers, refer to Consumer Reports.
Installing a soap dispenser in your kitchen sink is a practical and visually appealing upgrade, enhancing both hygiene and organization. With careful planning and the right tools, most homeowners can tackle this project confidently. Whether you opt for a manual or automatic model, regular maintenance ensures lasting performance. If you encounter challenging sink materials or tight spaces, professional guidance is always advisable. For more on kitchen improvements, see Wikipedia’s Kitchen Sink page. The satisfaction of a successful DIY installation is matched only by the convenience it brings to your daily routine.