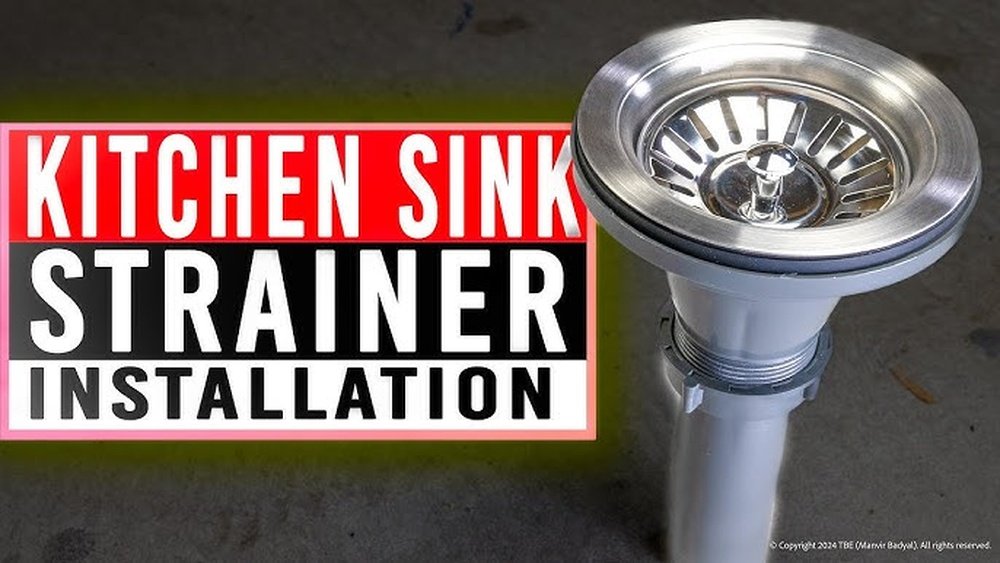
Installing a Kraus sink or strainer may seem hard at first. But with some simple steps, you can do it yourself. This guide will help you install your Kraus sink or strainer easily and safely.
What You Need Before You Start
Gather the right tools and parts. It will make the job easier and faster.
- Kraus sink or strainer kit
- Plumber’s putty or silicone sealant
- Adjustable wrench
- Screwdriver
- Bucket (to catch water)
- Clean cloth or rag
- Pipe tape (Teflon tape)
Step 1: Remove the Old Sink or Strainer
Turn off the water supply under the sink. Use the wrench to loosen the pipes connected to the old sink or strainer. Place a bucket under the pipes to catch water.
Remove the old sink or strainer carefully. Clean the sink hole with a cloth. Remove old putty or sealant to make a smooth surface.
Step 2: Prepare the New Kraus Strainer
Take your new Kraus strainer from the box. Check if all parts are there. Usually, a strainer has a basket, rubber gasket, and locking nut.
Apply plumber’s putty or silicone sealant around the bottom edge of the strainer basket. This helps stop leaks. Spread the putty evenly in a thin line.
Step 3: Insert the Strainer into the Sink
Place the strainer into the sink drain hole. Press it down firmly to make a good seal with the putty. From under the sink, slide the rubber gasket up the strainer’s body.
Next, screw the locking nut onto the strainer from below. Tighten it by hand first. Use the wrench to make it snug but do not over-tighten.
Wipe off any extra putty that squeezes out around the strainer top with a cloth.
Credit: terrylove.com
Step 4: Connect the Drain Pipes
Wrap pipe tape around the threads of the drain pipe. This helps prevent leaks.
Connect the drain pipe to the strainer’s bottom. Tighten the connection with a wrench. Be careful not to damage the parts.
Make sure all pipes are aligned and fitted well. Check for any loose parts.

Credit: ejstrupholm.dk
Step 5: Test for Leaks
Turn the water supply back on slowly. Run water into the sink for a few minutes.
Look under the sink carefully. Check all connections for water leaks.
If you see leaks, tighten the connections a little more. If leaks continue, turn off water and check the seal or putty.
Tips for a Smooth Installation
- Always work slowly and carefully.
- Do not force parts if they do not fit.
- Keep your workspace clean and dry.
- Use good quality plumber’s putty or sealant.
- Check the instruction manual from Kraus for your model.
Why Choose a Kraus Sink or Strainer?
Kraus sinks and strainers are known for their good quality. They fit well in most kitchen sinks. Their parts are made from strong materials.
Easy installation is one reason many people like Kraus products. This guide shows it is not hard to install one yourself.
Common Problems and How to Fix Them
If water leaks around the strainer, check the putty or sealant. You may need to remove the strainer and apply new putty.
If the drain pipe feels loose, tighten the connections carefully. Use pipe tape to help stop leaks.
If water drains slowly, check the strainer basket for food or debris. Clean it regularly to keep water flowing well.
Cleaning and Maintenance
Clean your Kraus sink and strainer often. Use warm water and mild soap.
Avoid harsh chemicals that can damage the finish. Wipe dry after cleaning to prevent water spots.
Inspect the strainer and pipes every few months. Fix small problems before they become big ones.
Summary Table: Installation Steps at a Glance
| Step | Action |
|---|---|
| 1 | Turn off water and remove old sink/strainer |
| 2 | Apply plumber’s putty to Kraus strainer |
| 3 | Insert strainer into sink hole and tighten locking nut |
| 4 | Connect drain pipes and tighten connections |
| 5 | Turn on water and check for leaks |
By following these steps, you can install your Kraus sink or strainer with confidence. Take your time and be patient. Soon, your kitchen sink will work perfectly with your new Kraus parts.
Frequently Asked Questions
How Long Does It Take To Install A Kraus Sink?
Installation usually takes about 1 to 2 hours for most DIYers. It depends on your experience and tools available.
What Tools Are Needed To Install A Kraus Strainer?
You will need a wrench, plumber’s putty, screwdriver, and bucket. These help secure the strainer and avoid leaks.
Can I Install A Kraus Sink Without A Plumber?
Yes, many Kraus sinks are designed for easy DIY installation. Follow the instructions carefully to avoid mistakes.
How Do I Prevent Leaks When Installing A Kraus Strainer?
Use plumber’s putty around the strainer flange before tightening. Check all connections and tighten them firmly but not too tight.