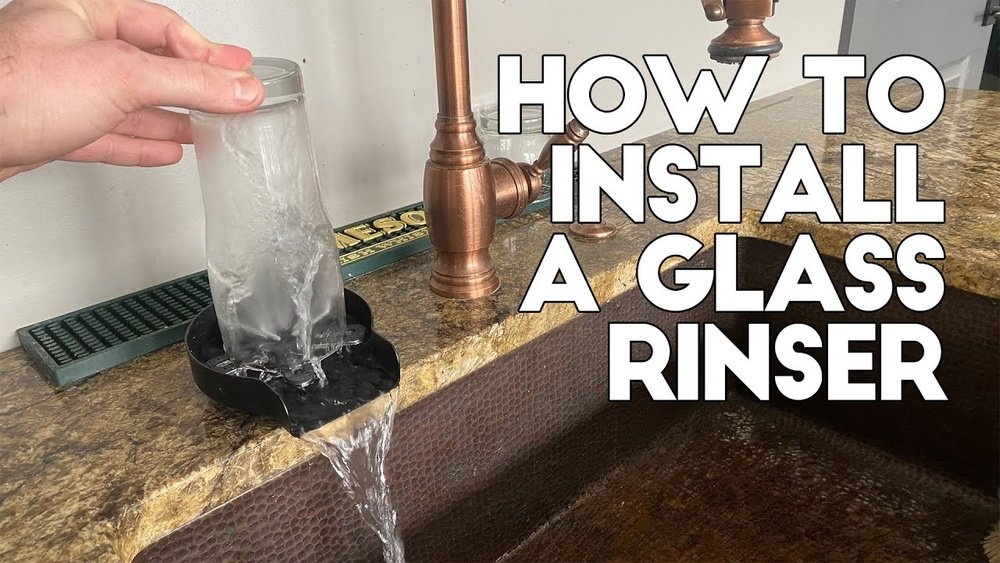
Do you want to fix a dripping tap or improve your sink? Installing a cup washer is a good way. It stops leaks and saves water. This guide will help you learn how to install a cup washer on your sink. The steps are easy to follow. You do not need to be a plumber. Just take your time and follow the instructions.
What is a Cup Washer?
A cup washer is a small, round piece of rubber or plastic. It fits inside the tap. When you close the tap, the cup washer stops water from flowing. Over time, washers wear out. They get hard or break. This causes the tap to leak. Changing the cup washer often fixes the leak.
Tools and Materials Needed
Before you start, gather all the tools. This will make the work easier and faster.
- Screwdriver: Usually flat or Phillips head.
- Adjustable wrench: To loosen and tighten parts.
- New cup washer: The right size for your tap.
- Cloth or rag: To clean parts and protect surfaces.
- Bucket or bowl: To catch water that may drip.

Credit: www.youtube.com
Step 1: Turn Off the Water Supply
First, find the water valve under your sink. Turn it clockwise to close. This stops water flow. If you cannot find the valve, turn off the main water supply. Always make sure water is off before fixing the tap. This prevents water mess and accidents.
Step 2: Open the Tap
Open the tap fully. Let any water inside the pipe flow out. This empties the pipe and stops pressure. It makes it safe to work on the tap.
Step 3: Remove the Tap Handle
Look for a small screw on the tap handle. It may be hidden under a cap or cover. Use the screwdriver to remove the screw. Then, pull the handle off gently. If it is stuck, wiggle it lightly. Do not force it. You may break the handle.
Credit: www.youtube.com
Step 4: Remove the Tap Cap or Bonnet
Under the handle is the tap cap or bonnet. Use the adjustable wrench to turn it counterclockwise. This will loosen it. Remove the cap carefully. You will see the valve stem inside.
Step 5: Take Out the Valve Stem
The valve stem controls the water flow. Pull it straight up to remove. Sometimes it may be tight. Use the wrench gently if needed. Place the stem on a cloth to keep it clean.
Step 6: Remove the Old Cup Washer
At the end of the valve stem, you will see the old cup washer. It looks like a small disc. It is held by a screw. Use the screwdriver to remove the screw. Take off the old washer. Check it for damage or wear. This is why your tap was leaking.
Step 7: Install the New Cup Washer
Place the new cup washer on the valve stem. Make sure it fits well. The flat side should face the tap body. Secure it with the screw. Do not tighten too hard. The washer should be held firmly but not crushed.
Step 8: Reassemble the Tap
Put the valve stem back into the tap. Screw the tap cap or bonnet back on. Use the wrench to tighten it, but not too much. Replace the tap handle. Put the screw back and tighten it. If your handle had a cap, snap it back on.
Step 9: Turn On the Water Supply
Turn the water valve under the sink counterclockwise. This opens the water supply. Slowly open the tap. Check for leaks. If water still drips, make sure the cup washer is installed correctly. Tighten parts if needed.
Tips for a Successful Installation
- Always use the right size washer for your tap.
- Work slowly and carefully to avoid breaking parts.
- Keep screws and small parts in a safe place.
- If unsure, take a photo before removing parts. This helps with reassembly.
- Wear gloves if you want to keep your hands clean.
Why Is It Important to Replace a Cup Washer?
Leaks waste water and increase bills. A worn washer causes dripping taps. It can damage the sink area over time. Replacing the washer saves money and water. It also makes your sink work better.
How to Choose the Right Cup Washer
Check your old washer size. Take it to a hardware store. Ask for the same size. Washers come in different sizes and thicknesses. Using the wrong size may cause leaks. If you cannot find the exact size, ask for help.
Common Problems and Solutions
| Problem | Cause | Solution |
|---|---|---|
| Tap still leaks after replacement | Washer not fitted properly or damaged valve seat | Check washer position; inspect valve seat and replace if needed |
| Handle hard to turn | Over-tightened parts or rust buildup | Loosen parts slightly; clean and lubricate valve stem |
| Water flows even when tap closed | Damaged valve seat or worn valve stem | Inspect valve seat; replace valve stem if necessary |
Final Words
Installing a cup washer is a simple and useful fix. It stops leaks and improves your sink’s function. With some tools and patience, you can do it yourself. Follow each step carefully. Take your time and check your work. Soon, your tap will work well and save water.
If you want a quiet and leak-free sink, start with the cup washer. It is a small part but makes a big difference.
Frequently Asked Questions
What Tools Are Needed To Install A Cup Washer On A Sink?
You need a wrench, pliers, screwdriver, and the cup washer kit. These tools help remove old parts and fit the new washer securely.
How Long Does It Take To Install A Cup Washer?
Installing a cup washer usually takes about 15 to 30 minutes. It depends on your sink type and your experience with plumbing.
Can I Install A Cup Washer Without A Plumber?
Yes, installing a cup washer is simple and can be done without a plumber. Basic tools and clear instructions are enough for most people.
What Is A Cup Washer Used For In Sinks?
A cup washer helps stop leaks around the faucet. It creates a tight seal between faucet parts to prevent water from dripping.