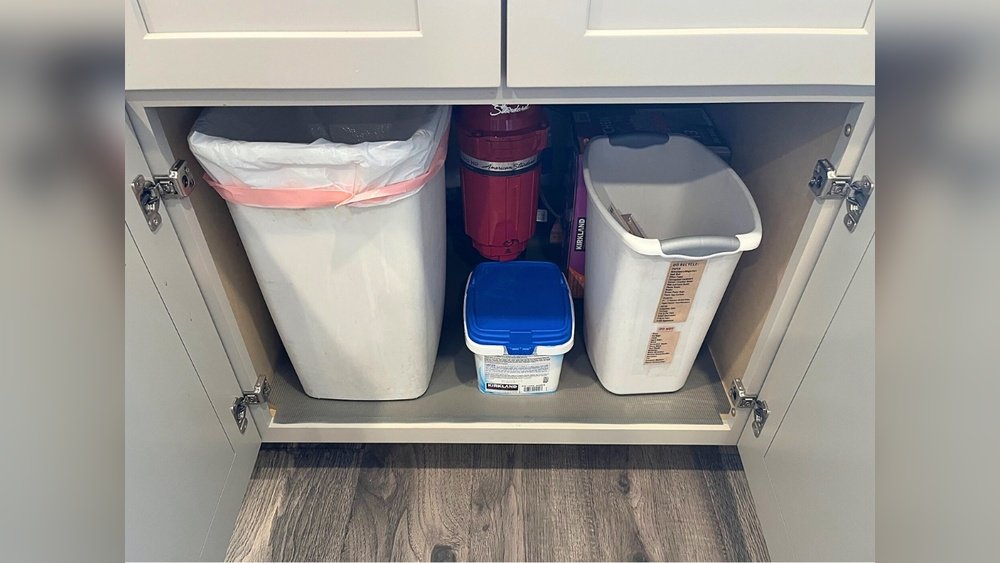
Keeping your kitchen clean and tidy is easier with a pull-out trash can. These cans slide out when you need them. When not in use, they stay hidden under the sink. This saves space and makes your kitchen look neat.
If you want to install a pull-out trash can under your sink, this guide will help. The steps are simple. You do not need special skills. Just follow the steps carefully and take your time.
What You Will Need
Before starting, gather your tools and materials. Here is a list:
- Pull-out trash can kit
- Measuring tape
- Pencil or marker
- Drill with drill bits
- Screwdriver
- Screws (usually come with the kit)
- Level tool (optional but helpful)
- Safety gloves and glasses (for safety)

Credit: www.woodworkerexpress.com
Step 1: Clear the Area under the Sink
First, empty everything from under the sink. Remove cleaning supplies, old trash cans, or anything stored there. You need a clean and empty space to work.
Check the space size. Make sure the pull-out trash can will fit. Measure the width, height, and depth. Write down the measurements.
Step 2: Choose the Right Pull-Out Trash Can
Pull-out trash cans come in many sizes. Choose one that fits your cabinet space. Also, think about how much trash you usually have. Pick a size that works for you.
Most kits include the trash bin, sliding rails, and screws. Make sure all parts are in the box before you start.
Step 3: Prepare the Cabinet Base
Look inside the cabinet. The bottom should be flat and clean. If it is dirty, wipe it clean. This helps the slide rails attach well.
Use your measuring tape to find the center of the cabinet base. Mark it with a pencil. This mark helps place the slide rails evenly.
Step 4: Attach the Slide Rails
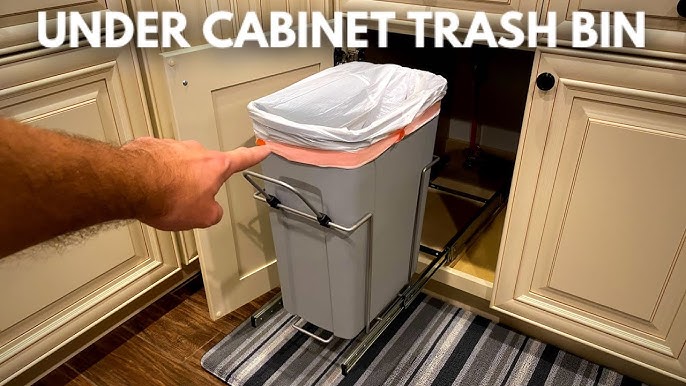
Pull-out trash cans use slide rails. These rails help the bin slide in and out smoothly.
Take the slide rails from the kit. Place them on both sides inside the cabinet. Align them with the marks you made.
Use the drill to make small holes for screws. Then, screw the rails into place. Make sure the rails are straight. Use a level tool if you have one.
Step 5: Attach the Trash Bin Frame
The trash bin usually fits into a metal frame. This frame connects to the slide rails.
Attach the frame to the slide rails. Most kits have screws or clips for this. Follow the instructions that come with your kit.
Make sure the frame is secure. It should not move side to side.
Step 6: Place the Trash Bin
Put the trash bin into the frame. The bin should fit snugly inside.
Test the sliding function. Pull the bin out and push it back in several times. It should slide smoothly without sticking.
Step 7: Final Adjustments
If the bin does not slide well, check the rails and screws. Tighten any loose screws. Adjust the rails if needed.
Make sure the bin does not hit the cabinet walls when sliding. There should be enough space on both sides.
Step 8: Clean Up and Organize
Once the trash can is installed, clean up your work area. Put back any items you removed earlier.
You can add trash bags inside the bin. Use bags that fit well to avoid spills.
Tips for a Successful Installation
- Measure twice, drill once. Always double-check your marks.
- Work slowly. Rushing can cause mistakes.
- If you have a helper, ask them to assist. It makes the job easier.
- Keep the instructions manual nearby. Follow it step by step.
- Wear safety gloves and glasses when drilling.
- Choose a trash can size that fits your family’s needs.
- Keep the area under the sink clean and dry to avoid damage.
Benefits of a Pull-Out Trash Can
Pull-out trash cans save space in your kitchen. They keep trash hidden and reduce bad smells.
They are easy to use. No need to move a bin around. Just pull it out and throw trash.
They help keep your kitchen clean and organized. This makes cooking and cleaning easier.
Common Mistakes to Avoid
| Mistake | How to Avoid |
|---|---|
| Wrong measurements | Measure cabinet space carefully before buying. |
| Loose screws | Tighten all screws firmly but do not overtighten. |
| Misaligned rails | Use a level tool to keep rails straight. |
| Ignoring safety | Wear safety gear when drilling and screwing. |
| Not testing sliding | Test pull-out action before finishing installation. |
Credit: www.youtube.com
Frequently Asked Questions
How Do I Measure Space For A Pull-out Trash Can?
Measure the cabinet width, height, and depth before buying a pull-out trash can. Ensure enough space for the mechanism and bin.
What Tools Are Needed For Installation?
You need a drill, screwdriver, tape measure, pencil, and mounting screws. These tools help secure the pull-out system under the sink.
Can I Install A Pull-out Trash Can Alone?
Yes, most installations are simple and require basic DIY skills. Follow instructions carefully for a smooth process.
How Do I Avoid Plumbing Interference?
Check the sink pipes and garbage disposal location before installation. Choose a spot that does not block pipes or hoses.
Conclusion
Installing a pull-out trash can under your sink is a smart idea. It makes your kitchen cleaner and more organized. The process is simple if you follow these steps.
Remember to measure well, work carefully, and use the right tools. Take your time. Soon, you will enjoy a neat kitchen with easy trash access.
Now, you can start your installation project. Enjoy your new pull-out trash can!