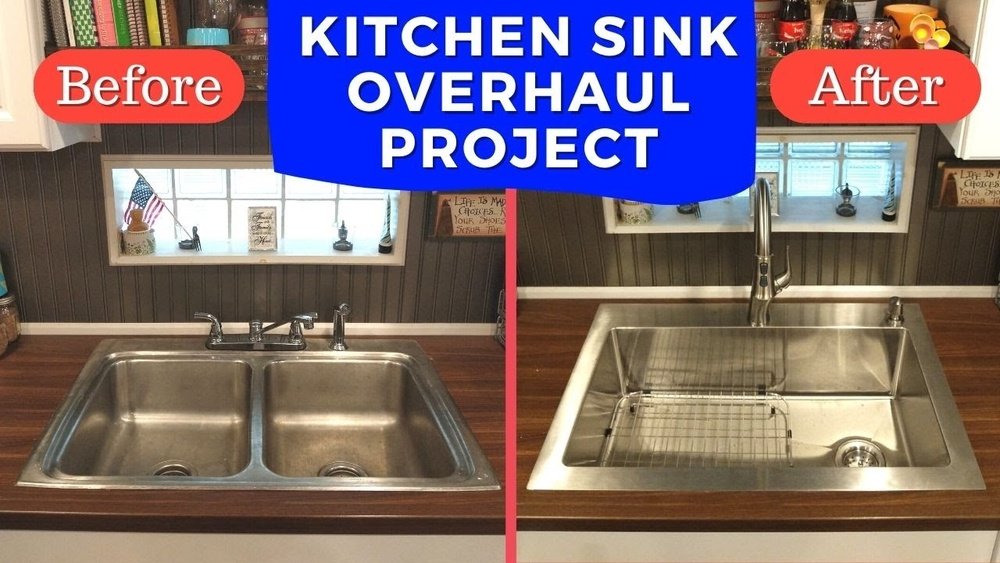
If you want to change your kitchen sink, you might think it is hard. But changing a double sink to a single sink can be done by you. With some simple steps, you can make your kitchen look new and clean.
Why Replace a Double Sink With a Single Sink?
Many people want to change from a double sink to a single one. There are many reasons for this:
- A single sink gives you more space inside it.
- It is easier to wash large pots and pans.
- You can get a new look for your kitchen.
- A single sink might use less water and be easier to clean.
Before you start, make sure you have all the tools and parts you need. This will help you work faster and better.
Tools and Materials You Will Need
| Tools | Materials |
|---|---|
| Adjustable wrench | New single sink |
| Screwdriver | Plumber’s putty or silicone sealant |
| Pipe wrench | New faucet (if needed) |
| Bucket | New drain assembly |
| Putty knife | Plumber’s tape (Teflon tape) |
| Hacksaw (optional) | Replacement pipes (if needed) |
| Measuring tape | Cleaning cloth |
Step 1: Turn Off the Water Supply
Before doing anything, you must turn off the water. Find the water valves under the sink. Turn them clockwise to close. If you cannot find them, turn off the main water supply.
Open the faucet to let any water inside the pipes drain out. Put a bucket under the pipes to catch water left in the drain.
Step 2: Disconnect the Plumbing
Use your wrench to loosen the nuts under the sink. First, disconnect the water supply lines from the faucet.
Next, disconnect the drain pipes. Be careful; water may still be inside.
Remove the drain pipes and P-trap carefully. Set them aside if you plan to reuse them.
Step 3: Remove the Old Double Sink
Look under the sink at the clips or brackets holding the sink in place. Use a screwdriver or wrench to remove them.
If your sink has a sealant or putty, use a putty knife to cut it loose. Work slowly to avoid damaging the countertop.
Once the sink is free, lift it out carefully. You might need help if it is heavy.
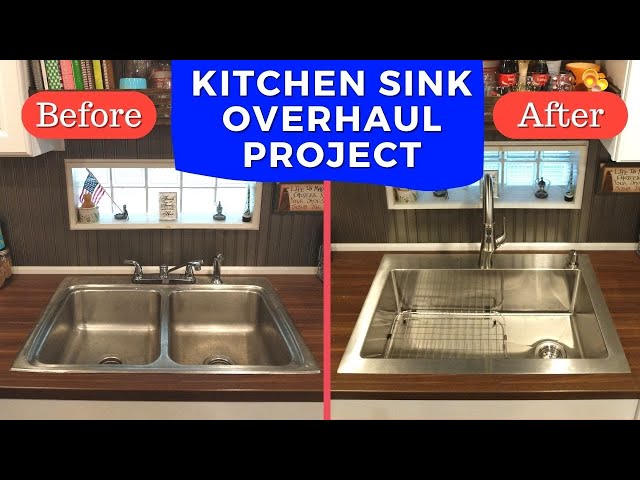
Credit: www.youtube.com
Step 4: Prepare the Countertop for the New Sink
Clean the area where the old sink was. Remove all old putty or sealant.
Measure the old sink hole. The new sink might need a different size hole.
If the new sink is smaller, you might need to cover part of the hole. If it is larger, you might need to cut the countertop.
If you need to cut, use a jigsaw or other cutting tools carefully. Always wear safety glasses and gloves.
Step 5: Install the New Single Sink
Put plumber’s putty or silicone sealant around the edge of the new sink’s bottom rim.
Carefully place the sink into the hole. Press down firmly to make a good seal.
Under the sink, attach the mounting clips or brackets. Tighten them slowly and evenly.
Wipe away any extra putty or sealant that comes out from under the sink edge.
Step 6: Install the Faucet and Drain
If your new sink needs a new faucet, install it now. Follow the instructions that come with the faucet.
Wrap plumber’s tape around the threads of the faucet connections. This helps stop leaks.
Attach the water supply lines to the faucet. Tighten the nuts with a wrench.
Next, install the drain assembly. Use plumber’s putty under the drain flange to seal it.
Attach the drain pipe and P-trap back in place. Make sure all connections are tight.
Step 7: Check for Leaks
Turn on the water supply slowly. Check all connections for leaks.
If you see water dripping, tighten the nuts a little more. Do not overtighten, or you can cause damage.
Run water in the sink for a few minutes. Check again for leaks.
Tips for a Successful Sink Replacement
- Take pictures before you start. This helps you remember how parts connect.
- Work slowly and carefully. Rushing can cause mistakes.
- Ask for help if the sink is heavy or hard to lift.
- Keep all small parts in a container so you do not lose them.
- If you are unsure about plumbing, call a professional.
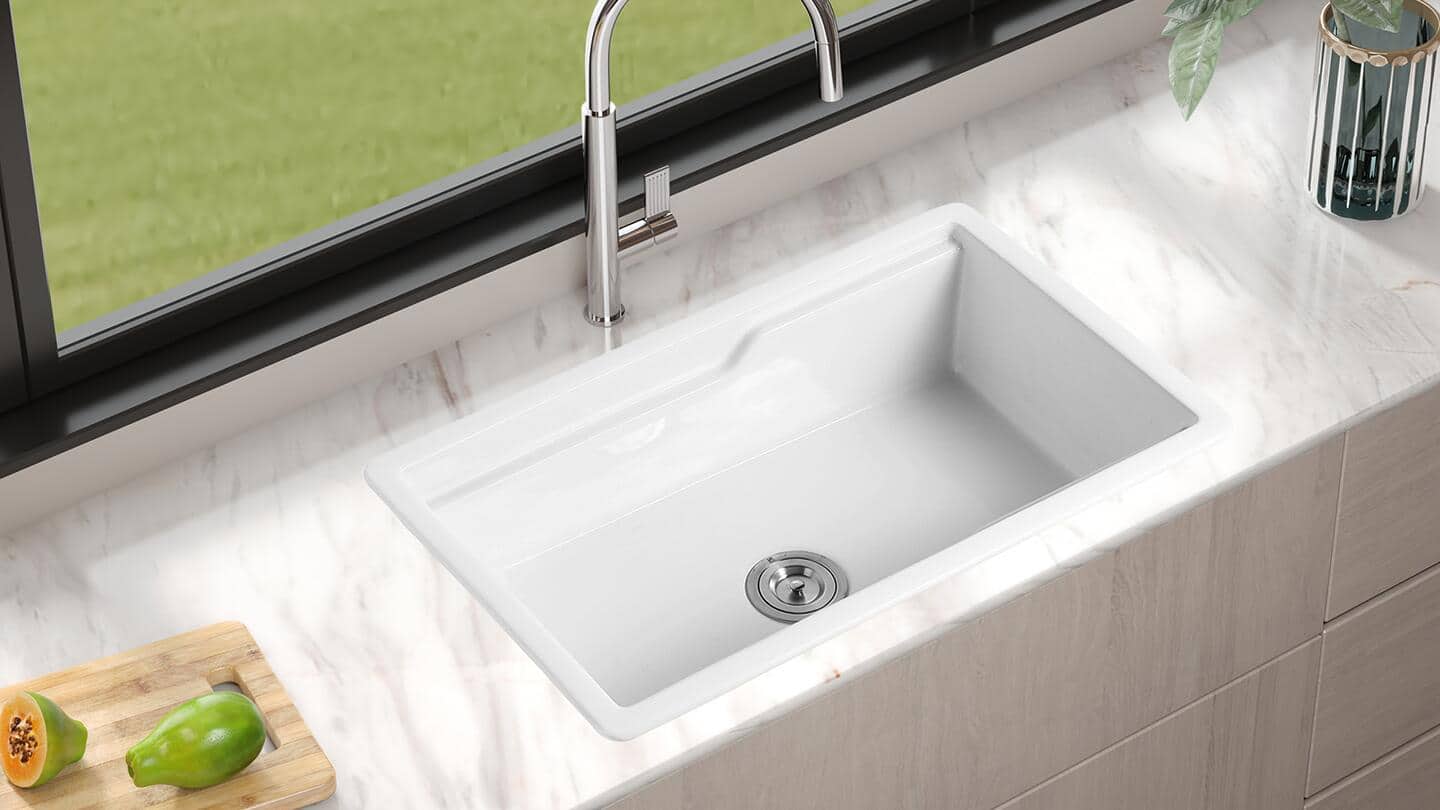
Credit: www.homedepot.com
Common Problems and How to Fix Them
| Problem | Solution |
|---|---|
| Water leaks under the sink | Tighten connections and use plumber’s tape |
| Sink does not fit the hole | Measure carefully; adjust hole size or choose another sink |
| Drain pipe does not line up | Use flexible drain pipes or adjust pipe length |
| Water pressure is low | Check faucet aerator and water supply valves |
Final Thoughts
Replacing a double sink with a single sink is not as hard as it seems. With the right tools and steps, you can do it yourself.
This change can make your kitchen look better and work better. Remember to be safe and take your time.
If you follow these steps, your new sink will work well for many years. Enjoy your new kitchen sink!
Frequently Asked Questions
Can I Use Existing Plumbing For A Single Sink?
Yes, you can often reuse the plumbing from a double sink. Some adjustments may be needed for drainage and water lines.
How Do I Remove A Double Sink Safely?
Turn off water supply first. Disconnect plumbing and mounting hardware carefully to avoid damage.
What Tools Are Needed To Replace A Double Sink?
Basic tools include a wrench, screwdriver, putty knife, and plumber’s tape. A saw may be needed for countertop adjustments.
Will The Countertop Need Cutting For A Single Sink?
Most countertops require some cutting to fit a single, larger sink. Measure carefully before cutting.