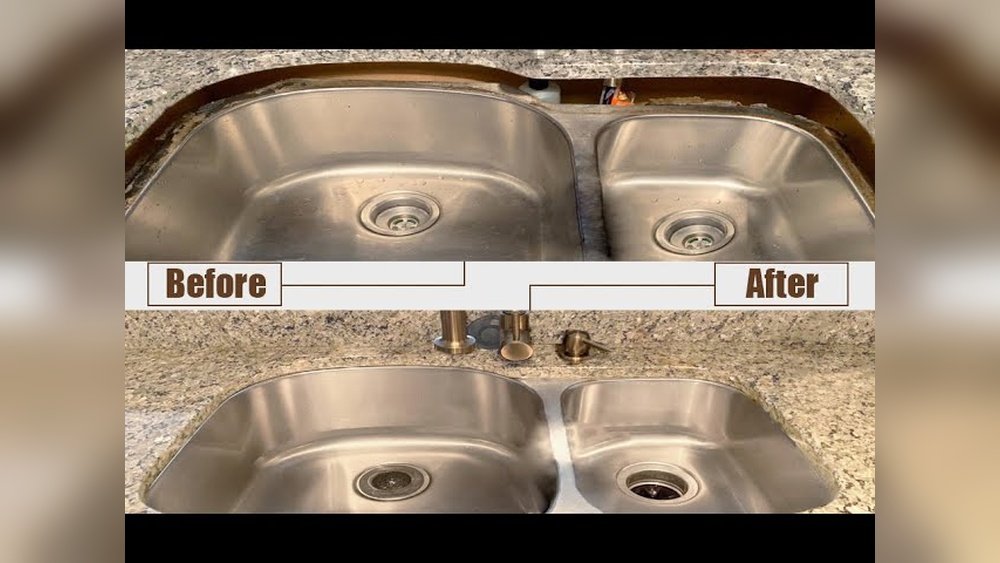
A fallen undermount sink is more than just an eyesore, it’s a potential source of water damage, mold, and costly repairs if ignored. Many homeowners are caught off guard when their kitchen or bathroom sink suddenly drops from its countertop, revealing failed adhesive, loose mounting hardware, or even poor original installation. The good news: fixing a fallen undermount sink is a manageable DIY project with the right tools, materials, and step-by-step guidance.
Whether you’re a hands-on homeowner or someone who’s never handled a caulking gun, understanding the process will save you time, money, and frustration. This guide draws on practical experience, manufacturer guidelines, and industry best practices to help you restore your undermount sink’s stability and functionality, while avoiding common pitfalls.
By following these instructions, you’ll not only fix your sink, but also extend the lifespan of your countertop and plumbing.
Key Takeaways
- A fallen undermount sink is typically caused by failed adhesive, improper support, or water damage.
- Fixing the sink requires thorough cleaning, proper adhesive selection, and secure mounting hardware.
- DIY repair can save hundreds in labor costs, but attention to detail is crucial for a long-lasting solution.
- Using the right tools and materials ensures a professional-quality result.
- Regular maintenance can prevent future sink failures.
- Knowing when to consult a professional can help avoid costly mistakes.
Understanding Why Undermount Sinks Fall
A secure undermount sink depends on robust support, high-quality adhesives, and proper installation techniques. When these elements fail, the weight of the sink (and the water, dishes, or heavy cookware inside) can cause it to detach from the countertop.
Common Causes Of Failure
- Adhesive breakdown: Over time, the silicone or epoxy used to secure the sink can degrade, especially if exposed to moisture or cleaning chemicals.
- Insufficient mounting hardware: Some sinks are installed with only adhesive and no mechanical support, making them prone to detachment.
- Water infiltration: Leaks around the sink cutout can weaken both the adhesive and the countertop material.
- Improper installation: Skipping manufacturer guidelines, using the wrong adhesive, or failing to support the sink during curing can lead to premature failure.
- Heavy use: Frequently placing heavy pots, pans, or garbage disposals adds stress to the mounting system.
Signs Your Sink Is About To Fall
- Visible gap between the sink rim and the countertop
- Water leaking under the sink or inside the cabinet
- Sink movement when pressure is applied
- Unusual noises (creaking or popping) when using the sink
Real-world Example
A homeowner in Dallas noticed a growing gap between their granite countertop and stainless steel sink. After ignoring it for weeks, the sink eventually collapsed while full of dishes, causing water to leak onto hardwood floors. Prompt action could have prevented extensive water damage and costly repairs.
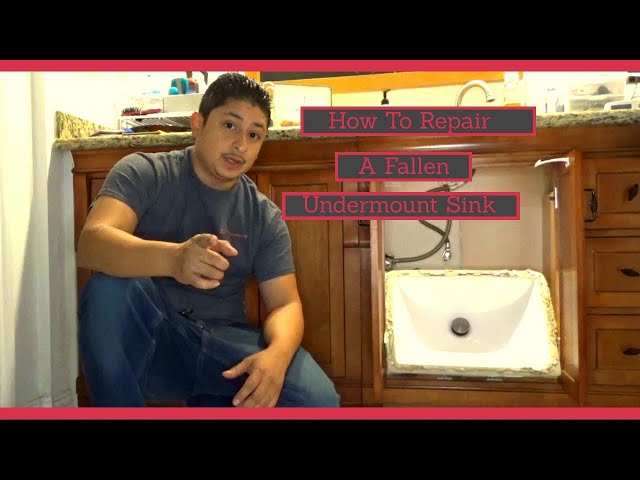
Credit: www.youtube.com
Evaluating The Damage And Preparing For Repair
Before you begin, assess the extent of the damage to choose the right repair method and materials. Proper preparation is essential for a successful and durable fix.
Assessing The Situation
- Is the sink fully detached or partially hanging?
- Fully detached sinks may require temporary support (e.g., a jack or stack of boards).
- Is the countertop material (granite, quartz, solid surface) damaged?
- Cracks or chips around the cutout may need repair or professional attention.
- Are the plumbing connections (drain, faucet, water lines) intact?
- Check for leaks or stress on the pipes.
Tools And Materials Checklist
You’ll need the following:
- Acetone or denatured alcohol (for cleaning surfaces)
- 100% silicone sealant (or two-part epoxy for some stone countertops)
- Mounting clips or sink support brackets
- Ratchet or screwdriver
- Jack, adjustable support, or stack of 2x4s (to hold the sink in place)
- Caulking gun
- Putty knife or scraper
- Clean rags and gloves
Pro Tip: Choose a high-quality, mildew-resistant silicone rated for kitchen and bath use.
Safety Considerations
- Always turn off water supply lines before disconnecting the sink.
- Wear gloves and safety glasses to avoid injury from sharp edges or chemicals.
- If you smell gas or see signs of electrical wiring near the sink, stop and consult a professional.
Example: A Quick Inspection
In my experience, a thorough visual and tactile inspection saved hours of rework. I once discovered a hairline crack in a quartz countertop only after removing the sink, which required patching before reinstallation.

Credit: www.youtube.com
Step-by-step Guide: How To Fix A Fallen Undermount Sink
A successful repair depends on following each step carefully and using the right techniques for your countertop and sink materials.
Step 1: Remove The Sink (if Necessary)
If the sink is still partially attached, gently disconnect all plumbing (drain, water supply, garbage disposal) and carefully lower the sink out of the opening. Use a helper or temporary supports to avoid injury or damage.
- Disconnect plumbing connections.
- Remove any mounting clips or hardware.
- Lower the sink and set it aside.
Step 2: Clean And Prepare All Surfaces
Thorough cleaning is critical for adhesion.
- Scrape off old silicone or epoxy from both the sink rim and countertop cutout.
- Wipe both surfaces with acetone or denatured alcohol to remove grease, dirt, and residue.
- Allow surfaces to dry completely.
Pro Tip: A razor scraper is ideal for removing stubborn old adhesive without damaging stone surfaces.
Step 3: Apply Adhesive And Set The Sink
- Run a continuous bead of 100% silicone sealant (or recommended adhesive for your countertop) around the sink rim.
- Carefully lift and position the sink into the opening, ensuring even contact with the countertop.
Support the sink from below using a jack, stack of boards, or a specially designed undermount sink support system. Adjust until the sink is perfectly aligned and level with the countertop edge.
Step 4: Install Mounting Hardware
- Attach new mounting clips or sink support brackets (if not already in place).
- Tighten hardware evenly, but do not overtighten (which can crack stone countertops).
- Wipe away any excess adhesive that squeezes out from the joint.
Step 5: Allow For Proper Curing
- Keep the sink supported for at least 24 hours or as recommended by the adhesive manufacturer.
- Avoid using the sink or reconnecting plumbing until fully cured.
Step 6: Reconnect Plumbing And Test
- Reattach drain, water supply, and garbage disposal (if applicable).
- Turn on water and check all connections for leaks.
- Run water for several minutes to ensure everything is watertight.
Example: A Granite Sink Repair
A family in Seattle followed these steps after their granite undermount sink collapsed. By using a combination of silicone and mechanical brackets, their sink has remained secure for over three years with daily heavy use.

Credit: www.youtube.com
Choosing The Right Adhesives And Mounting Systems
The longevity of your repair depends largely on the quality and compatibility of your adhesive and hardware. Here’s how to make informed choices.
Types Of Adhesives
| Adhesive Type | Best For | Pros | Cons |
|---|---|---|---|
| 100% Silicone | Most kitchen and bath sinks | Flexible, waterproof, easy to apply | Less structural support than epoxy |
| Two-Part Epoxy | Granite and stone countertops | Strong bond, chemical resistant | Requires careful mixing, limited working time |
| Polyurethane Adhesive | Metal and composite sinks | High strength, durable | Messy, longer cure time |
Pro Tip: Always check your countertop and sink manufacturer’s recommendations before selecting an adhesive.
Mounting Hardware Options
- Undermount sink clips: Metal brackets that attach to the underside of the countertop and clamp the sink in place.
- Epoxy anchor systems: Used with stone countertops where screws aren’t possible; anchor bolts are epoxied into predrilled holes.
- Adjustable support bars: Devices that span the cabinet opening and provide upward pressure during adhesive curing.
Manufacturer And Industry Recommendations
According to the National Kitchen & Bath Association, using both mechanical fasteners and silicone sealant provides the most reliable, long-lasting undermount sink installation.
Example: Silicone Vs Epoxy
When repairing a quartz countertop, I found that using two-part epoxy combined with mounting clips provided a stronger, more durable bond than silicone alone. This combination is especially important for heavy sinks or countertops with a rough surface.
Preventing Future Sink Failures
Repairing your undermount sink is only half the battle; preventing future problems is equally important.
Proper Daily Use
- Avoid dropping heavy objects into the sink.
- Do not overload the sink with dishes, especially cast iron or heavy cookware.
- Be careful with garbage disposals, which add stress to the mounting system.
Routine Maintenance
- Inspect the silicone seal around the sink every six months for cracks, gaps, or mold.
- Tighten mounting hardware annually or if you notice movement.
Addressing Leaks Promptly
- Wipe up water around the sink cutout immediately to prevent adhesive breakdown.
- Fix any leaks in plumbing connections to avoid water damage under the sink.
Example: The Importance Of Maintenance
A client in Boston reported that after fixing their fallen sink, they avoided further issues by routinely checking the silicone seal and tightening hardware. Their sink has remained secure and leak-free for over five years.
Cost Analysis: Diy Vs Professional Repair
Understanding the costs involved can help you decide whether to tackle the repair yourself or hire a professional.
Typical Diy Costs
- Adhesive (silicone or epoxy): $10-$25
- Mounting clips or brackets: $15-$40
- Tools (if not already owned): $20-$50
Total DIY cost: $45-$115 (excluding tools you may already own)
Typical Professional Repair Costs
- Labor (plumber or countertop specialist): $200-$500
- Materials: $25-$75
Total professional cost: $225-$575
Comparison Table
| Repair Method | Cost Range | Pros | Cons |
|---|---|---|---|
| DIY Repair | $45, $115 | Cost savings, immediate scheduling, personal satisfaction | Requires time and attention to detail, potential for mistakes |
| Professional Repair | $225, $575 | Expertise, warranty, less personal effort | Higher cost, scheduling wait time |
When To Call A Professional
- Countertop is cracked or damaged.
- Sink is unusually heavy (e.g., cast iron).
- Plumbing or electrical lines are involved.
- You lack the necessary tools or confidence.
Houzz recommends professional installation for high-value countertops or complex sink configurations.
Troubleshooting Common Problems
Even with careful preparation, you may encounter issues during or after your repair. Here’s how to address them.
Adhesive Fails To Cure
- Check expiration date on silicone or epoxy.
- Ensure surfaces were completely clean and dry before application.
- Allow for full cure time as specified by the manufacturer.
Sink Is Not Level
- Adjust support system (jack or boards) until the sink sits flush with the countertop.
- Loosen and retighten mounting clips as needed.
Persistent Leaks
- Reinspect the silicone seal for gaps or bubbles.
- Check drain and plumbing connections.
- Replace or reapply silicone if necessary.
Sink Moves Or Sags After Repair
- Add additional mounting clips or brackets for extra support.
- Verify that the adhesive fully covers the sink rim.
Pro Tip: If you experience repeated failures, consult a countertop specialist, structural issues may require professional intervention.
Real-world Case Studies
Learning from others’ experiences can help you avoid common mistakes and achieve better results.
Case Study 1: Fixing A Heavy Composite Sink
A homeowner in Atlanta attempted a DIY repair on a heavy composite sink using only silicone sealant. The sink fell again within three months due to inadequate support. After switching to a combination of epoxy and adjustable support brackets, the repair has lasted for over two years.
Case Study 2: Quick Fix Gone Wrong
In California, a kitchen remodeler used only double-sided tape to secure a stainless steel undermount sink. The adhesive failed within weeks, leading to water damage and mold growth in the cabinet below. The lesson: shortcuts can cause bigger problems down the road.
Case Study 3: Professional Vs Diy Outcome
A family in Chicago hired a professional to repair their undermount sink in a marble countertop. The pro used both mechanical anchors and high-strength epoxy, and provided a five-year warranty. The higher upfront cost was offset by long-term peace of mind and zero problems since the repair.
Frequently Asked Questions
What Type Of Adhesive Is Best For Undermount Sinks?
For most installations, 100% silicone sealant is recommended due to its flexibility and waterproof properties. For heavy sinks or stone countertops, a two-part epoxy may offer a stronger bond. Always follow your manufacturer’s guidelines to ensure compatibility and warranty protection.
How Long Does It Take To Fix A Fallen Undermount Sink?
The repair process can typically be completed within 2 to 4 hours, not including adhesive curing time (often 24 hours). The timeline depends on the extent of the damage, the type of adhesive used, and your DIY experience level.
Can I Use My Sink Immediately After Repair?
No. You should wait at least 24 hours (or as directed by the adhesive manufacturer) before using the sink or reconnecting plumbing. Early use can compromise the bond and lead to premature failure.
Are Special Tools Required For This Repair?
Most repairs require only basic hand tools: a caulking gun, screwdriver, putty knife, and possibly a jack or adjustable support. For epoxy anchor systems, you may need a drill. Having the right tools makes the process safer and more efficient.
How Can I Prevent My Undermount Sink From Falling Again?
The best prevention is regular inspection: check the silicone seal and mounting hardware every six months, avoid overloading the sink, and promptly address any leaks. Routine maintenance and using both adhesive and mechanical supports will greatly reduce the risk of future failures.
Fixing a fallen undermount sink is a practical project that can restore your kitchen or bathroom to like-new condition while protecting your home from water damage. By understanding the causes, preparing thoroughly, and following best practices, you can achieve a durable, professional-quality result. For further kitchen projects, see resources like how to install a double kitchen sink or how to install kitchen sink plumbing. If you ever feel uncertain, don’t hesitate to consult a professional for peace of mind and long-term durability.