Using a manual meat grinder can seem old-fashioned, but it offers a unique experience that brings you closer to your food. For anyone who wants to control exactly what goes into their ground meat, a manual meat grinder is a valuable tool.
Whether you want to make burgers, sausages, or even grind vegetables, knowing how to use this classic kitchen device will help you get the best results. Here, you’ll discover everything you need to know to use a manual meat grinder safely and efficiently, even if you’ve never tried before.
Why Use A Manual Meat Grinder?
The popularity of electric grinders has grown, but manual meat grinders still have a strong place in many kitchens. There are several good reasons for this:
- Better control over texture: Manual grinders let you decide how coarse or fine your meat will be.
- No electricity needed: You can use them anywhere, even outdoors or during power outages.
- Durability: Manual models usually last longer, with fewer parts that can break.
- Lower cost: They are generally cheaper than electric grinders.
- Easier cleaning: Most manual grinders come apart easily and do not have complicated motorized parts.
Surprisingly, many professional chefs use manual grinders for special recipes. For example, making steak tartare with a hand grinder gives a texture that electric versions often can’t match. These grinders also let you experiment with different blends, such as mixing beef with pork or adding spices directly to the grind.
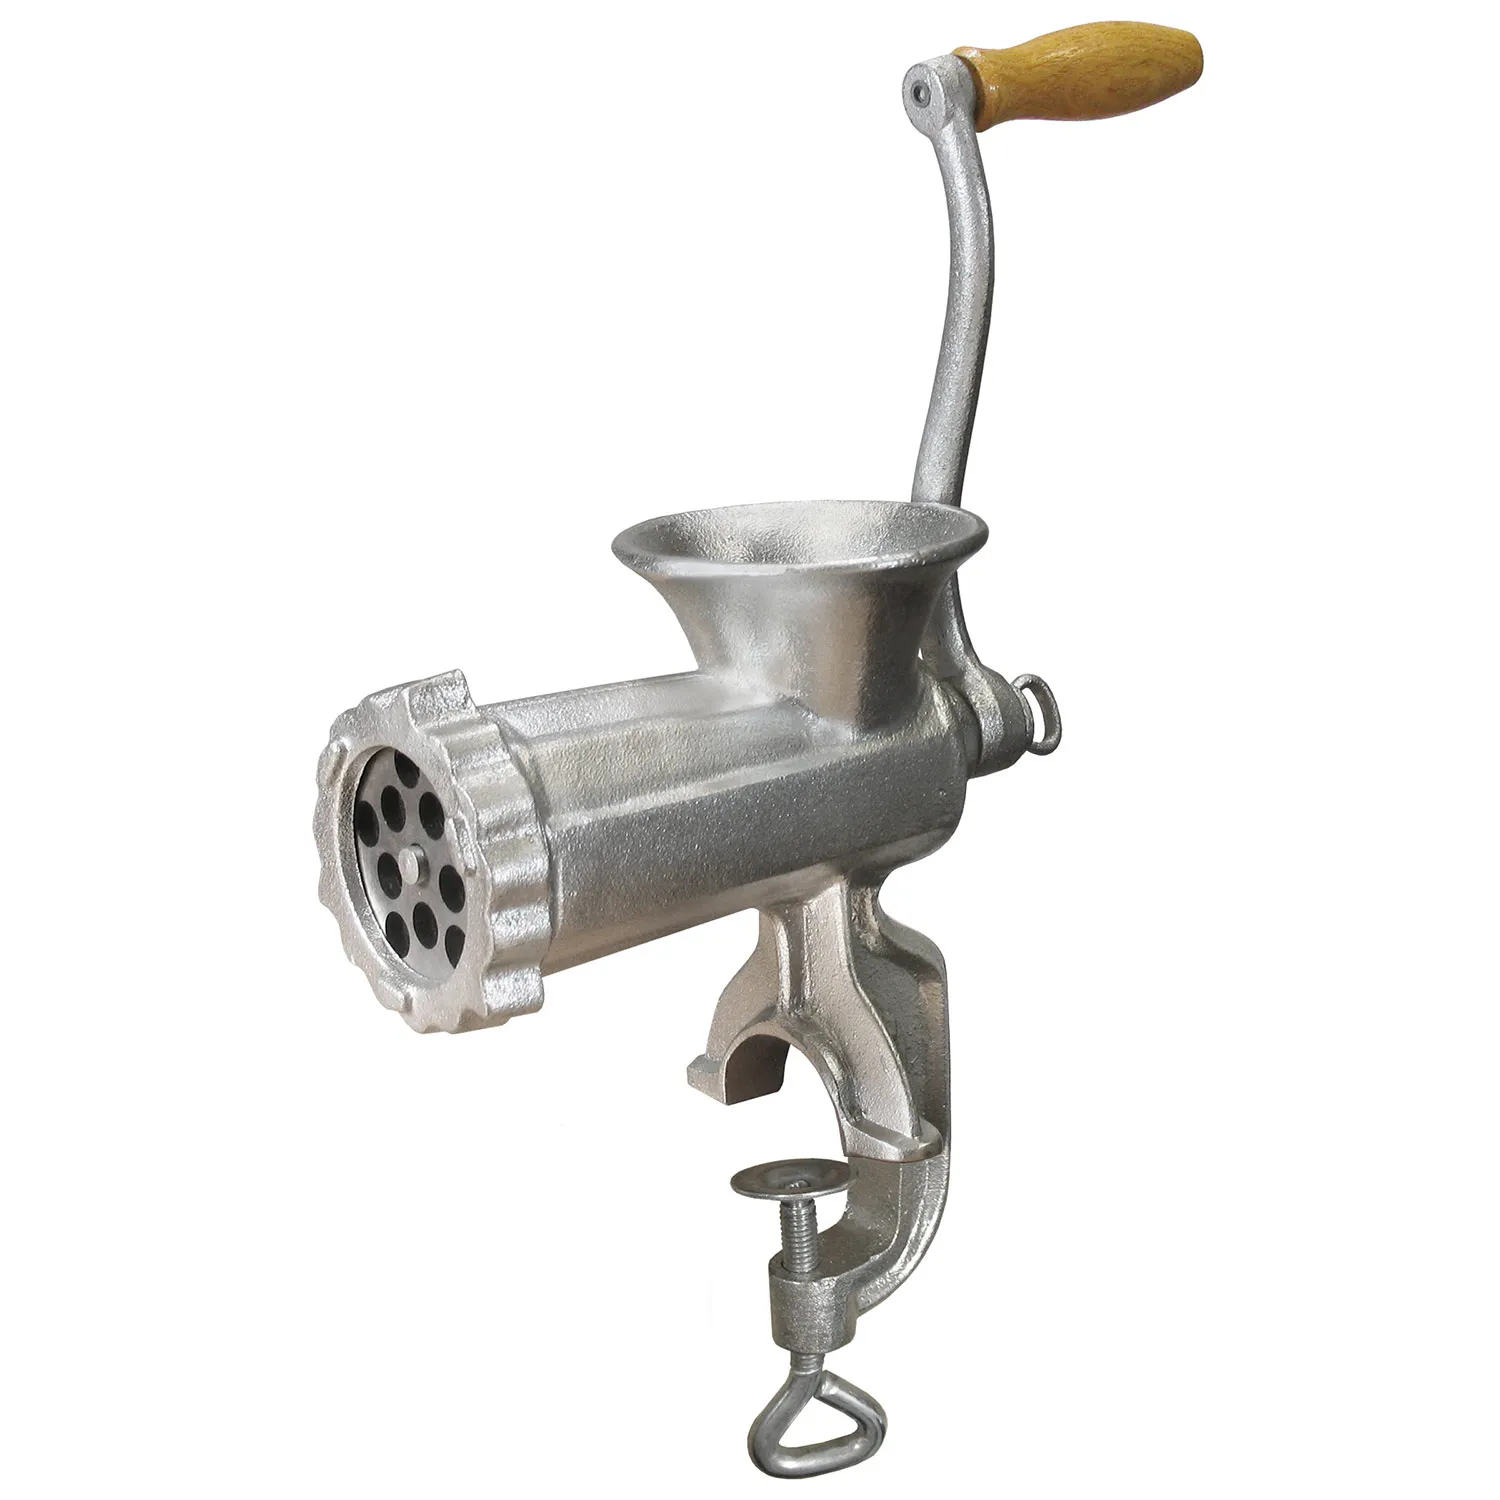
Parts Of A Manual Meat Grinder
Before you start, it helps to know the main parts of your grinder. While designs may vary, most manual grinders contain these basic components:
- Body: The main metal or plastic framework that holds everything together.
- Hopper: The top tray where you place the meat or food to be ground.
- Feed Screw (or Auger): The spiral-shaped shaft that pushes the meat toward the blades.
- Blade (or Knife): The cutting tool that chops the meat as it moves through.
- Grinding Plate: A disc with holes (of different sizes) that controls the final texture.
- Handle: The crank you turn by hand to operate the grinder.
- Clamp/Base: The part that secures the grinder to a table or countertop.
- Locking Ring: Holds the blade and plate in place.
Some models may include sausage stuffers or extra grinding plates. Always consult your manual if unsure.
Credit: www.homedepot.com
Setting Up Your Manual Meat Grinder
Proper setup is key to safe and efficient grinding. Here’s how to get started:
1. Choose A Stable Surface
Manual grinders need a solid base. Use a sturdy table or countertop—avoid surfaces that wobble or slide. The clamp or suction cup on the grinder will hold it in place, but only if the surface is strong and flat.
2. Assemble The Grinder
Follow these steps for assembly:
- Insert the feed screw into the body.
- Place the blade on the end of the feed screw.
- Select a grinding plate and fit it over the blade.
- Secure both with the locking ring.
- Attach the handle to the feed screw.
- Clamp or suction the base firmly to your work surface.
Make sure all parts are tight. Loose fittings can cause leaks or damage.
3. Test Before Using
Turn the handle a few times to check that the parts move smoothly. If the handle feels stuck, disassemble and reassemble. Lubricate metal parts with a drop of food-safe oil if needed (never use machine oil).
Choosing The Right Meat
The quality and type of meat you use will affect your results. Here are key tips:
- Use fresh, cold meat: Warm meat can smear and clog the grinder. Cold meat keeps its shape and texture.
- Trim excess fat and sinew: Too much fat can gum up the grinder. Remove silver skin and tough tendons.
- Cut meat into small pieces: Aim for cubes about 1 inch (2.5 cm) wide. This helps the meat feed smoothly.
For burgers, many prefer 80% lean beef (like chuck), which balances flavor and juiciness. For sausages, pork shoulder is a popular choice.
Fat-to-lean Ratio Example
| Meat Type | Fat Content | Best Use |
|---|---|---|
| Beef Chuck | 15-20% | Burgers, Meatballs |
| Pork Shoulder | 20-30% | Sausages, Meatloaf |
| Chicken Breast | 2-5% | Lean Recipes |
Preparing Meat And Ingredients
Proper preparation will make grinding easier and more effective.
- Chill all parts: Place the grinder, blade, plate, and feed screw in the freezer for 30 minutes before using. Cold parts keep the meat firm and prevent sticking.
- Use partially frozen meat: Meat that is very cold but not solidly frozen grinds best. Freeze cubes for 20–30 minutes until just firm.
- Prepare seasonings and mix-ins: If making sausage or flavored burgers, measure out your spices and mix them into the meat cubes before grinding.
Non-obvious tip: Adding a little ice-cold water (1–2 tablespoons per pound) to the mix can help keep the grind moist and prevent overheating.
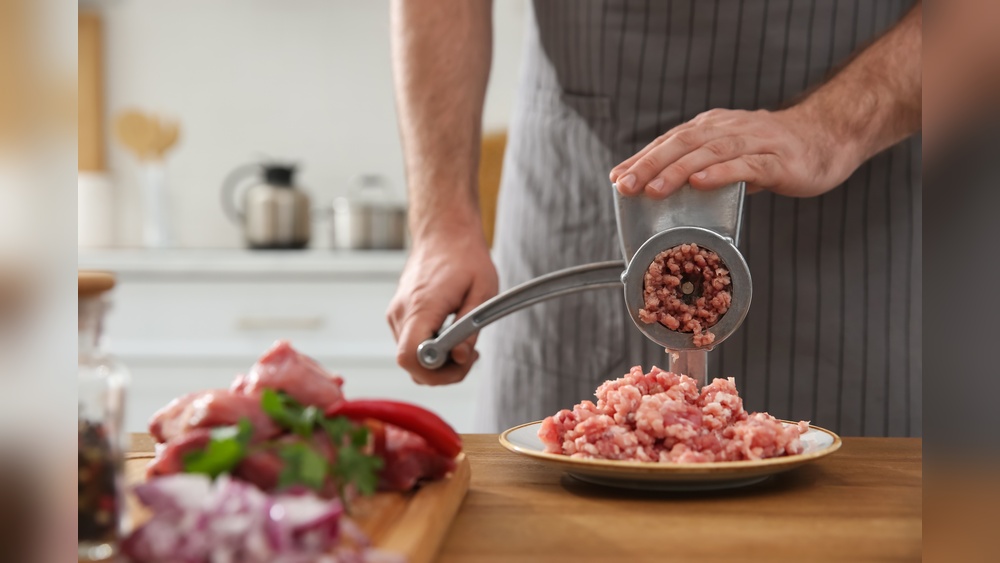
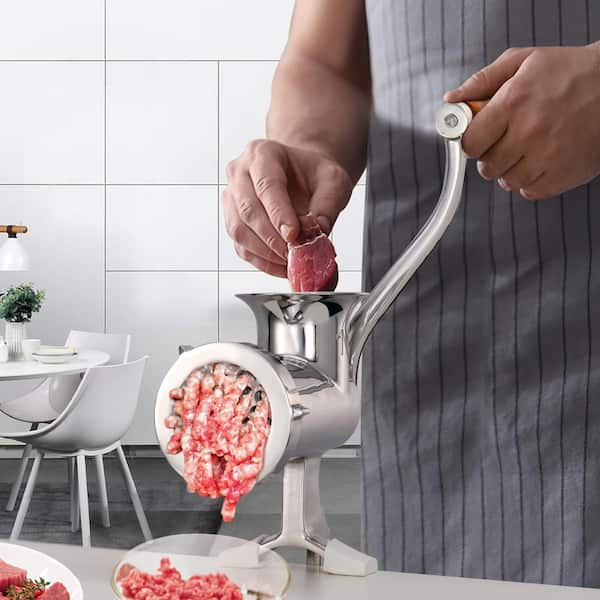
Grinding Meat: Step-by-step Instructions
Here’s how to use a manual meat grinder for the best results.
1. Feed The Meat
Load a handful of meat cubes into the hopper. Do not overfill; add more as you go.
2. Turn The Handle
Crank the handle steadily with one hand while guiding the meat with the other. Use the provided pusher (never your fingers) to feed meat into the grinder.
3. Collect The Ground Meat
Place a large bowl under the grinder’s exit to catch the ground meat. Stir the output occasionally to keep it even.
4. Double-grinding (optional)
For a finer texture, grind the meat twice. First with a coarse plate, then again with a finer plate.
Pro insight: For sausage making, double-grinding ensures an even mix and smoother texture.
5. Add Mix-ins
If you want to include onions, garlic, or herbs, you can mix them into the meat cubes before grinding, or add them after the first grind. Grinding vegetables can release extra moisture, so squeeze out excess liquid beforehand.
6. Clean The Grinder Immediately
Meat can dry and stick quickly, making cleaning harder. Disassemble and wash all parts with hot, soapy water as soon as you finish. Dry thoroughly to prevent rust.
Safety Tips For Manual Meat Grinding
Manual grinders are safer than electric ones, but you still need to be careful:
- Never put your fingers in the hopper: Always use the provided pusher.
- Keep blades sharp: Dull blades can cause jamming and require more force.
- Secure the grinder: A loose base can lead to slips and accidents.
- Clean after every use: Bacteria can grow quickly on leftover meat.
A less-known tip: Always check for bone fragments or hard gristle in your meat before grinding. These can damage the blade and plate.
Troubleshooting Common Problems
Grinding meat by hand is simple, but sometimes things go wrong. Here’s how to handle common issues:
Grinder Is Hard To Turn
- Check for clogs in the plate or feed screw.
- Meat may be too fatty or sinewy—trim and chill better next time.
- Make sure the blade is installed correctly and is sharp.
Meat Comes Out Mushy
- Meat or grinder may be too warm—keep everything cold.
- Fat content may be too high—try a leaner cut.
- Grind only once for a coarser texture.
Grinder Is Leaking
- Make sure the locking ring is tight.
- Check if the grinder is clean; buildup can cause leaks.
- Avoid overfilling the hopper.
Uneven Grind
- Feed meat at a steady rate—not too fast or slow.
- Cut meat into uniform cubes before grinding.
Cleaning And Maintenance
A well-cared-for grinder will last for years. Here’s how to keep yours in top shape:
- Disassemble after each use: Take apart all removable parts.
- Wash with warm, soapy water: Use a brush for hard-to-reach spots.
- Rinse and dry completely: Water left on metal can cause rust.
- Oil the blade and screw: Rub a small amount of food-safe mineral oil on metal parts before storing.
- Store in a dry place: Keep all pieces together in a sealed bag or container.
Non-obvious insight: Placing a few grains of uncooked rice in the storage bag can absorb moisture and prevent rust.
Using A Manual Grinder For Other Foods
Manual meat grinders are versatile. You can also use them for:
- Vegetables: Onions, carrots, or potatoes for latkes.
- Nuts: For baking or making nut butters.
- Bread crumbs: Grind stale bread for fresh crumbs.
- Cheese: Hard cheeses for toppings.
However, always clean the grinder thoroughly between different foods to avoid cross-contamination.
Comparing Manual And Electric Meat Grinders
Is a manual grinder right for you? Here’s a quick comparison.
| Feature | Manual Grinder | Electric Grinder |
|---|---|---|
| Price | Low | Medium to High |
| Portability | Excellent | Poor |
| Speed | Slower | Fast |
| Noise | Very Quiet | Loud |
| Maintenance | Easy | Complex |
| Control over Texture | High | Medium |
Manual grinders are ideal for small batches, those who enjoy hands-on cooking, and anyone who wants to avoid the noise and complexity of electric machines.
Useful Accessories And Upgrades
Improve your grinding experience with these extras:
- Different grinding plates: For fine, medium, or coarse texture.
- Sausage stuffer attachments: For making homemade sausages.
- Replacement blades: Always have a spare in case one dulls.
- Meat pusher: Some grinders include a plastic or wooden pusher for safety.
- Silicone mats: Place under the grinder to protect your countertop and prevent slipping.
Investing in high-quality accessories can extend the life of your grinder and improve performance.
Credit: westonbrands.com
Practical Tips For Best Results
To get the most from your manual grinder, keep these practical tips in mind:
- Grind in small batches: Overloading can cause jams and uneven grinding.
- Alternate meat and fat: If you’re mixing lean and fatty meat, alternate cubes in the hopper for even blending.
- Check for sharpness: A sharp blade is more important than a strong handle.
- Freeze ground meat immediately: If not cooking right away, package and freeze to avoid spoilage.
- Label your meat: Mark the type and date on bags before freezing.
Pro insight: For burger lovers, gently mix the ground meat with your hands—overmixing can make patties tough.
How To Store Ground Meat Safely
Once you’ve ground your meat, proper storage is crucial for safety and freshness.
- Refrigerate immediately: Keep ground meat cold and use within 24 hours.
- Freeze for longer storage: Divide into small, flat packages for quick thawing.
- Avoid refreezing: Meat that’s been thawed and refrozen can lose texture and flavor.
- Label everything: Write the date and type of meat on each package.
Data point: According to the USDA, ground meat should be kept below 40°F (4°C) and used within one to two days for best quality.

Credit: www.amazon.com
Creative Ways To Use Your Grinder
Manual meat grinders aren’t just for basic ground beef. Try these ideas:
- Make your own sausage blends: Add garlic, herbs, or spices to pork or chicken.
- Create veggie burgers: Grind beans, mushrooms, and onions for a plant-based patty.
- Fresh pet food: Grind meats and veggies for homemade dog or cat food (consult your vet first).
- Fruit preserves: Some grinders can mash berries for jams and jellies.
A manual grinder lets you invent recipes that store-bought ground meat can’t match.
Keeping Your Grinder In Top Condition
Long-term performance depends on proper care:
- Sharpen blades regularly: Use a sharpening stone or replace dull blades.
- Inspect for rust: Even small spots can spread—clean and oil as needed.
- Check for alignment: If the handle or screw feels wobbly, reassemble.
- Store disassembled: Avoid tension on parts during storage.
Non-obvious tip: If your grinder smells metallic after long storage, grind a slice of stale bread before your next use. This absorbs odors and cleans out dust.
Environmental Benefits
Manual meat grinders are eco-friendly in several ways:
- No electricity: Lower your household energy use.
- Less packaging waste: Buy whole cuts and grind at home, avoiding store packaging.
- Long lifespan: Most manual grinders last decades with care.
Compared to electric models, the manual grinder’s simple design means less e-waste and easier recycling at the end of its life.
Where To Learn More
If you’re interested in the science and safety of home meat grinding, the U.S. Department of Agriculture provides helpful guidelines for safe meat handling. Visit the USDA Food Safety and Inspection Service for more details.
Frequently Asked Questions
How Do I Keep My Manual Meat Grinder From Rusting?
After each use, wash and dry all parts completely. Rub a thin layer of food-safe oil on metal surfaces before storing. Store in a dry place and consider using silica gel packs or a few grains of rice to absorb moisture.
Can I Grind Cooked Meat In A Manual Grinder?
Yes, you can grind cooked meat, but it may not have the same texture as raw meat. It’s best for recipes like croquettes or spreads. Make sure the meat is cut into small pieces and is not too dry.
What Should I Do If The Grinder Gets Jammed?
Stop cranking immediately. Disassemble and clean out any tough pieces or sinew. Check that the blade is sharp and installed correctly. Avoid forcing the handle, which can damage the grinder.
Can I Use A Manual Meat Grinder For Making Nut Butter?
It’s possible to grind nuts, especially softer ones like peanuts or cashews. However, most manual grinders are not designed for very oily foods and may require frequent cleaning during use.
Is It Safe To Grind Meat At Home?
Yes, if you follow basic safety rules: use fresh, cold meat; clean the grinder after every use; and store ground meat properly. Grinding at home lets you control quality and hygiene.
Using a manual meat grinder is a hands-on way to make food healthier and tastier. With the right steps and a little practice, you’ll enjoy fresh, custom-ground meat and more. A manual grinder is a classic kitchen tool that rewards careful use with delicious results for years to come.