
Upgrading your kitchen can be a big project, but some changes make a huge difference. Installing an undermount kitchen sink is one of those changes. It gives your countertop a smooth, modern look and makes cleaning easier. But many homeowners worry that installing an undermount sink is too hard to do themselves. The truth? With the right tools, a clear process, and some patience, you can achieve professional results—even if you’re not a contractor.
This article will walk you through everything you need to know. You’ll get a clear explanation of the tools required, how to prepare your workspace, and a detailed, step-by-step process for undermounting a kitchen sink. You’ll also learn from real-world tips, see data comparing undermount vs.
drop-in sinks, and get answers to the questions most people ask. If you want your kitchen to look and work better, keep reading to learn how to undermount a kitchen sink the right way.
Why Choose An Undermount Sink?
Switching to an undermount sink is not just about looks. There are real practical benefits:
- Easy countertop cleaning: Wipe crumbs and spills directly into the sink, with no rim in the way.
- Modern design: Creates a sleek, continuous surface for a premium feel.
- More counter space: No sink rim taking up room on the countertop.
- Better resale value: Kitchens with undermount sinks often appeal more to buyers.
But there are also a few challenges. Undermount sinks need strong support because they hang below the countertop. They usually work best with solid surfaces like granite, quartz, or marble, not with laminate. The installation process takes more time and care compared to drop-in sinks.
Let’s see how undermount sinks compare to traditional drop-in sinks in some key areas:
| Feature | Undermount Sink | Drop-In Sink |
|---|---|---|
| Installation Difficulty | Medium to High | Low |
| Cleaning Convenience | Very Easy | Moderate |
| Countertop Compatibility | Stone, solid surfaces | All types |
| Appearance | Modern, seamless | Traditional, visible rim |
Tools And Materials You Need
Before you start, gather all the tools and materials. Missing even one can slow you down or cause mistakes. Here’s what you’ll need for most undermount sink installations:
Essential Tools:
- Drill with bits (1/4” masonry bit if attaching to stone)
- Adjustable wrench
- Screwdriver set
- Caulking gun
- Utility knife or razor blade
- Tape measure
- Level (2-foot size is best)
- Clamps (C-clamps or bar clamps, 2-4 pieces)
- Bucket and sponge
Materials:
- Undermount kitchen sink (double-check measurements)
- Mounting clips and brackets (usually included with the sink)
- Silicone sealant (100% waterproof, mold-resistant)
- Rubbing alcohol
- Rags or paper towels
- Plumber’s putty
- Wood support braces (if needed)
- Safety glasses and gloves
Optional but Helpful:
- Masking tape
- Painter’s tape
- Epoxy (for extra-strong bonds)
Insider Tip:
Always read the sink manufacturer’s instructions. Some require special brackets or a certain type of sealant.
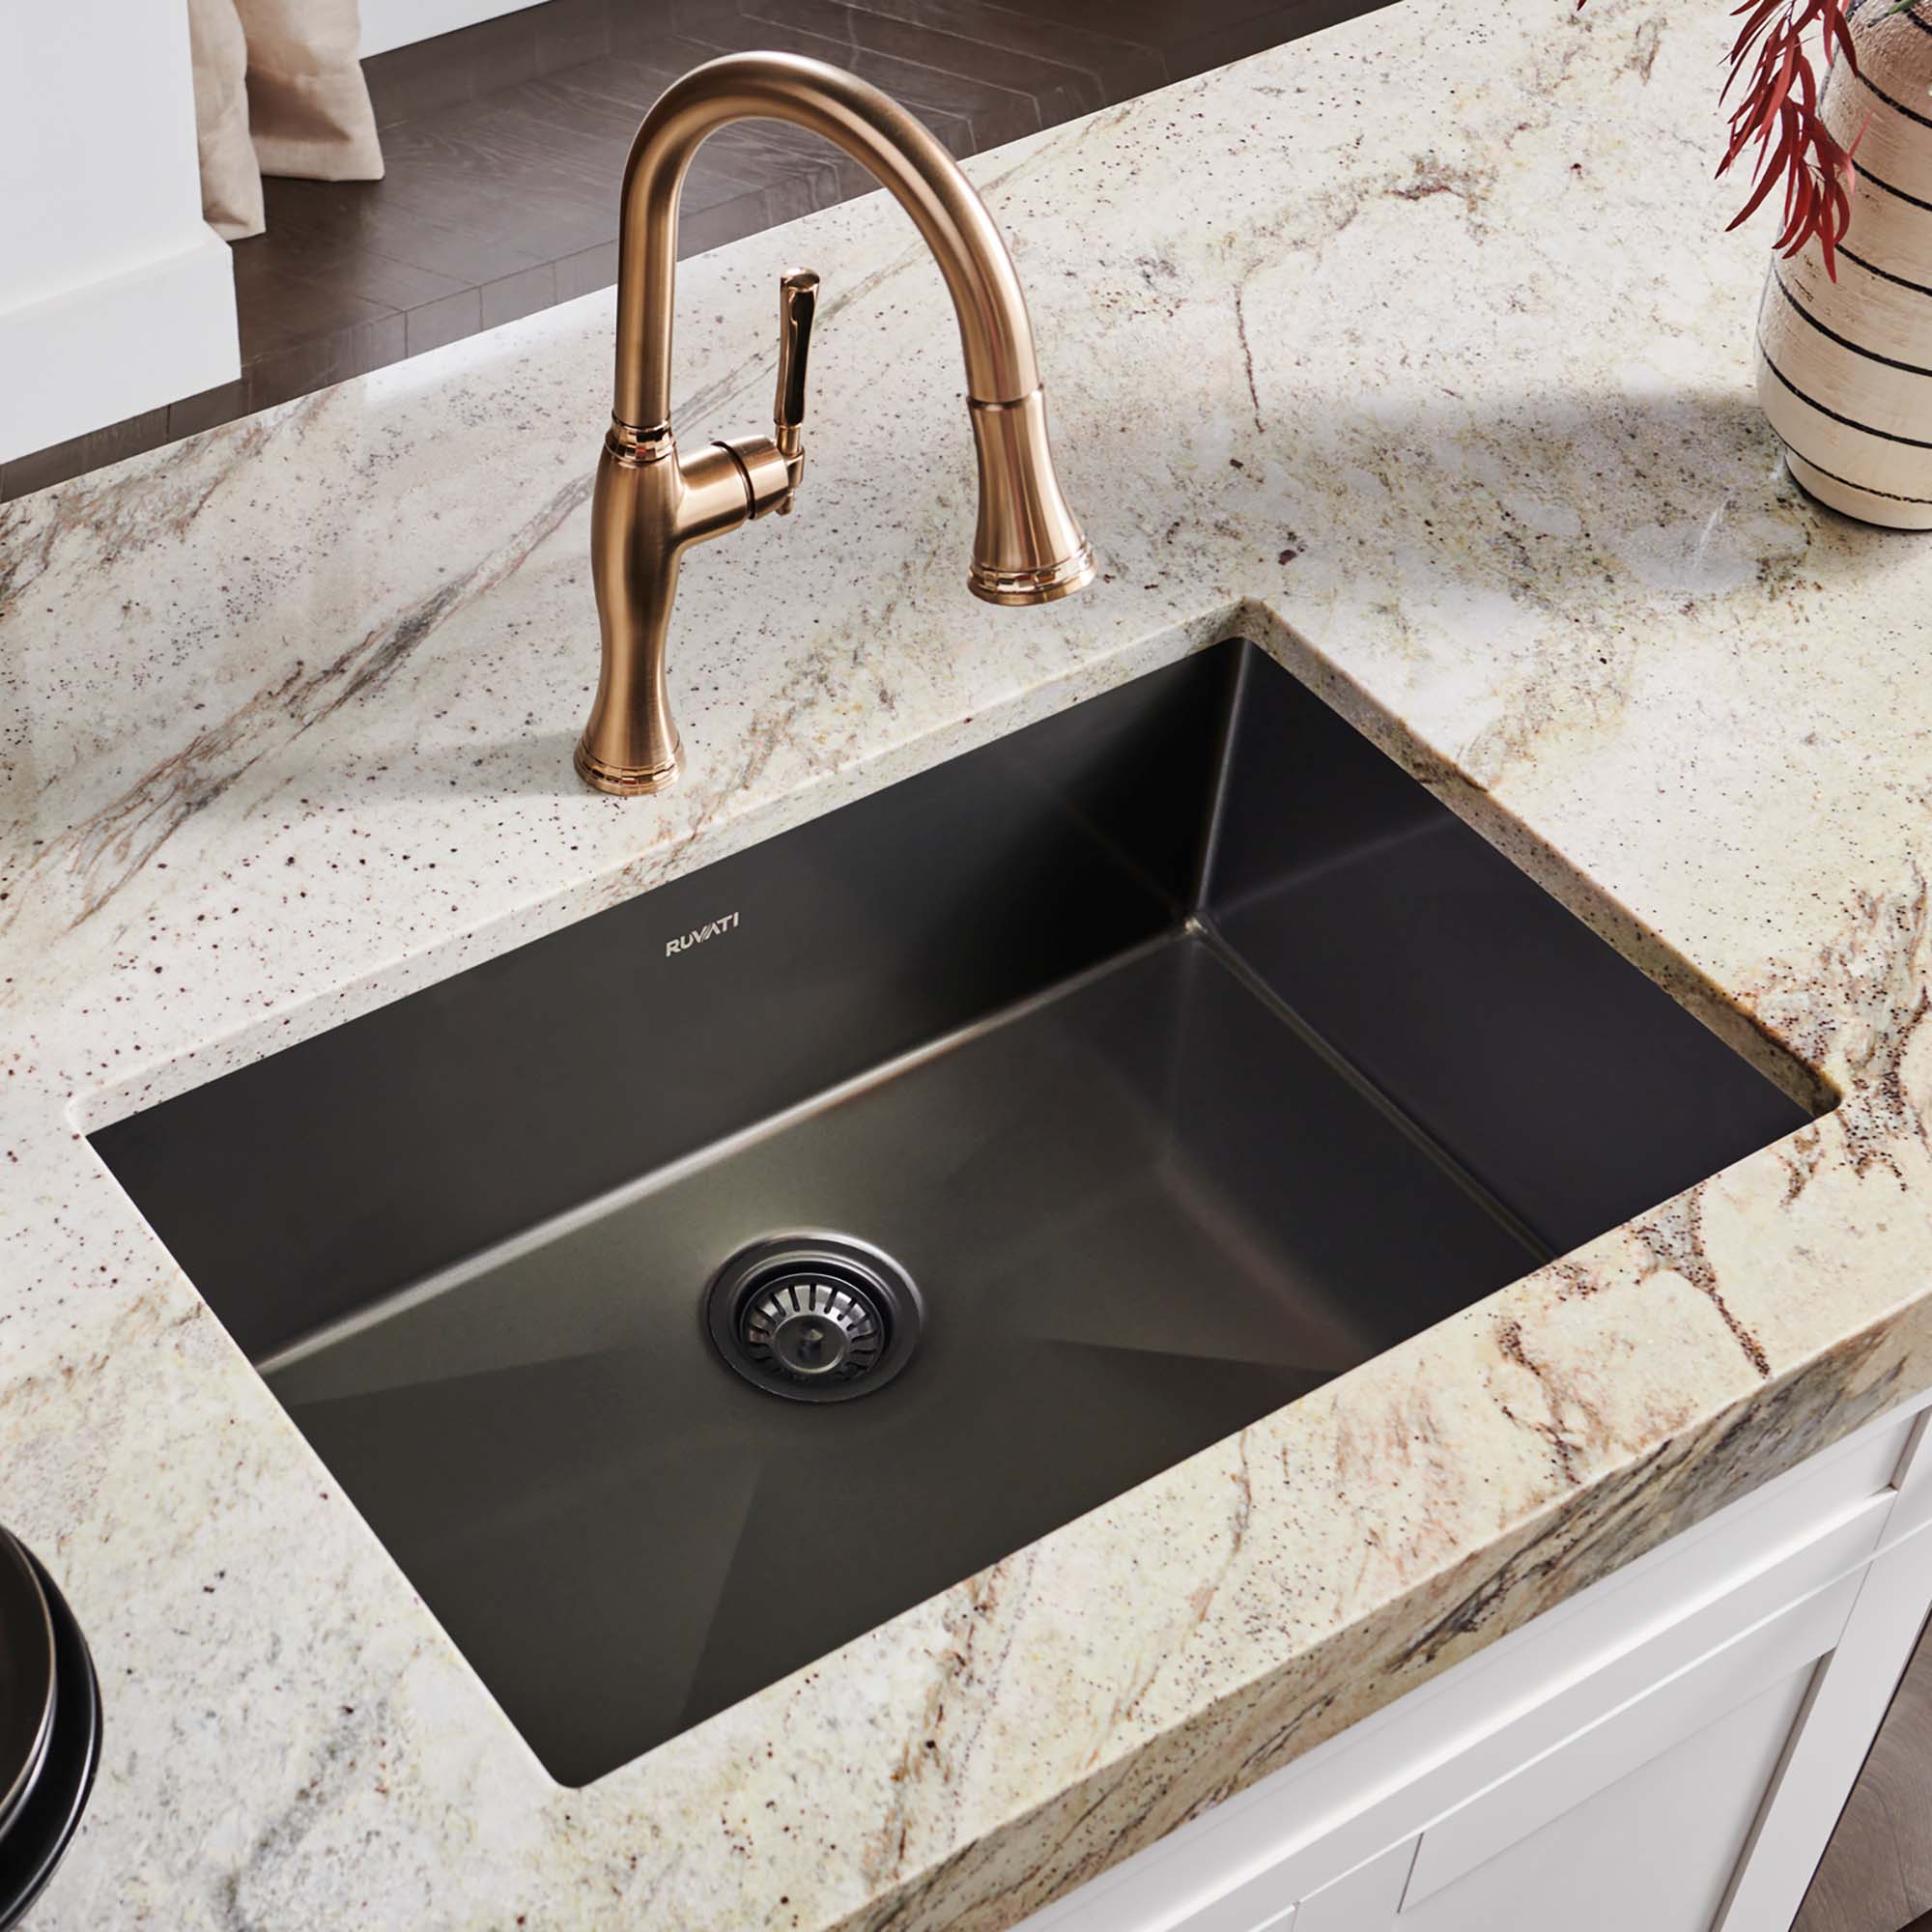
Credit: www.ruvati.com
How To Prepare For Installation
Preparation is key. The better you prepare, the smoother the project will go.
1. Check Your Countertop
Undermount sinks work best with solid surface countertops like granite, quartz, or marble. If you have laminate, consider consulting a professional, as these surfaces often aren’t strong enough to hold the weight of an undermount sink.
- Inspect the underside of the countertop for cracks or weak spots.
- The cutout should match your new sink’s template. If not, you’ll need to adjust it.
2. Remove The Old Sink (if Needed)
If replacing a sink:
- Turn off the water supply and disconnect plumbing.
- Remove the old sink carefully, avoiding damage to the countertop.
- Clean the area well. Remove any old caulk or debris.
Mistake to avoid:
Forgetting to support the sink while disconnecting plumbing can cause it to drop and crack the countertop.
3. Dry Fit The New Sink
Place the new sink underneath the countertop to test the fit. Make sure:
- The sink edges fit evenly all the way around.
- The faucet holes and drain line up with your plumbing.
Use masking tape to mark where the sink will sit. This helps guide you during installation.
4. Gather Support
Undermount sinks are held in place with strong clips and adhesive. But during installation, you’ll need temporary support. Use 2×4 wooden braces placed across the countertop opening. These keep the sink pressed up while you work.
Pro Tip:
Some installers use a car jack or adjustable pole under the sink for hands-free support.
Step-by-step: How To Undermount A Kitchen Sink
Let’s break down the process so you can follow each step confidently.
Step 1: Clean And Prep The Countertop
- Wipe the underside of the countertop with rubbing alcohol.
- Remove all dust, grease, and old sealant. The cleaner the surface, the stronger the bond.
Step 2: Apply Silicone Sealant
- Run a continuous bead of high-quality silicone around the edge of the sink where it will touch the countertop.
- Avoid using too much—excess can squeeze out and make a mess, but too little can cause leaks.
Non-obvious insight:
Choose clear or color-matched silicone for a seamless look. White sealant can look messy on dark stone.
Step 3: Position The Sink
- With help, lift the sink into place under the countertop.
- Align it with your masking tape guide.
- Use clamps or braces to hold the sink tightly against the countertop from below. If using wood braces, place a towel between the wood and the sink to avoid scratches.
Key guidance:
Make sure the sink is centered and the reveal (the visible edge of the sink) is even on all sides.
Step 4: Attach Mounting Clips Or Brackets
- Drill pilot holes in the countertop for mounting clips if required (use a masonry bit for stone surfaces).
- Attach the clips or brackets, tightening them just enough to hold the sink firmly. Do not overtighten, as this can crack the countertop or distort the sink.
Mistake to avoid:
Skipping this step or relying only on silicone can cause the sink to fall out over time.
Step 5: Remove Excess Silicone
- Use a damp rag or your finger to smooth the bead of silicone around the sink edge.
- Clean away any excess before it hardens for a neat, professional finish.
Step 6: Let The Silicone Cure
- Follow the sealant manufacturer’s instructions for cure time—usually 12-24 hours.
- Do not use the sink or allow water near the area during this time.
Important:
Rushing this step is the number one cause of leaks and failures.
Step 7: Reconnect Plumbing And Test
- Reconnect the drain and faucet lines.
- Turn on the water supply and check for leaks.
- Run water around the sink edge to check the seal.
Pro Tip:
If you see any leaks, dry the area and apply extra silicone as needed.
Common Mistakes And How To Avoid Them
Many DIYers make avoidable errors that lead to problems down the road. Here’s what to watch out for:
- Skipping surface cleaning: Even tiny debris can prevent a good seal.
- Using the wrong sealant: Only use 100% silicone designed for kitchens and baths.
- Not enough support during install: The sink can sag or move while silicone is curing.
- Incorrect clip placement: Failing to use enough clips or tightening them unevenly.
- Not checking for level: If the sink isn’t level, water will pool in corners.
- Cutting the opening too large: This can make the sink unstable and weak.
- Ignoring manufacturer’s templates: Always use the template that comes with the sink.
Non-obvious insight:
Even experienced installers sometimes forget to check for an even reveal (the overhang of the countertop over the sink edge). This small detail has a big impact on appearance and usability.
Tips For A Flawless Undermount Sink Installation
- Take your time: Most mistakes happen when rushing.
- Double check measurements: Test fit the sink, faucet, and drain before sealing anything.
- Use painter’s tape: Mark edges and protect the countertop from scratches or stray silicone.
- Ask for help: Sinks are heavy and awkward—don’t try to lift and hold one alone.
- Check your work with a flashlight: Shine it under the countertop to spot gaps or missed areas in the seal.
How To Choose The Right Undermount Sink
Not all undermount sinks are the same. Here’s what to look for:
Material
- Stainless steel: Durable, easy to clean, and most popular.
- Composite granite: Stylish and scratch-resistant, but heavier.
- Fireclay or porcelain: Classic look, but can chip if hit.
Size And Depth
- Standard sinks are 22 inches front-to-back and 30-33 inches wide.
- Depths range from 8 to 10 inches. Deeper sinks hold more, but may be harder to reach into.
Shape And Bowl Configuration
- Single bowl: Best for large pots and pans.
- Double bowl: Allows multitasking, like washing and rinsing.
- Some models have rounded corners (easier to clean) or low dividers.
Mounting Hardware
- Look for sinks that include all necessary mounting clips and templates.
- Read reviews to check if hardware quality is good—cheap clips can fail.
Here’s a quick comparison of popular sink materials:
| Material | Pros | Cons |
|---|---|---|
| Stainless Steel | Affordable, easy maintenance, lightweight | Can dent, water spots show |
| Composite Granite | Scratch-resistant, modern look | Heavy, needs strong support |
| Fireclay | Classic style, durable | Expensive, can chip |
Tip:
If you’re unsure what size or shape to choose, visit a local showroom to see sinks in person.
How Long Does Installation Take?
The time needed depends on your experience and the condition of your countertop. Here’s a general breakdown:
- Preparation: 1-2 hours (removing old sink, cleaning, dry fitting)
- Installation: 1-2 hours (mounting, sealing, attaching clips)
- Cure time: 12-24 hours (for silicone to fully set)
- Reconnect plumbing: 30-60 minutes
Most DIYers can complete the project over a weekend.
Cost Breakdown: Diy Vs. Professional Installation
How much does it cost to undermount a kitchen sink? Here’s a typical cost comparison:
| Expense | DIY | Professional |
|---|---|---|
| Sink (mid-range) | $150-$350 | $150-$350 |
| Materials/Tools | $50-$100 | Included in labor |
| Labor | $0 | $250-$600 |
| Total | $200-$450 | $400-$950 |
Note:
If you need to cut or alter a stone countertop, consider hiring a professional. Granite and quartz can crack if handled incorrectly.
When To Call A Professional
There are times when hiring a pro is the smarter choice:
- Stone countertop cutting required: Special saws and skill are needed.
- Countertop damage: Cracks, chips, or uneven surfaces need repair.
- Custom plumbing changes: If the new sink doesn’t match your old plumbing.
- You’re uncomfortable lifting heavy items: Sinks are heavy and awkward to install alone.
A professional can also help if you’re running new faucet lines or installing a garbage disposal.

Credit: www.kraususa.com
Maintenance Tips For Undermount Sinks
Once your sink is installed, follow these tips to keep it looking and working its best:
- Clean the seal regularly: Wipe the edge where the sink meets the countertop to prevent mold.
- Check for leaks every few months: Look under the sink for drips or dampness.
- Avoid harsh chemicals: Bleach and strong cleaners can break down the silicone seal over time.
- Don’t overload the sink: Heavy pots can stress the mountings.
Pro insight:
If you notice the sink is sagging or the seal is coming loose, repair it right away to avoid water damage to your cabinets.
Real-world Example: Undermount Sink Success Story
A homeowner in Austin, Texas, recently installed an undermount stainless steel sink in her remodeled kitchen. She followed the steps above and reported:
- The hardest part was aligning the sink for an even reveal. She used painter’s tape to mark the edge and checked from below with a flashlight.
- She waited a full 24 hours before reconnecting plumbing, avoiding leaks.
- She spent $350 on materials and did not need to hire a pro, thanks to good preparation.
She says, “The new sink makes cleaning so much easier, and the countertop looks amazing. I’d do it again, but I’d definitely ask for help lifting!”

Credit: www.youtube.com
Additional Resources
For more in-depth technical details, you can visit the official Wikipedia page on kitchen sinks.
If you want to see more guides like this, check out our related post on the [best types of kitchen countertops](https://www.yourkitchenguide.com/best-countertops).
Frequently Asked Questions
What Kind Of Countertops Can Support An Undermount Sink?
Undermount sinks need a solid, sturdy surface to hold their weight. Granite, quartz, and marble are the best choices. Laminate countertops usually aren’t strong enough and may not bond well with the sealant and mounting clips.
Can I Undermount A Sink By Myself, Or Do I Need A Professional?
You can install an undermount kitchen sink yourself if you have basic DIY skills and the right tools. However, if your countertop needs to be cut or you’re not comfortable with plumbing, hiring a professional is safer and can prevent costly mistakes.
How Do I Prevent Leaks With An Undermount Sink?
The key is proper cleaning and sealing. Always remove all dirt and old sealant before applying new silicone. Use mounting clips for extra support. Let the silicone cure fully before using the sink or running water.
How Long Does The Silicone Sealant Take To Cure?
Most kitchen-grade silicone sealants take 12 to 24 hours to cure fully. Follow the instructions on the tube for best results. Do not rush this step, as using the sink too soon can break the seal and cause leaks.
What Should I Do If My Undermount Sink Starts To Sag?
If the sink is sagging, it’s likely that the clips are loose or the sealant has failed. Stop using the sink, dry the area, and reapply silicone. You may also need to add or tighten mounting clips. If the problem continues, consult a professional to avoid water damage to your cabinets.
Installing an undermount kitchen sink is a project within reach for many homeowners, and the results can transform your kitchen. With careful preparation, attention to detail, and the tips in this guide, you’ll enjoy a beautiful, functional sink for years to come.