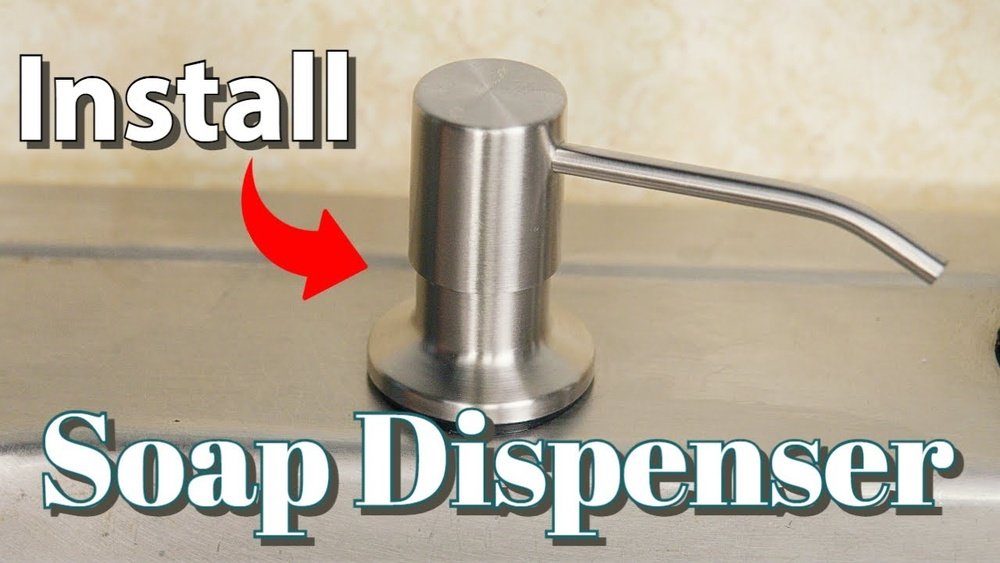
Installing a sink soap dispenser can be simple. It helps keep your sink neat. You do not need to buy extra soap bottles. The dispenser holds liquid soap inside. You press the top to get soap. It looks clean and saves space.
What You Will Need
Before starting, gather all tools and parts. This helps avoid stopping midway.
- Sink soap dispenser kit (includes pump and bottle)
- Drill with a hole saw bit (if no hole in sink)
- Adjustable wrench or pliers
- Screwdriver
- Measuring tape or ruler
- Marker or pencil
- Cleaning cloth
Step 1: Check Your Sink
Look for a hole near your faucet. Some sinks have a hole already. This hole fits the soap dispenser. If no hole exists, you will need to make one.
Measure the hole size. Most soap dispensers fit holes about 1 inch wide. Use the measuring tape for this.
Step 2: Choose the Spot
Pick a spot close to your faucet. It should be easy to reach. Also, check under the sink for space. The soap bottle must fit under the sink. Avoid spots with pipes or wires.
Step 3: Drill the Hole (If Needed)
If your sink has no hole, you must drill one. Ask an adult for help if you are unsure. Use a drill with a hole saw bit. The hole size should match the soap dispenser base.
Mark the spot with a pencil. Double-check the location. Drill slowly and carefully. Clean the area after drilling.
Credit: www.youtube.com
Step 4: Prepare the Soap Dispenser
Take the soap dispenser parts out of the box. Usually, it has two main parts:
- The pump (top part)
- The soap bottle (bottom part)
Unscrew the soap bottle from the pump. Keep them separate for now.
Step 5: Insert the Pump into the Sink Hole
From above the sink, put the pump through the hole. Make sure it fits well. The pump should sit flat on the sink surface.

Credit: www.youtube.com
Step 6: Attach the Soap Bottle Under the Sink
Go under the sink. Screw the soap bottle onto the pump’s threaded part. Turn the bottle until it is tight. Do not force it too much. The bottle should hold firmly.
Step 7: Fill the Soap Bottle
Remove the soap bottle again if needed. Fill it with liquid soap. Use a funnel to avoid spills. Do not fill it too full. Leave some space to avoid leaks.
After filling, screw the bottle back onto the pump. Check that it is secure.
Step 8: Test the Soap Dispenser
Press the pump top several times. Soap should come out easily. Sometimes air gets trapped. Keep pressing until soap flows smoothly.
If soap does not come out, check these:
- Is the bottle screwed tightly?
- Is the soap bottle empty?
- Is the pump clogged?
Step 9: Clean Up
Wipe the sink area around the dispenser. Remove any soap spills. Make sure everything looks neat. This keeps your kitchen or bathroom clean.
Tips for a Good Installation
- Use soap that is not too thick.
- Do not over-tighten the pump or bottle.
- Check the soap level often and refill when low.
- If the pump sticks, clean it with warm water.
- For hard-to-reach spots, use a flexible funnel.
- Ask for help if you feel unsure about drilling.
Why Install a Sink Soap Dispenser?
A soap dispenser keeps your sink tidy. It stops soap bottles from cluttering the area. It also helps save soap. You can control how much soap you use. This is good for saving money and cleaning well.
Soap dispensers also look nice. They match your sink and faucet. They make washing hands easier for children and adults.
Common Problems and How to Fix Them
| Problem | Cause | Solution |
|---|---|---|
| No soap comes out | Air trapped in pump | Press pump several times until soap flows |
| Soap leaks under sink | Loose bottle connection | Tighten soap bottle by hand |
| Pump is hard to press | Soap is too thick | Use thinner soap or clean pump with warm water |
| Dispenser is loose on sink | Not tightened properly | Check and tighten the mounting nut under sink |
Final Thoughts
Installing a sink soap dispenser is easy. It makes your sink area cleaner and better. Follow the steps carefully. Take your time and be patient. You do not need special skills. Just simple tools and a little care.
Enjoy your new soap dispenser. It will help keep your hands clean. It makes washing up more fun and neat.
Frequently Asked Questions
How Do I Install A Sink Soap Dispenser Step-by-step?
Start by removing the old soap dispenser or drilling a hole if needed. Insert the dispenser pump through the hole and tighten the nut underneath. Finally, attach the soap bottle and fill it with liquid soap.
What Tools Do I Need To Install A Sink Soap Dispenser?
You will need a drill, adjustable wrench, screwdriver, and plumber’s putty or silicone. These tools help with drilling holes, tightening nuts, and sealing the dispenser.
Can I Install A Soap Dispenser Without Drilling A New Hole?
Yes, if your sink already has an extra hole, you can use that. Otherwise, drilling a hole is necessary for new installations.
How Do I Avoid Leaks When Installing A Soap Dispenser?
Use plumber’s putty or silicone around the dispenser base to seal it. Tighten the nut firmly but do not over-tighten to avoid cracking.