
Washing dishes in a single sink can feel challenging, especially if you are used to having a double sink or a dishwasher. However, with the right method and a few smart tricks, you can clean your dishes efficiently and keep your kitchen hygienic.
Many apartments, older homes, and student accommodations have just one sink, making it important to master this basic but essential kitchen skill. In this guide, you will learn how to wash dishes in a single sink quickly and thoroughly. You will also discover ways to save water, avoid greasy residue, and keep your dishwashing routine smooth.
People often think that a single sink means more mess and less convenience, but that’s not true if you know what to do. Even professional chefs and experienced home cooks manage with a single sink every day. This article will walk you through every step, from preparing your dishes to drying them, and highlight some mistakes beginners make.
By the end, you will have a reliable method for washing all your kitchenware, even after big meals or parties.
Why Washing Dishes Properly Matters
Keeping dishes clean is not just about making them look nice. It is also about food safety and health. Dirty dishes can attract bacteria, bugs, and mold, leading to sickness. Greasy pans or half-clean cups can also ruin the taste of your next meal or drink. According to the Centers for Disease Control and Prevention (CDC), improper dishwashing can spread harmful germs like E. coli and salmonella.
Washing dishes the right way saves money too. Clean dishes last longer and you avoid buying new ones often. Plus, you use less water and soap when you have a good system.
Essential Tools And Supplies For Single Sink Dishwashing
Before you start, gather the right tools. Having everything ready makes the job faster and less stressful.
- Dish soap: A quality dish soap cuts grease and removes food easily.
- Sponge or dishcloth: Use a non-scratch sponge for plates and a scrubber for tough stains.
- Dish brush: Good for cleaning mugs, pots, and pans.
- Rubber gloves: Protect your hands from hot water and soap.
- Drying rack or mat: Air-drying is more hygienic than towel-drying.
- Basin or tub: Useful for rinsing or soaking, especially with a single sink.
- Scraper or spatula: Helps remove stuck-on food before washing.
- Paper towels or cloths: For quick wipe-downs and drying counters.
Some people like to use a sink caddy to keep sponges and brushes organized. A small trash bowl can also help, especially if you need to scrape food scraps off plates.
Prepping Your Dishes: The First Key Step
Before you turn on the water, take a few minutes to prepare your dishes. This step is often skipped, but it makes the whole process easier.
- Scrape off all food scraps into the trash or compost bin. Dishes with less food take less time to wash and don’t clog your drain.
- Sort dishes by type: Stack plates, bowls, cups, and utensils separately. Wash the cleanest items (like glasses) first, and greasy items (like pans) last.
- Soak tough items: Fill your biggest pot or a small tub with hot soapy water. Soak pans or dishes with dried food for at least 10–15 minutes.
- Stack neatly: Place the largest items at the back of your workspace and smaller ones in front. This keeps your area organized.
A common beginner mistake is throwing everything into the sink at once. This leads to broken glasses, lost utensils, and wasted water.
The Best Dishwashing Sequence For A Single Sink
Washing dishes in a single sink requires a system. Follow this order for best results:
- Glasses and cups: These are usually least dirty. Wash them first to avoid grease transfer.
- Plates and bowls: Next, tackle main dinnerware. Washing these before greasy pans keeps water cleaner.
- Cutlery: Forks, spoons, and knives go after plates.
- Serving dishes: Any platters or serving bowls come next.
- Pots and pans: These are often the dirtiest and need the most scrubbing.
- Cooking utensils: Finish with spatulas, ladles, and other tools.
This sequence keeps your wash water cleaner for longer and prevents greasy residue on delicate items.
Filling And Using The Sink Efficiently
Unlike a double sink, you cannot have one side for washing and one for rinsing. But you can still be efficient.
The Two-basin Method
If you have a plastic tub or a large bowl, use it to create a second basin for rinsing. Here’s how:
- Fill the sink with hot soapy water for washing.
- Place the tub beside the sink or on the counter, filled with clean hot water for rinsing.
- Wash dishes in the sink, then dip them in the tub to rinse off soap.
The Rinse-as-you-go Method
If you do not have a tub, you can rinse dishes under running water after scrubbing each one.
- Wash a small batch (3–5 items), then rinse them all at once.
- Use a low water flow to save water.
- Stack rinsed items on the drying rack.
Both methods work well. The two-basin method saves more water, but the rinse-as-you-go method is easier when you have limited space.
Washing Dishes: Step-by-step Guide
Let’s break down the actual washing process. Each step builds on the last for the best results.
1. Fill The Sink With Hot, Soapy Water
Hot water (about 110–120°F or 43–49°C) cleans better and kills germs. Add enough dish soap to make bubbles, but not so much that rinsing is hard.
2. Start With The Cleanest Items
Pick up glasses and cups first. Use a soft sponge or brush. Wash inside and out, then rinse and place on the drying rack.
3. Move To Plates And Bowls
Scrub each plate, paying special attention to edges and any stuck-on food. Rinse right away if possible, or stack them neatly for a batch rinse.
4. Wash Cutlery
Hold forks, spoons, and knives by the handle. Use a brush for crevices. Rinse well, as soap and water can collect in grooves.
5. Tackle Serving Dishes
These might have greasy residues or sauces. Use the rough side of your sponge if needed. For stubborn stains, soak longer.
6. Clean Pots, Pans, And Cooking Utensils
Scrape off burnt bits with a spatula or brush. Use extra soap for greasy pans. Nonstick cookware needs a gentle sponge to avoid scratches.
7. Rinse Everything Well
Soap left on dishes can affect taste and health. Make sure each item is completely soap-free before placing it to dry.
8. Dry Dishes
Air-drying is best. If you use a towel, make sure it is clean and dry. Wet towels can spread germs.
Water And Soap Saving Tips
Many people use too much water and soap. Here’s how to use less without losing cleaning power:
- Use a sink or basin, not running water, for soaking and washing.
- Turn off the tap while scrubbing.
- Wash many items at once before rinsing.
- Use only as much soap as needed. Most dishes do not need lots of bubbles.
- For light loads, half a sink of water is enough.
According to the Environmental Protection Agency, washing dishes by hand with a running tap can use up to 27 gallons (102 liters) per session. Using a basin cuts this by more than half.
Managing Greasy And Stubborn Dishes
Greasy pans and dishes with dried food need special care.
- Soak them first in hot soapy water.
- Use a scraper or spatula to remove burnt bits.
- Add baking soda to the sponge for extra scrubbing power.
- For very greasy pans, wipe out oil with a paper towel before washing.
Never pour oil or large food scraps down the drain. This clogs pipes and can damage plumbing.
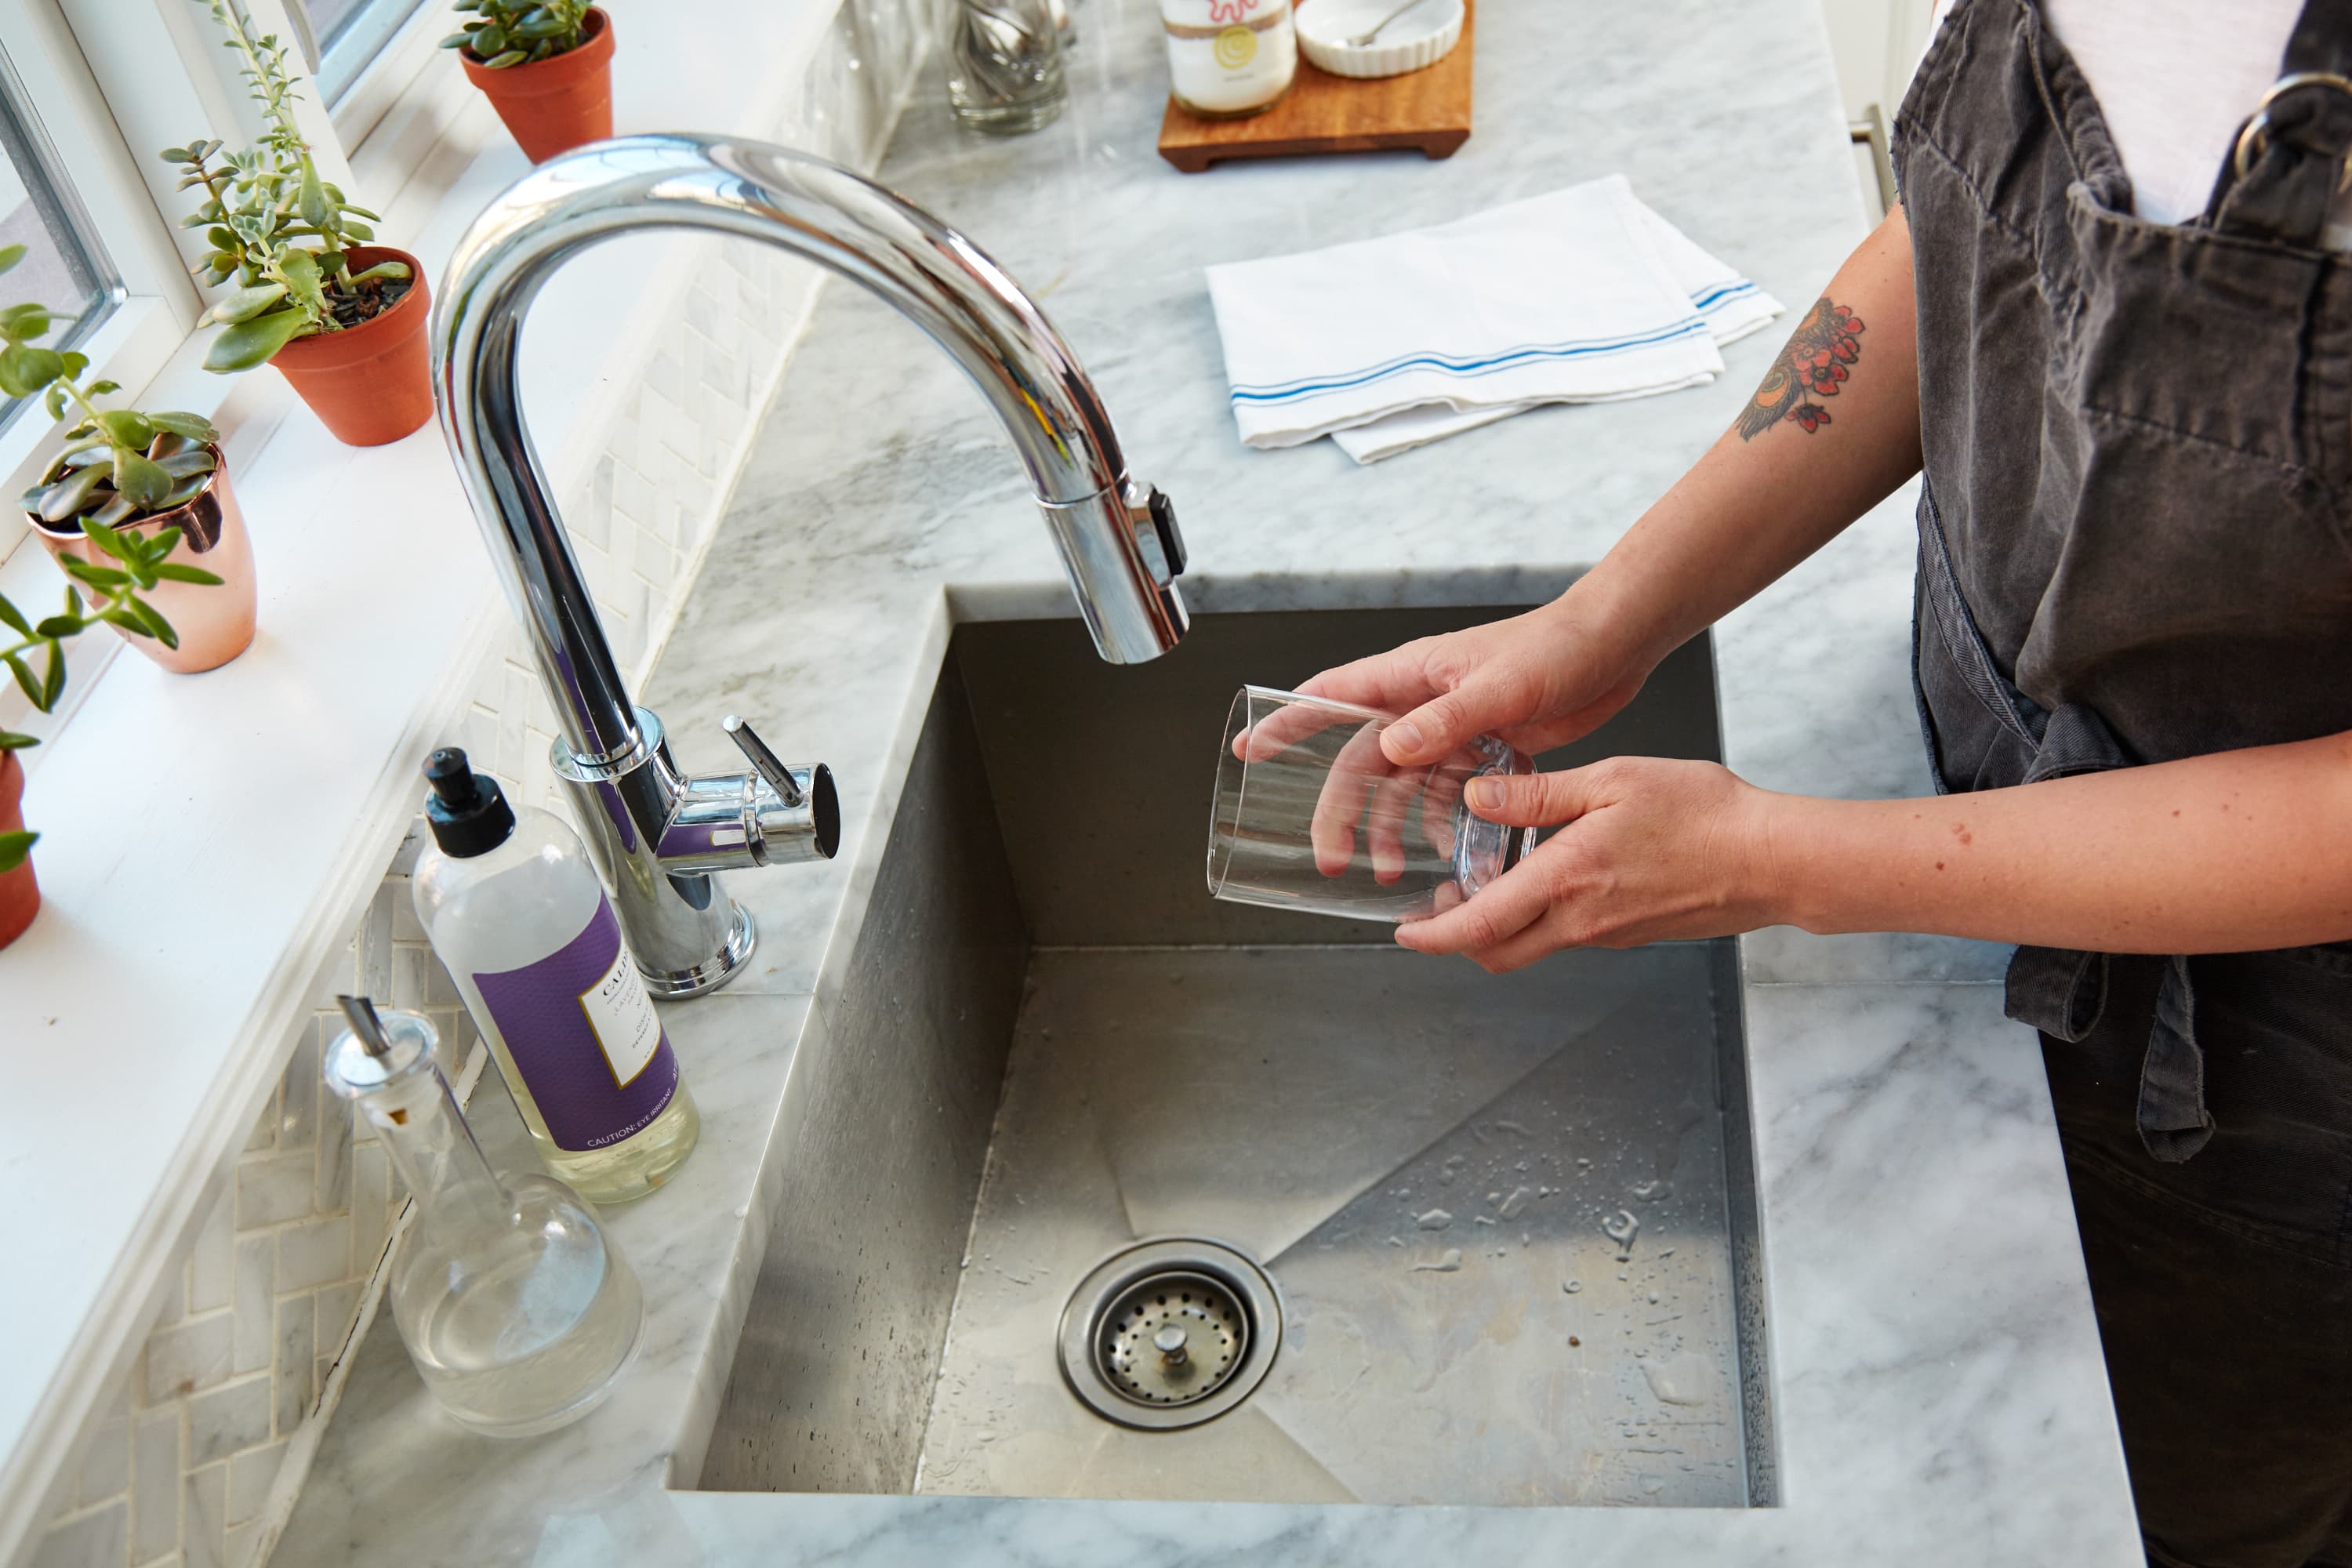
Credit: www.apartmenttherapy.com
Dealing With Limited Counter Space
If you have only one sink, you likely have a small kitchen too. Stay organized:
- Stack dishes vertically, not spread out.
- Use a foldable drying rack or mat on the counter.
- Dry and put away dishes as soon as possible to clear space.
- Keep sponges and soap in a sink caddy.
A cluttered counter makes washing dishes slower and more stressful.
Hygiene And Food Safety In Single Sink Dishwashing
Single sinks can collect bacteria if not cleaned properly. Here’s how to keep things hygienic:
- Rinse the sink before and after washing dishes.
- Change wash water if it looks dirty or greasy.
- Wash your sponge or brush regularly (microwave wet sponge for 1 minute, or run in dishwasher).
- Use hot water for both washing and rinsing.
- Dry dishes completely before stacking them away.
According to the USDA, wet dishes and sponges are ideal places for bacteria to grow. Keeping everything dry is key.
Common Mistakes To Avoid
Beginners often make mistakes that waste time or lead to dirty dishes. Here are some to watch for:
- Washing greasy pans before glasses (spreads grease)
- Using too much soap (hard to rinse, wastes money)
- Leaving dishes to soak for days (grows mold)
- Not cleaning the sink before washing
- Using dirty towels or sponges
- Overloading the drying rack (leads to breakage)
- Pouring food scraps down the drain
Fixing these habits makes dishwashing faster and more effective.
When To Replace Sponges And Brushes
Sponges and brushes do not last forever. Replace your sponge every 2–4 weeks, or sooner if it smells bad or falls apart. Dish brushes can last longer but should also be changed every few months. Old tools can harbor bacteria and make dishes smell.
Tip: You can sanitize sponges by microwaving (when wet) or soaking in diluted bleach. Always let them dry fully between uses.
How To Wash Delicate And Special Items
Some kitchenware needs extra care:
- Crystal glasses: Use only mild soap, and rinse with cool water.
- Cast iron pans: Do not soak. Scrub with a brush and dry immediately.
- Sharp knives: Wash by hand, one at a time. Dry right away.
- Wooden utensils: Avoid soaking. Wash quickly and dry standing up.
Never put nonstick pans, wooden boards, or chef knives in the dishwasher. Hand washing keeps them lasting longer.
Handling A Large Number Of Dishes In A Single Sink
After a party or holiday meal, you may have a mountain of dishes. Don’t panic. Here’s a smart approach:
- Clear and organize first: Stack all dirty dishes, scrape food, and soak the worst pans.
- Wash in batches: Do glasses, then plates, cutlery, and pans.
- Change water as needed: If it gets greasy, empty and refill.
- Enlist help: One person washes, another dries and puts away.
- Take breaks: If it’s overwhelming, do a little at a time.
Cleaning up is easier when you follow a system.
Comparing Single Sink Vs. Double Sink Dishwashing
A double sink is convenient, but a single sink can be just as effective. Here’s a quick comparison:
| Feature | Single Sink | Double Sink |
|---|---|---|
| Space | Saves counter space | Takes more space |
| Efficiency | Needs good organization | Easier rinsing and soaking |
| Water Use | Can be very efficient | Usually uses more water |
| Flexibility | Works in small kitchens | Best for larger kitchens |
A single sink can be just as fast if you use a basin or rinse in batches.
Time And Water Usage: Hand Washing Vs. Dishwasher
Some people wonder if a dishwasher saves more water and time. Here’s a quick look:
| Method | Water Used (average) | Time Needed |
|---|---|---|
| Single Sink Hand Wash | 8–15 gallons (30–57 L) | 10–20 minutes |
| Dishwasher | 4–6 gallons (15–23 L) | 1–2 hours (machine time) |
Hand washing can be faster if you have a small load, but dishwashers save water with full loads.

Credit: food52.com
How To Keep Your Sink And Tools Clean
A clean sink and clean tools keep your dishes safe. Here’s what to do:
- Rinse the sink with hot water and soap after every use.
- Scrub stains or food bits out of the sink.
- Disinfect your sink weekly with vinegar or bleach.
- Wash dish racks and mats with hot soapy water regularly.
- Store sponges and brushes so they dry between uses.
A dirty sink can undo all your hard work and spread germs to clean dishes.
Eco-friendly Dishwashing In A Single Sink
Want to protect the environment while washing dishes? Try these tips:
- Use biodegradable dish soap.
- Wash full loads instead of one or two items at a time.
- Rinse with a basin, not running water.
- Reuse greywater for plants (if using eco-friendly soap).
- Use cloth towels instead of paper for drying.
Small changes add up to a big difference over time.

Credit: www.youtube.com
What To Do When You Have No Drying Rack
If you do not have a drying rack, try these solutions:
- Lay a clean kitchen towel on the counter and stack dishes carefully.
- Use a cooling rack (like for baking cookies) as a temporary drying rack.
- Stand plates upright against the wall or backsplash.
- Dry dishes immediately with a clean towel and put away.
Always make sure towels are clean and changed daily to avoid bacteria.
Troubleshooting Common Problems
Sometimes, things go wrong. Here’s how to fix common dishwashing issues:
- Cloudy glasses: Rinse with vinegar and water.
- Greasy residue: Use hotter water and less soap. Wipe pans before washing.
- Stinky sponge: Microwave wet for 1 minute or soak in vinegar.
- Soap spots: Rinse with hotter water.
- Broken glass: Drain water carefully, wear gloves, and pick up pieces with a wet paper towel.
Never put your hand into dishwater if you drop glass or knives. Always drain first and check carefully.
Real-world Examples And Advice
Many people wash dishes in a single sink every day. College students, city dwellers, and even professional chefs do it successfully. For example, a student living in a dorm with a small sink can wash a full set of dishes in under 20 minutes with the right method. In busy restaurants, staff often use a three-compartment sink system, but the principles are the same: scrape, wash, rinse, and dry.
One practical tip: Set a timer for 10 minutes and see how many dishes you can clean. Make it a game, and the job feels less of a chore.
Extra Tips For Faster, Better Dishwashing
- Wash dishes right after eating for easier cleaning.
- Listen to music or a podcast to make the time pass.
- Use your non-dominant hand to hold items and dominant hand to scrub.
- Keep trash or compost bins nearby for easy scraping.
- Teach everyone in the household the same system for less confusion.
Consistency is key. The more you practice, the faster and easier it gets.
Frequently Asked Questions
How Hot Should The Water Be When Washing Dishes?
The water should be hot enough to dissolve grease and kill germs—around 110–120°F (43–49°C). If your hands cannot tolerate the heat, use rubber gloves. Hot water also helps dishes dry faster.
Can I Wash Dishes In Cold Water?
You can, but hot water cleans better. Cold water does not remove grease as well and may leave dishes less clean. If you must use cold water, use extra soap and rinse well.
How Do I Sanitize Dishes Without A Dishwasher?
After washing, you can soak dishes for a few minutes in a mixture of 1 tablespoon bleach per gallon of water. Rinse with hot water and air-dry. Always check that bleach is safe for your dishware.
Is Air-drying More Hygienic Than Towel-drying?
Yes, air-drying is safer. Towels can spread bacteria if not changed often. Use a rack or mat, and let dishes dry fully before putting them away.
What Should I Do If I Do Not Have A Dish Rack?
Lay a clean towel on the counter and stack dishes carefully. You can also use a cooling rack or dry dishes with a clean towel and put them away immediately.
Washing dishes in a single sink does not have to be difficult or time-consuming. With the right setup, a good routine, and a bit of practice, you can keep your kitchen clean and safe. For more detailed information on cleaning methods, you can visit the CDC Food Safety page.
A single sink is not a limitation—it is just a different way of doing things. With these tips, you will soon find that your kitchen is just as efficient and hygienic as any other. Happy washing!